How to Clean Car Window Channels
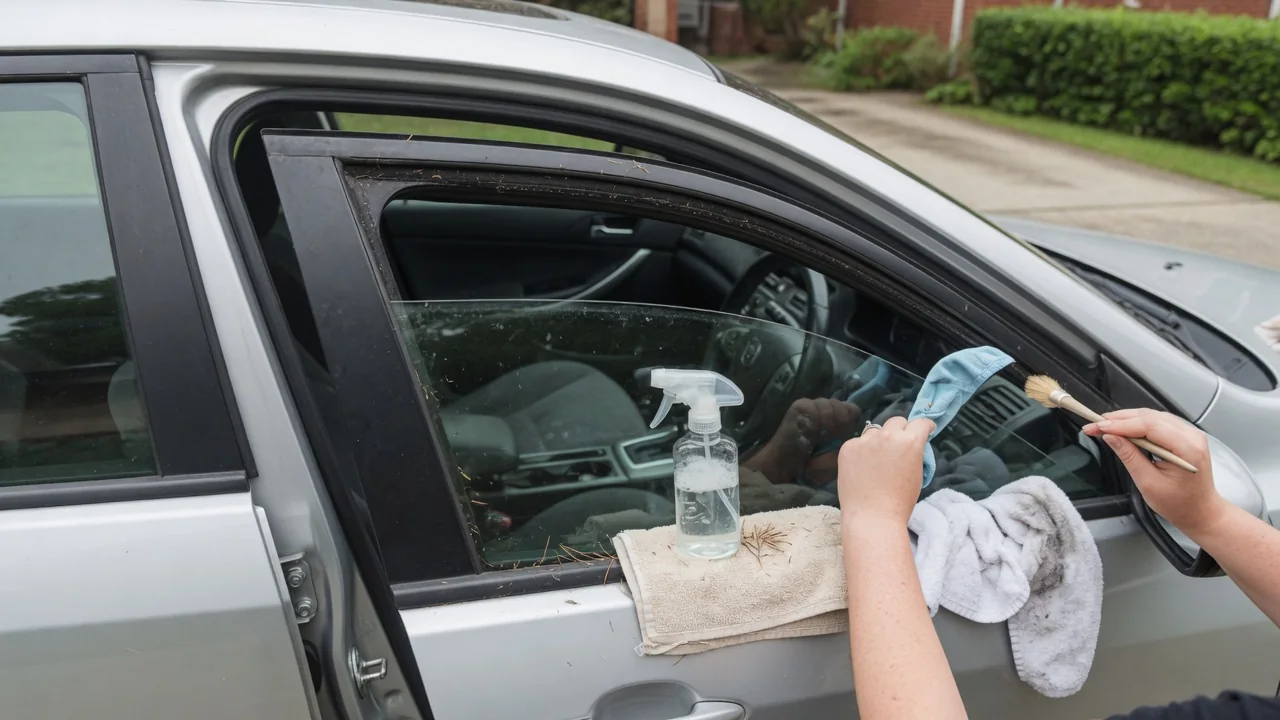
Window channels are the felt-lined rubber tracks that guide door glass as it rises and falls. Over time they collect grit, pollen and dried residue that can slow the glass or leave streaks. Learning how to clean car window channels gently helps restore smooth travel without damaging the seals, the glass or the regulator behind the door panel.
Find channels
Lower the window fully and look at the door frame where the glass edges normally sit. On most framed doors, a U-shaped rubber run channel follows the front, top and rear of the opening, often lined with a soft flocked or felt surface. That lining is what the glass slides against, and it is also where fine dirt tends to settle. A flashlight held close to the frame makes the groove and any packed debris much easier to see.
Along the bottom of the opening, two horizontal strips press against the inner and outer faces of the glass. These beltline seals, sometimes called wipers or sweeps, catch water and dust before it drops into the door. Layouts differ between vehicles: frameless doors on some coupes and convertibles have no upper channel at all, and the glass seals against the body instead. Rear doors may include a fixed quarter pane with a vertical divider channel worth inspecting too.
Remove debris
Start dry, because wetting loose grit turns it into an abrasive paste. A vacuum with a narrow crevice attachment or a soft detailing brush lifts sand, leaf fragments and seed husks from the groove without grinding them into the lining. Work from the top of the frame downward so loosened material falls away from areas already cleaned. Avoid screwdrivers, picks or other hard metal tools, which can tear the flocking or cut the rubber and create a new source of drag.
For residue that remains, wrap a microfiber cloth around a plastic trim tool or a thin wooden stick, dampen it lightly with water and a little mild soap, and draw it along the channel. Use only enough moisture to loosen the film, since excess water can run down inside the door. Harsh solvents and petroleum-based products may swell or harden some rubber compounds, so a gentle cleaner is the safer choice. Wipe the beltline strips the same way, then let everything dry.
Test movement
Once the channels are dry, run the window through several complete cycles and pay attention to how it behaves. A clean channel usually lets the glass travel at a steady pace, without hesitating partway or tilting forward or back as it rises. Listen for the difference as well: squeaking or chattering against the rubber often fades after cleaning, while clicking, grinding or popping from inside the door points toward the mechanism rather than the seals.
Keep fingers and cloths clear of the opening while testing, since power windows close with considerable force and not every vehicle reverses reliably on contact. If the glass still drags, a rubber-safe lubricant made for weatherstripping, applied sparingly to the channel, may reduce friction; the owner's manual is the best guide to what the manufacturer recommends. Some vehicles with one-touch operation may also need the window's automatic function reset after work near the glass, and that process varies by model.
Everyday Use and Observations
Daily conditions largely determine how quickly the channels load up again. Vehicles parked under trees collect sap, pollen and needles along the beltline, while those driven on gravel or in dusty regions pull fine grit into the felt every time the glass is lowered. Vertical scratches or hazy streaks on the glass are a useful clue, because they often trace back to abrasive particles trapped in the sweeps rather than a fault with the glass itself.
Seasonal changes show up too. In freezing weather, moisture held in dirty channels can bond the glass to the rubber, and forcing the switch strains the motor and regulator. In heat, old rubber may turn tacky and grab the glass. Wiping the visible seal surfaces during a normal wash, and lowering the windows briefly to clean the top edge of the glass, keeps buildup from being carried back into the channels and makes deeper cleaning less frequent.
Limits and Next Steps
Cleaning addresses friction caused by dirt, but it cannot fix worn or damaged parts. If the flocking has rubbed away, the rubber is cracked, hardened or pulled out of its seat, or the channel has collapsed in one spot, the glass will keep binding or rattling until the seal is replaced. Wind noise or water tracking past the glass after a careful cleaning usually points to the same conclusion: the material has aged beyond what cleaning can recover.
Other symptoms sit outside the channels entirely. Glass that drops crooked, falls into the door, moves in jerks with a struggling motor, or does nothing while the switch clicks suggests a regulator, motor, switch or wiring concern that needs proper diagnosis. Because door panels can hide airbags, clips and sharp sheet metal, a qualified technician is the sensible next step for anything behind the trim. Noting when and how the problem occurs helps them find the cause more quickly.