How to Find a Slow Window Seal Leak
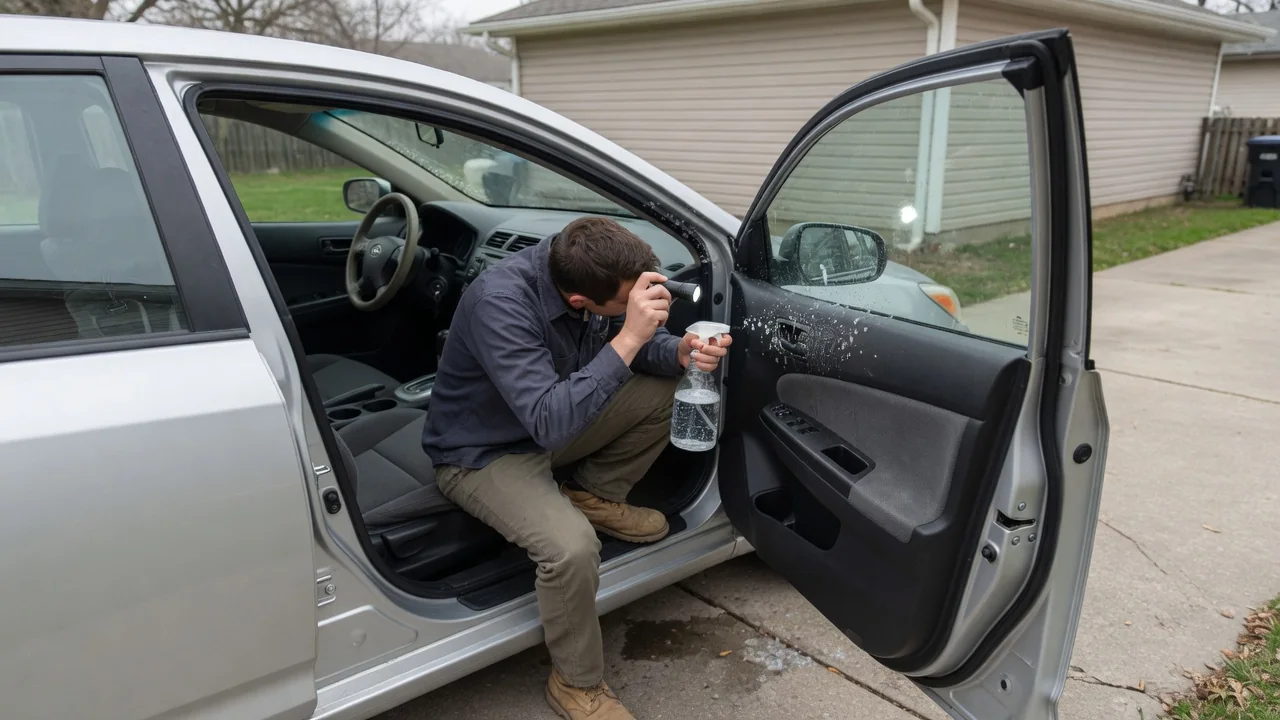
Learning how to find a slow window seal leak takes patience more than tools. Water that enters a cabin a few drops at a time rarely shows up where it gets in, so guessing usually leads to replacing the wrong weatherstrip. A controlled observation approach, working with one area and one variable at a time, turns a damp carpet or foggy glass into a traceable path.
Track moisture path
Water follows gravity and surfaces, so the wet spot is the end of the route rather than the beginning. A damp footwell may be fed by a windshield corner, a door glass run channel, or a sunroof drain routed down a pillar. Start at the lowest wet point and work upward, feeling under trim edges, along the door sill, and behind the kick panel for moisture. Dry everything first with towels so new water stands out clearly against a dry background.
A controlled test uses a gentle stream from a garden hose, not a pressure washer, applied low on the vehicle and raised slowly in stages. Hold each zone for several minutes while a helper inside watches with a flashlight, because a slow leak may need time to wick through. Paper towels or a light dusting of talc along suspected seams reveal the first trail. Interior trim layouts differ between body styles, so the route water takes behind panels on a sedan may not match a hatchback or truck.
Inspect seals and drains
Look at the rubber itself before blaming it. Door weatherstrips, glass run channels, and the outer belt molding that wipes the window should feel pliable and sit evenly in their channels. Flattened sections, cracks at corners, shrunken joints, or a strip pulled away from its flange are all visible clues. Closing the door on a strip of paper and tugging gently shows whether the seal grips consistently along its length; a spot where the paper slides freely deserves closer attention during the hose test.
Doors are designed to let some water past the outer glass seal and drain it out through small openings along the bottom edge. When those openings clog with dirt or leaves, water rises inside the door shell and can spill past the inner vapor barrier onto the carpet, imitating a seal failure. Sunroof and cowl drains can behave similarly. Sloshing sounds when the door swings, or water dripping from the door bottom long after rain, point toward drainage. Drain locations and numbers vary by vehicle, so check the owner's documentation.
Repair decisions
What the test reveals determines the sensible repair. A seal that is dirty or slightly displaced may only need cleaning and reseating, while one that is torn, hardened, or permanently compressed generally needs replacing. Blocked drains call for careful clearing rather than new rubber. If water appears from behind the door panel, the inner moisture barrier may have been disturbed during earlier work such as speaker or window regulator service, and resealing that sheet addresses the cause more directly than any exterior weatherstrip.
Fixed glass is a different matter. Windshields, rear windows, and quarter glass are commonly bonded with urethane adhesive, and the windshield contributes to body structure and airbag support on many vehicles. Smearing sealant over an exterior gap can trap water, hide corrosion, and complicate a proper repair later. A leak traced to bonded glass is best evaluated by a glass professional, who can judge whether the bond can be locally resealed or the glass should be removed and reinstalled. Door alignment problems likewise suit a body shop.
Everyday Use and Observations
Slow leaks often depend on conditions, so daily notes help. Record whether moisture appears after overnight rain, a car wash, or highway driving in a storm, and whether the vehicle was parked nose-up, nose-down, or leaning toward one side. A leak that appears only on a sloped driveway suggests water pooling at one corner of a seal or drain. Wind noise at speed from the same window can corroborate a gap, since air and water often share the same opening.
Other everyday signs deserve a place in the log. Persistent fogging on the inside of the glass, a musty odor, water stains on the headliner or pillar trim, and carpet that feels damp underneath while dry on top all indicate ongoing moisture. Lifting the edge of a floor mat and pressing into the padding is more telling than touching the surface. Keep in mind that condensate from the air conditioning or a heater core seep can also wet a front footwell, so note whether dampness tracks with rain or with climate control use.
Limits and Next Steps
Home testing has limits. Some leaks appear only when the body flexes while driving, when wind pushes water sideways, or after hours of soaking that a short hose test cannot reproduce. Water may also travel long distances inside pillars and along wiring harnesses before showing itself. If two or three careful sessions produce no clear entry point, shops have further options, such as smoke machines, ultrasonic leak detectors, or dye tracing, and they can remove trim safely around side curtain airbags.
Unresolved moisture matters beyond comfort. Wet padding can hold water for weeks, encouraging mold, floor pan corrosion, and trouble in connectors or control modules mounted low in the cabin. Until the source is fixed, drying the interior thoroughly and airing it limits damage. Bring the notes, photos, and test results to any appointment, since a documented pattern shortens diagnosis. It is also worth asking whether the manufacturer has issued service information for that model, because known leak points are sometimes documented and may be covered under warranty.