How to Clean a Car's Touchscreen
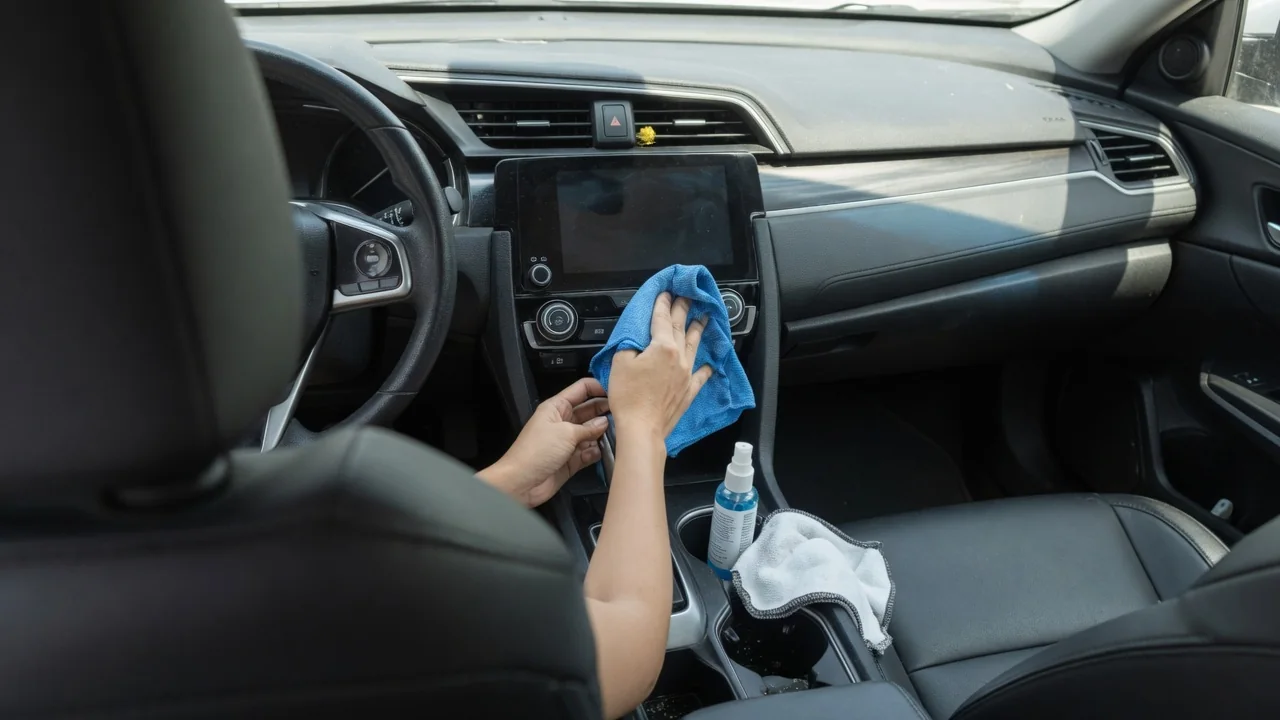
Fingerprints, dust and glare build up quickly on an infotainment display, and the wrong wipe can leave permanent marks. Learning how to clean a car's touchscreen comes down to a gentle, non-abrasive sequence: switch the display off, lift loose dust, wipe with a soft cloth and very little moisture, then dry. The steps below explain each stage and where your vehicle may differ.
Power down
Start with the screen dark. A black display shows smudges, dust and streaks far more clearly than a lit one, so you can see exactly where the grime sits and when it is gone. Switching off also prevents accidental inputs while you wipe, such as changing a navigation destination, altering climate settings or calling a contact. If the vehicle has been parked in the sun, let the glass cool first, because a warm surface makes any moisture flash off quickly and leaves streaks behind.
How you darken the display depends on the vehicle. Some systems go dark when the ignition is off, others stay awake for a while or wake when a door opens. Many infotainment menus include a screen-off option or a dedicated cleaning mode that temporarily ignores touch input, which is useful when the display cannot be fully shut down. The owner's manual or the display settings menu will show which option your model offers, and it is worth checking before you start wiping.
Use soft cloth
A clean, dry microfiber cloth is the safest tool for the job. Its fine fibers trap dust and lift skin oils rather than dragging them across the surface. Paper towels, tissues, shop rags and the corner of a shirt feel soft to the hand but can carry coarse fibers or trapped grit, and many displays wear anti-glare or oil-resistant coatings that mark more easily than bare glass. Keep one cloth reserved for the screen so it never picks up wax, polish or dashboard dressing.
Remove loose dust first with a light pass and almost no pressure, since dry grit pushed hard against the surface is what causes fine scratches. Then wipe in straight, overlapping strokes from one side to the other, turning the cloth to a fresh face as it loads up. Pressing harder does not clean better and can stress the panel beneath. Pay attention to the edges and corners where the bezel meets the display, because dust collects there and is easy to miss.
Avoid harsh chemicals
Many household cleaners are too aggressive for a vehicle display. Ammonia-based glass cleaner, bleach, solvents, abrasive polishes and strong all-purpose sprays can strip or cloud the anti-reflective and fingerprint-resistant layers, leaving hazy patches that no amount of wiping will remove. Guidance on alcohol-based wipes differs between manufacturers, so the owner's manual is the right reference before using one. When that guidance is unavailable, a cloth lightly dampened with plain or distilled water is the cautious choice for stubborn marks.
How the moisture is applied matters as much as what it is. Dampen the cloth rather than spraying the screen, because liquid that runs down the surface can seep past the bezel into the housing, nearby buttons or trim seams. The cloth should feel barely moist, not wet. After loosening the mark, follow with a dry section of microfiber to remove any remaining film. If you prefer a dedicated screen cleaner, choose one labeled for coated displays and confirm it suits your vehicle.
Everyday Use and Observations
Daily habits decide how often the display needs attention. Hand lotion, sunscreen, food residue and sanitizer transfer from fingertips and create the greasy film that scatters sunlight and makes maps hard to read. Dust drawn in through the vents settles on the surface as well, especially on screens mounted high on the dashboard. Keeping a folded microfiber in the glovebox or center console makes a quick dry wipe easy whenever glare from smears starts to interfere with viewing the display at a glance.
Watch how the surface responds after cleaning. Even, streak-free reflection with the display off suggests the coating is intact, while rainbow patches, dull spots or areas that smear again immediately can indicate residue or coating wear. Matte and glossy finishes behave differently, with matte hiding fingerprints but holding oils in its texture. Gloss-black trim surrounding the screen scratches easily too, so treat it with the same light touch. Aftermarket screen protectors may have their own care instructions that differ from the original display.
Limits and Next Steps
Gentle cleaning only addresses what sits on the surface. Scratches, a worn or peeling coating, moisture or haze behind the glass and dark blotches within the image are physical conditions that wiping will not correct, and scrubbing harder usually makes them worse. Avoid polishing compounds or scratch removers intended for paint or headlights, since they are abrasive by design. If a mark remains after a damp wipe and dry follow-up, it is most likely damage rather than dirt.
Touch response problems deserve separate thought. A film of residue or moisture can cause erratic input, so a thorough dry wipe is a sensible first check, but phantom touches, dead zones or a frozen display that continue afterward point toward the hardware or software rather than cleanliness. At that stage, a dealer or qualified technician can assess the unit and confirm whether updates or warranty coverage apply. Once the screen is clean, restore power, exit any cleaning mode and confirm normal operation before driving.