How to Clean a Rearview Camera Lens Without Scratching It
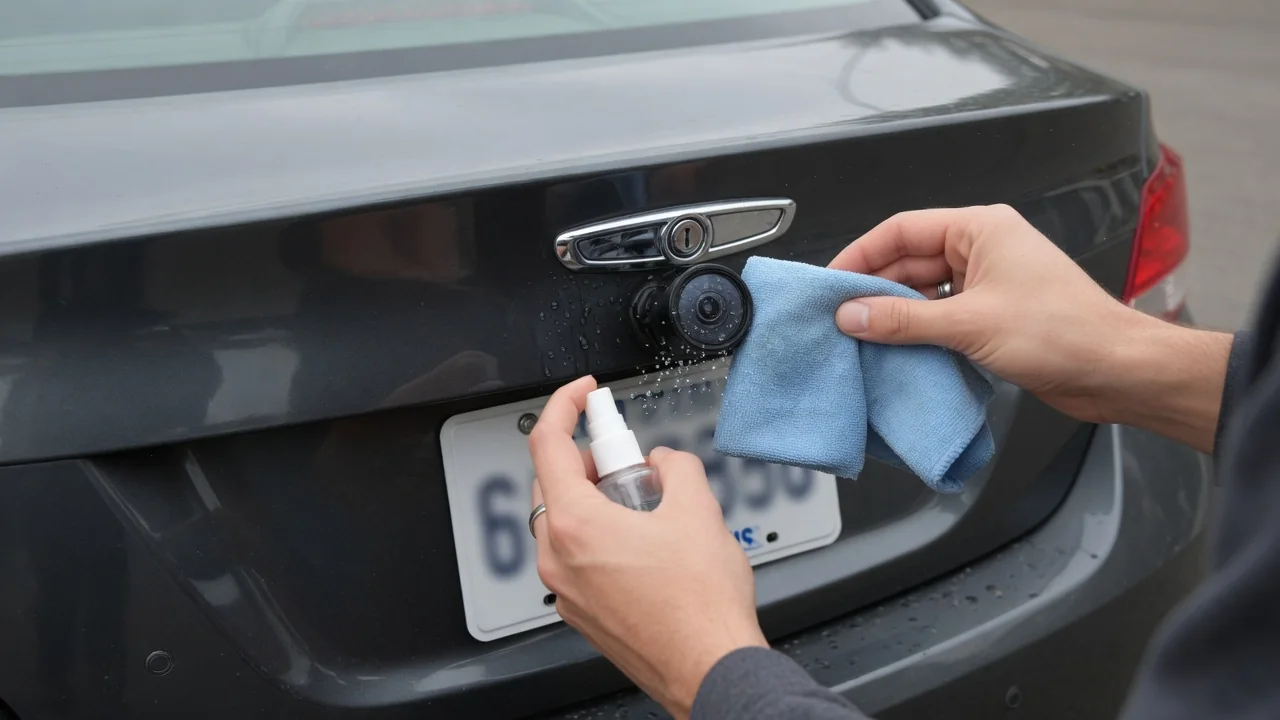
A backup camera sits low on the rear of the vehicle, right where road spray, dust and salt collect. Learning how to clean a rearview camera lens without scratching it comes down to one principle: lift the dirt away rather than rubbing it in. A little patience protects the small lens cover and keeps the screen image sharp when you reverse.
Remove grit
Most scratches on a camera lens come from dry wiping. Road film contains fine sand, brake dust and winter salt crystals, and dragging a thumb or sleeve across the lens pushes those hard particles over the surface like sandpaper. Many lens covers are plastic or have a thin coating, so they mark more easily than windshield glass. Before anything touches the lens, the loose grit needs to be floated off with liquid so there is nothing abrasive left to drag around.
A gentle stream of clean water from a spray bottle or a low-pressure hose is usually enough to loosen the bulk of the dirt. Dried mud or bug residue responds better to soaking for a minute than to pressure or scraping with a fingernail. Camera locations vary, with some tucked above the license plate, some inside a tailgate handle and some behind a badge that pivots open, so look closely at where the lens sits and whether dirt has packed into the surrounding recess.
Soft cloth
Once the grit has been rinsed away, a clean microfiber cloth is the safest thing to touch the lens with. Its fine fibers pull remaining film into the weave instead of sliding it across the surface. Paper towels, shop rags and the corner of a jacket are rougher than they feel and can hold trapped particles from earlier jobs. A cloth kept only for glass and lenses, stored in a sealed bag in the glovebox, stays free of the dirt that causes fine swirl marks.
Dampen the cloth with water or a small amount of mild car wash solution, then wipe with light pressure in one direction rather than scrubbing in circles. Fold to a fresh side for a final dry pass so no water spots are left behind. Strong solvents, abrasive polishes and household cleaners with harsh chemicals can cloud plastic covers or attack coatings and the seal around the housing, so the owner's manual is the best guide to what the manufacturer considers safe for that particular camera.
Check image
The screen tells you whether the cleaning worked. With the vehicle safely parked and the parking brake set, select reverse or open the camera view and look at the picture on the display. A clean lens gives crisp edges on parking lines, curbs and nearby objects, with even brightness across the frame. A hazy patch, a soft blur in one corner or a streak that flares under light usually means a film or water mark is still sitting on the lens.
It helps to check in different lighting, because a smear that is invisible at noon can turn headlights and streetlamps into starbursts at night. Compare the camera picture with what you can see through the mirrors to judge whether detail is genuinely missing. If the image stays cloudy after a careful wipe, look at the lens itself from an angle. Fine scratches, a milky cover or droplets visible behind the surface point to something that cleaning alone will not change.
Everyday Use and Observations
How quickly the lens gets dirty depends on the vehicle shape and the conditions it is driven in. Hatchbacks, wagons, SUVs and vans tend to pull road spray up the rear panel, so their cameras can film over after a single wet highway trip, while a sedan's trunk-mounted camera may stay clearer for longer. Gravel roads, winter salt and pollen season all speed things up. A quick glance at the lens when fueling up or loading the trunk catches buildup early.
Some vehicles have a built-in camera washer or a lens that retracts behind a cover, and those systems reduce how often hand cleaning is needed without replacing it. Automatic car washes remove much of the grime, though drying agents and wax can leave a thin film that softens the picture. In freezing weather, let frost or ice melt with the vehicle's warmth or lukewarm water rather than scraping it, because an ice scraper will gouge a small lens very easily.
Limits and Next Steps
Cleaning only fixes what is sitting on the outside of the lens. Scratches already cut into the cover, a coating that has gone cloudy with age and sun exposure, or moisture trapped inside the housing will keep the picture soft no matter how carefully the surface is wiped. Polishing compounds are sometimes suggested for hazy plastic, but they remove material and can make a coated lens worse, so that decision is better made with advice specific to the vehicle than by trial on the only camera you have.
A picture that flickers, goes black, shows a blue or no-signal screen, or loses its guidelines is an electrical or software matter rather than a dirt problem, and a technician can check wiring, connectors and the camera unit itself. Keep in mind that even a perfectly clean camera has a limited field of view and can distort distance, so it supplements mirrors and a direct look behind the vehicle. If image quality declines steadily despite regular gentle cleaning, having the camera inspected is the sensible next step.