How to Clean Car Door Jambs
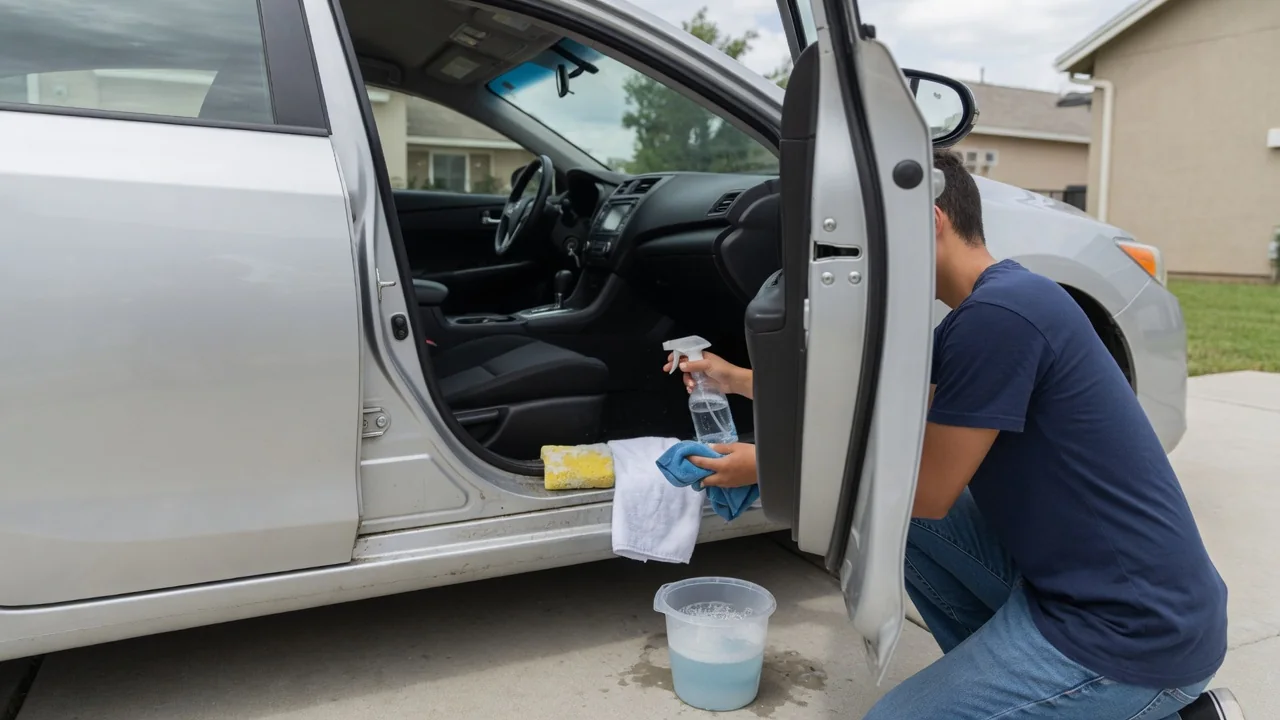
Door jambs collect road film, grease, and grit that a normal wash never reaches, yet these painted edges sit right beside hinges, wiring, and rubber seals. Learning how to clean car door jambs means working with less water, softer tools, and more patience than you would use on exterior panels, so the hidden surfaces come out clean without creating new problems.
Remove grit
Jamb dirt is rarely just dust. Tires throw sand and road salt into the lower sill, while the hinge area holds dark grease that traps abrasive particles. Wiping this mixture dry drags it across thin paint, leaving fine scratches that show clearly when the door is open. Start by loosening it instead: a soft detailing brush and a light mist of diluted all-purpose cleaner or rinseless wash solution lift the particles so they can be carried away rather than ground into the finish.
Work from the top of the opening downward, because the upper jamb is usually only dusty while the sill and lower corners hold the heaviest buildup. Fold a microfiber towel into sections and switch to a clean face as soon as one turns gray. Look closely at seams, drain holes at the door bottom, and the recess around the striker, where compacted dirt hides. Some vehicles have plastic sill plates or painted scuff areas with textured surfaces that need a brush rather than a towel to release embedded grit.
Protect electrical areas
A door opening holds more electrical hardware than most people expect. A rubber boot between the door and body carries the wiring harness for windows, locks, and speakers, and many vehicles add door-ajar switches, latch sensors, courtesy lights, or speaker openings close to the jamb. These parts are built to tolerate rain and humidity, not a concentrated stream aimed straight at them. A pressure washer or open hose can push water past the boot or into a connector, where it may sit and encourage corrosion.
Controlled moisture is the safer approach. Spray cleaner onto the brush or towel rather than onto the vehicle when working near the harness boot, latch, and switches, and keep any rinsing to a gentle mist or a damp towel. Layouts differ widely: some cars place fuse panels or control modules behind trim at the end of the dash, visible only with the door open, and vehicles with powered or sliding doors have additional contacts and tracks. A quick look before starting shows which zones deserve the lightest touch.
Dry seals
Weatherstripping is the part of the jamb most often left wet. The rubber seals around the door and the body opening have folds and hollow sections that hold water long after the paint looks dry. Trapped moisture can leave streaks down the sill the next time the door closes, contribute to musty odors, and in freezing weather let the seal stick to the body. Blot the seals with a dry microfiber towel, pressing into the folds rather than pulling along the rubber, which can stretch or dislodge it.
Pay attention to the lower corners and the bottom edge of the door, where runoff collects and drain holes need to stay open. If water beads out of a seam when you press near it, keep blotting until it stops. Leaving the doors open for a few minutes in a shaded, ventilated spot helps the remaining moisture evaporate. Once the rubber is dry, a conditioner made for weatherstripping can keep it supple, though product suitability depends on the seal material, so the owner's manual is worth checking first.
Everyday Use and Observations
How quickly jambs get dirty depends on how the vehicle is used. A commuter car on clean pavement may only gather light dust and a few shoe scuffs on the sill, while a truck driven on gravel or salted winter roads packs the lower jamb with gritty paste in a matter of weeks. Rear doors on family vehicles often show more scuffing from shoes and cargo. Wiping the jambs lightly during a regular wash keeps buildup from hardening, which makes each cleaning faster and gentler on the paint.
Clean jambs also make it easier to notice changes. With the grime gone, you can see whether paint is chipped along the sill edge, whether a seal has a tear or flattened section, and whether the hinge grease looks dry or contaminated. Water trails appearing inside the opening after rain may suggest a seal that is no longer seating well. Avoid stripping lubricant from hinges and the latch while cleaning; if grease is removed, the manufacturer's guidance indicates what type belongs there.
Limits and Next Steps
Cleaning has limits, and jambs reveal them clearly. Brown staining that returns after wiping, bubbling paint along a seam, or flaking near the lower corners points toward corrosion rather than dirt, and scrubbing harder will not fix it and may break the surrounding paint. Paint in these areas is often thinner than on exterior panels, so aggressive solvents, stiff brushes, and abrasive polishes carry more risk here. Stickers showing tire pressure and vehicle identification information also live in the jamb and can be damaged by strong cleaners.
If rust, damaged seals, or loose wiring boots show up, a body shop or qualified technician can judge whether repair is needed before moisture spreads the problem. A window, lock, or warning light that behaves differently after cleaning deserves prompt attention rather than a wait-and-see approach, since moisture in a connector does not always dry out on its own. For jambs in good condition, a thin layer of spray sealant or wax on the painted surfaces helps future dirt release easily, keeping the next cleaning short and low on water.