How to Clean Car Seat Stitching
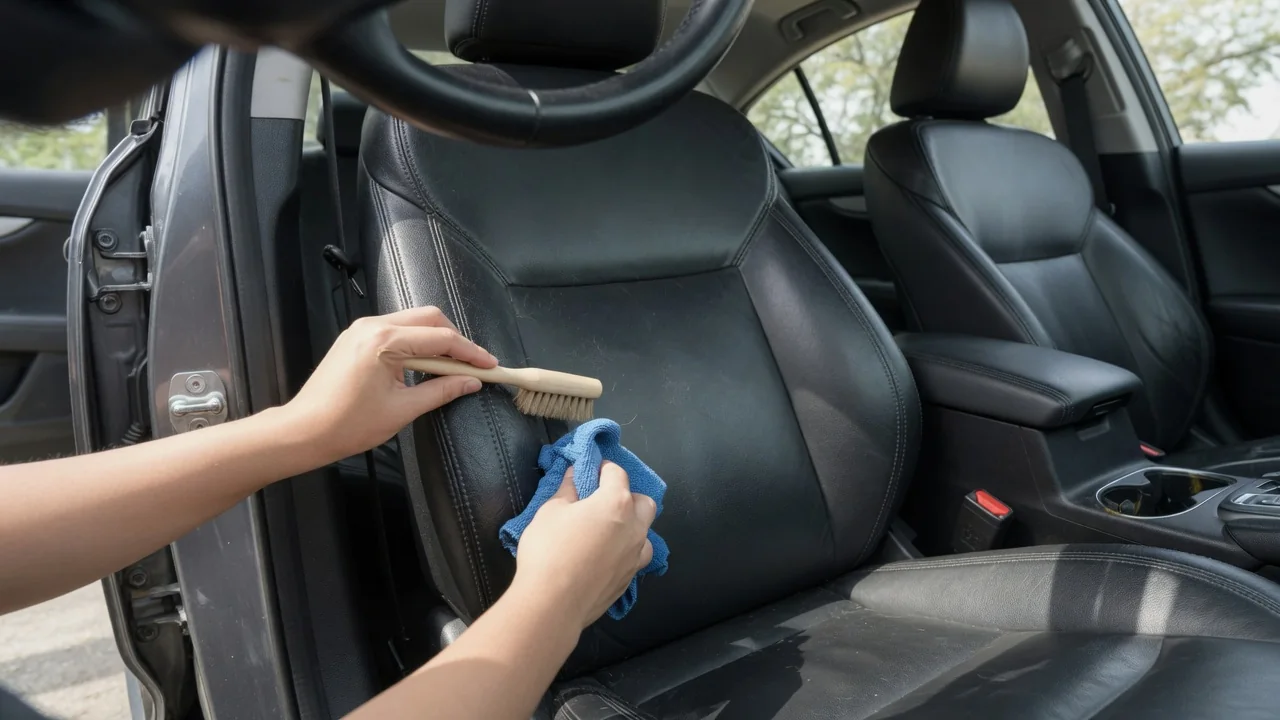
Seat seams collect more grime than the panels around them, because thread sits in a recessed channel that traps dust, body oils, and crumbs. Learning how to clean car seat stitching comes down to low-moisture detail cleaning: loosening dry soil first, wiping with a barely damp cloth, and drying thoroughly so the thread, foam, and any perforations or seat electronics stay protected.
Brush debris
Dry soil is the first thing to remove, because grit left in a seam turns into muddy paste the moment any cleaner touches it. A soft-bristled detailing brush, such as one made with horsehair or fine synthetic fibers, can be worked along the stitch line in short strokes that follow the thread direction. Holding a vacuum nozzle just ahead of the brush captures what lifts out, so sand, crumbs, and pet hair leave the seat rather than settling deeper into the next seam or the gap beside the seat belt buckle.
What comes out tells you a good deal about the seam. Light gray dust usually releases easily, while dark lines that remain after brushing are typically oils and dye transfer bonded to the thread. Seat construction changes the approach: contrast stitching on leather sits proud of the surface and is easy to reach, whereas cloth upholstery, piped edges, and quilted or perforated inserts hide debris in folds. Gently spreading a seam with your fingers exposes the channel without straining the thread or the needle holes around it.
Gentle wipe
Once loose debris is gone, the remaining film responds to a lightly dampened microfiber cloth rather than a soaked one. Applying a mild, material-appropriate interior cleaner to the cloth or brush, instead of spraying the seat directly, keeps liquid from running through needle holes into the foam beneath. Folding the cloth over a fingertip and drawing it along the seam lifts body oils and dried spills, and a few light passes with a fresh section of cloth generally do more than one heavy pass with pressure.
Watch the cloth as you work. Gray or brown transfer shows soil is lifting, while color that matches the thread or the seat surface suggests dye is moving and the product or pressure is too aggressive. Testing in a hidden spot, such as the lower side of the cushion, is sensible because coated leather, synthetic leather, suede-like microfiber, and woven cloth react differently. Light-colored thread on dark seats shows improvement quickly, yet it also reveals fuzzing if the fibers are scrubbed across rather than along the stitch.
Dry
Drying matters as much as cleaning, since moisture held in a seam can wick into padding and leave a tide line or musty odor days later. Blotting with a dry microfiber towel immediately after wiping pulls residual cleaner and loosened soil out of the thread. Pressing straight down and lifting, rather than rubbing, avoids roughening the fibers. Leaving doors or windows open in a shaded, ventilated spot lets the remaining dampness evaporate, and a fan moving air through the cabin speeds this up without adding heat.
A seam is dry when the thread returns to its original shade and feels the same temperature as the surrounding panel; damp areas usually look darker and feel cool. Intense heat is best avoided, because it can stiffen leather and stress synthetic thread. Seats with heating elements, ventilation fans, occupancy sensors, or side airbags built into the bolster are another reason to keep liquid to a minimum, and the owner's manual for a particular vehicle normally states which cleaning methods the manufacturer accepts for those areas.
Everyday Use and Observations
Stitching soils unevenly, and the pattern reflects how the car is used. The driver's outer bolster picks up abrasion and denim dye from sliding in and out, the seat base seams collect crumbs and sand, and the headrest and upper backrest absorb hair products and skin oils. Rear seats used for child restraints or pets often show compressed debris under the edges of whatever sits on them. Checking these zones during a routine vacuum makes it easier to catch buildup while it is still dry and loose.
Regular light attention reduces the need for deeper cleaning later. A quick pass with a dry brush during interior vacuuming keeps grit from grinding against the thread each time someone sits down, which is a slow source of wear. Climate and habits shift the picture as well: dusty roads, beach trips, sunscreen, and humid conditions each leave different residue. Leather conditioners and protectants can also accumulate in seams as a shiny or waxy line, so wiping away excess product after application helps the stitching stay clean and matte.
Limits and Next Steps
Low-moisture cleaning removes surface soil, but it has limits. Dye transfer that has penetrated thread, ink, long-set stains, and sun-faded stitching may lighten only partly, and continued scrubbing risks fraying before the mark disappears. Thread that is already broken, pulling loose, or separating at a seam is a repair matter rather than a cleaning one. Odors that persist after the surface is clean and dry often indicate that a spill reached the foam, which a seam-level wipe cannot address.
When a stain resists gentle methods, a professional detailer or automotive upholstery shop can assess whether extraction, steam used with care, re-dyeing, or restitching is appropriate for the material. Seams near side airbag deployment zones deserve particular caution, since those are designed to open in a specific way, and repairs there are best left to qualified trim specialists following the vehicle maker's guidance. Noting which products and techniques worked on your seats gives a useful starting point for the next cleaning session.