How to Change Brake Fluid
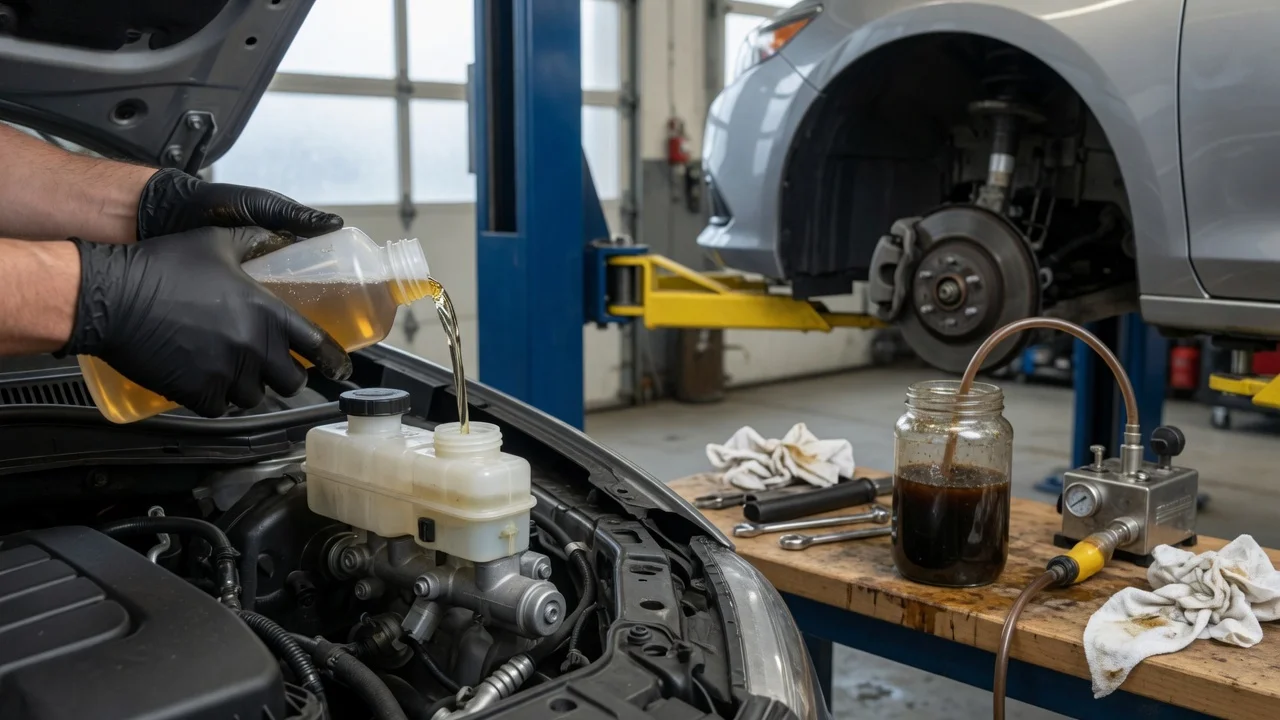
Before you start
A brake fluid change removes old fluid from the hydraulic brake system and replaces it with fresh fluid. This is usually a two-person job because one person works the brake pedal while the other opens and closes the bleeder valve. On many vehicles the work can be done at home with basic hand tools, but some systems require a scan tool or service procedure, so check the vehicle repair information before starting.
Confirm which brake fluid specification the vehicle requires. The type is normally marked on the master cylinder reservoir cap or listed in the owner's manual. Use only that specification and keep the new fluid in a closed container until needed.
Prepare the vehicle on a level surface with the engine off and the transmission in park or gear. Loosen the wheel lug nuts before lifting, support the vehicle on jack stands, and remove the wheel at each corner you will work on.
Collect clean line wrenches or a bleeder wrench in the correct size, a clear bleed hose and catch bottle, fresh brake fluid, a clean rag, and safety glasses. Brake fluid can damage paint, so protect nearby panels and wipe up spills immediately.
Step-by-step instructions
1) Clean the area around the master cylinder reservoir cap before opening it. Top up the reservoir with fresh fluid and leave the cap loose during the procedure.
2) Begin at the brake farthest from the master cylinder. The usual order is right rear, left rear, right front, then left front, but follow the sequence listed for your vehicle.
3) Place the clear hose over the bleeder valve and put the other end into a partially filled catch bottle. The hose end should stay below the fluid level to help prevent air from being drawn back in.
4) Have the second person press the brake pedal slowly and hold steady pressure. Open the bleeder valve slightly so fluid moves through the hose, then close the valve before the helper releases the pedal.
5) Repeat the press, hold, open, close, and release cycle at that corner until the fluid coming through the hose looks clean and free of air bubbles. Check the master cylinder level often and keep it topped up so it never runs low.
6) Close the bleeder valve to the specified torque, move to the next wheel in the correct sequence, and repeat the process.
7) After the final corner, top the reservoir to the maximum mark, install the cap, and press the brake pedal. The pedal should feel firm rather than soft or spongy.
Check the output
Confirm that the reservoir is at the full level and that the bleeder valves are closed and dry. With the vehicle still supported, have a helper press the pedal while you inspect each bleeder and brake line connection for leaks.
A successful brake fluid replacement should produce a firm pedal, clean fluid at each bleeder, and no wetness around the valves or hoses. Brake feel can vary between vehicles, so compare the result with the normal pedal response for that model rather than expecting one universal measurement.
Reinstall the wheels, lower the vehicle, and tighten the lug nuts to the correct torque. Before driving, test the brakes at low speed in a clear area.
Common problems and next steps
A soft or spongy pedal after the fluid change usually means air remains in the system. Repeat the bleeding sequence and make sure the catch hose stays submerged and the bleeder is closed before the pedal is released.
If a bleeder valve is seized or breaks, stop before forcing it. Heat or penetrating fluid may damage nearby seals, so a replacement caliper or wheel cylinder is often the practical repair.
Use fresh fluid from an unopened container. Brake fluid absorbs moisture over time, and opened or old fluid may not perform as well as the vehicle specification requires.
If the pedal remains inconsistent or the system does not respond as expected, have the brake system inspected by a qualified technician before continuing to drive.