Brake Fluid Change: Replacement Procedure and Service Timing
The Short Answer
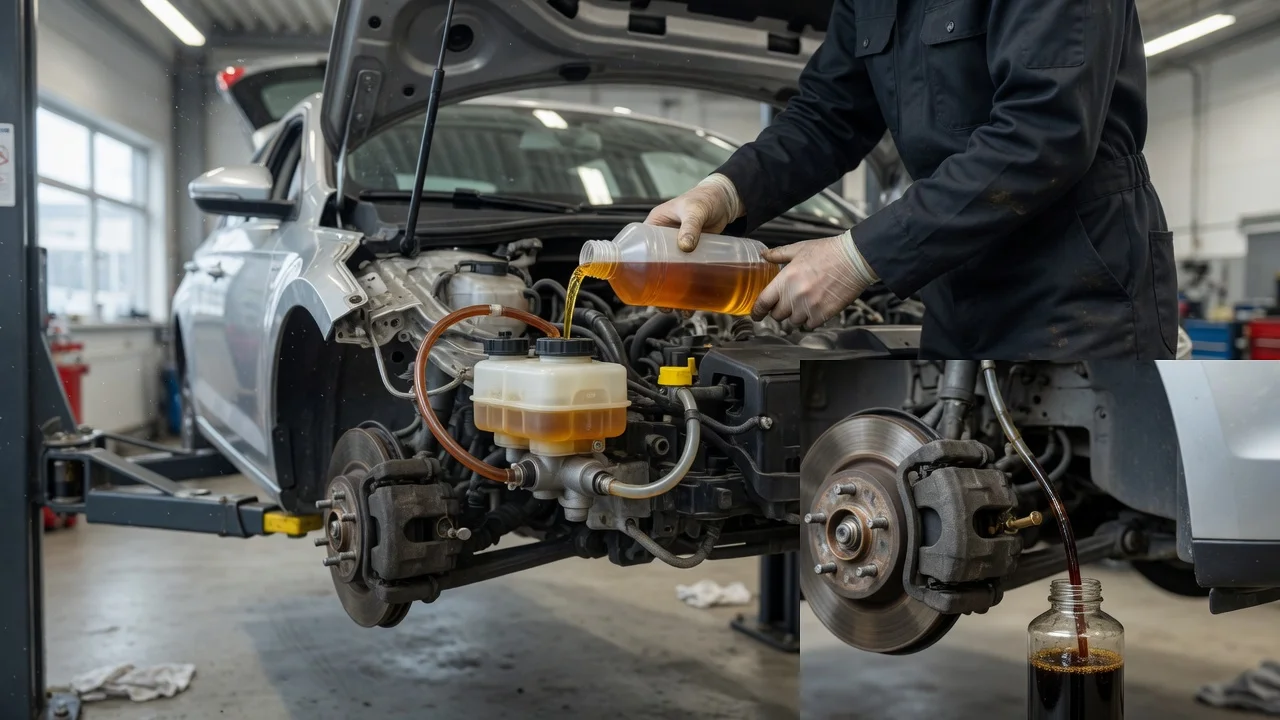
A brake fluid change replaces the old fluid in a car's hydraulic brake system with fresh fluid of the type the manufacturer specifies. The usual method is to bleed the fluid out through the bleeder valve at each wheel while the reservoir is kept topped up with new fluid. The manufacturer's maintenance schedule sets the timing, which is often based on elapsed time rather than mileage alone, because brake fluid degrades even when a car is driven very little. The interval, fluid specification and procedure all vary by make, model, model year, market and brake system design, so the owner's manual or factory service information is the deciding source.
This guide covers conventional hydraulic brake systems on passenger vehicles. Some vehicles need extra steps or a diagnostic scan tool to replace the fluid correctly. These include cars whose ABS (anti-lock braking system) or stability control module must be cycled during bleeding, and electro-hydraulic brake systems, which are common on hybrids and electric vehicles. Those cases are noted at the steps they affect.
Why Brake Fluid Needs Replacing
Most brake fluids sold under the DOT 3, DOT 4 and DOT 5.1 designations are glycol-based and hygroscopic, which means they absorb moisture from the air over time. Absorbed water lowers the fluid's boiling point. Under hard or prolonged braking, that can produce vapor in the lines, which shows up as a soft or sinking pedal. Moisture also encourages corrosion inside brake components. DOT 5 is silicone-based and must not be mixed with glycol-based fluids, so the correct type matters as much as the change itself.
When to Change Brake Fluid
Follow the interval in your vehicle's maintenance schedule. No interval data was supplied for this article, so no specific figure is given here. Schedules can differ between model years and markets for the same nameplate, so check the schedule that applies to your exact vehicle.
Several situations outside the schedule can justify an inspection or a fluid change:
A spongy or soft pedal feel that is not explained by a leak or worn components; A failed moisture or boiling-point test (shops use test strips or electronic testers; fluid color alone is not a reliable measure); Repairs that opened the hydraulic system, such as replacing a caliper, hose or master cylinder; Uncertain service history on a used vehicle
A falling fluid level is a different problem. It usually points to brake pad wear or a leak, and it should be diagnosed rather than simply topped up or treated as a reason for a fluid change.
What to Confirm for Your Vehicle First
The specifications below are vehicle-specific and were not supplied for this article. Get each one from the manufacturer's documentation before starting.
Item | Why it matters | Where to find it; Fluid specification (DOT grade or manufacturer standard) | Wrong or mixed fluid can harm seals and braking performance | Owner's manual, reservoir cap, service information; Service interval | Determines when the change is due | Maintenance schedule for your model year and market; Bleeding sequence | The order of wheels affects how completely air and old fluid are purged | Factory service procedure; ABS or electro-hydraulic requirements | Some systems need a scan tool, a service mode or a powered-down state | Factory service procedure; Bleeder screw torque | Bleeders are small and can snap or leak if tightened incorrectly | Service information; Wheel lug nut torque | Incorrect torque can loosen wheels or damage components | Owner's manual or service information; Shared clutch reservoir | Manual-transmission cars may need the clutch hydraulics bled too | Service information
Tools and Supplies
Fresh brake fluid of the specified type, in sealed containers (enough for a full flush plus spare); Box-end or flare-nut wrench that fits the bleeder screws; Clear tubing that fits snugly over the bleeder nipple, and a catch bottle; Syringe or suction tool for removing old fluid from the reservoir; Jack and rated jack stands (or a lift), plus wheel chocks; Lug wrench and torque wrench; Nitrile gloves, eye protection, rags and water for spills; A helper to work the pedal, or a one-person or pressure bleeding kit; Diagnostic scan tool, if the service procedure calls for one
General Precautions
Glycol-based brake fluid damages paint. Rinse any spills promptly with water. Brake fluid is toxic. Keep it away from skin and eyes, and dispose of old fluid according to local hazardous-waste rules. Never reuse fluid drained from the system. Keep fluid containers sealed until use, because open fluid absorbs moisture. Brakes are safety-critical. If any step is unclear, or your vehicle needs equipment you don't have, have a qualified technician do the job.
Step-by-Step Brake Fluid Replacement
1) Prepare the vehicle. Park on level ground, set the parking brake if the procedure allows, chock the wheels and switch the vehicle off. Some electro-hydraulic systems can pressurize when a door opens or the ignition is switched on. Follow the manufacturer's steps for disabling or entering service mode before opening any part of the system. 2) Remove old fluid from the reservoir. Clean around the reservoir cap so dirt cannot fall in. Draw out as much old fluid as practical with a syringe. Refill to the maximum mark with fresh fluid. 3) Raise and support the vehicle. Lift it with a jack and support it on jack stands; never work under a vehicle held only by a jack. Remove the wheels if you need them off to reach the bleeders. 4) Confirm the bleeding sequence. Use the order given in the service procedure. A common approach starts at the wheel farthest from the master cylinder and finishes at the closest, but many ABS-equipped vehicles specify a different order. 5) Set up the first bleeder. Fit the wrench onto the bleeder screw, then push the clear tube over the nipple. Run the other end into the catch bottle, submerged in a little fresh fluid so air cannot be drawn back in. 6) Bleed the fluid. The helper presses the brake pedal and holds it down. Open the bleeder briefly, then close it before the helper releases the pedal. Repeat until the fluid in the tube runs clean and free of bubbles. If you use a pressure or vacuum bleeder, follow that tool's instructions and any pressure limits in the service information. 7) Keep the reservoir topped up. Check the level after every few pedal strokes. If the reservoir drops below the minimum mark, air can enter the master cylinder and the job becomes much harder. 8) Close and tighten the bleeder. Tighten it to the specified torque, remove the tube and wipe away any fluid. Repeat steps 5 to 8 at each remaining wheel in sequence. 9) Complete any system-specific steps. If the procedure requires cycling the ABS unit with a scan tool, or bleeding a clutch that shares the reservoir, do it now as directed. Without a scan tool, stop here and have a shop finish any scan-tool steps. 10) Set the final fluid level. Fill the reservoir to the correct level, refit the cap securely and clean any spills. 11) Refit the wheels. Install the wheels, lower the vehicle and tighten the lug nuts to the specified torque.
Completion Check
With the engine running if the manual calls for it, the brake pedal feels firm and consistent and does not slowly sink under steady pressure. No fluid seeps from any bleeder screw or fitting. The reservoir level sits at the correct mark and the cap is secure. No brake, ABS or stability control warning lights stay on. A slow test in a safe, open area confirms normal braking before the vehicle returns to regular use.
If the pedal is soft, sinks, or a warning light remains on, do not drive the vehicle. Air may still be in the system, or a component may need attention. Re-bleed according to the service procedure, or have the vehicle inspected professionally.
DIY or Professional Service?
Editorial assessment: on a vehicle with a conventional hydraulic system and a straightforward bleeding procedure, an owner with basic tools, a helper and the correct service information can usually replace brake fluid. A professional is the better choice if the vehicle needs a scan tool to cycle the ABS unit, uses an electro-hydraulic brake system, has seized or damaged bleeder screws, or if you are unsure of any step. Mistakes in brake work directly affect stopping ability.