Brake Fluid Flush Kits and Tools: Choosing Equipment for a Fluid Change
Before you start
Brake fluid flush kits are mechanical maintenance tools used around the brake hydraulic system. They do not connect to a camera, microphone, video call, or image tool, and there is no software setup. A flush is a hands-on vehicle service that happens at the vehicle, usually with the wheel removed for access to the bleeder valve. If you are only documenting the process, position the vehicle in a stable work area and mount the camera so the bleeder valve, drain hose, and fluid container are visible without placing the camera where brake fluid could drip onto it. Brake fluid is corrosive to paint and can damage plastics, so keep recording equipment away from the fill reservoir, catch bottle, and wrench swing area. Read the brake fluid type specified for the vehicle before selecting the kit because compatibility depends on the fluid specification rather than only on the tool fitting.
Step-by-step instructions
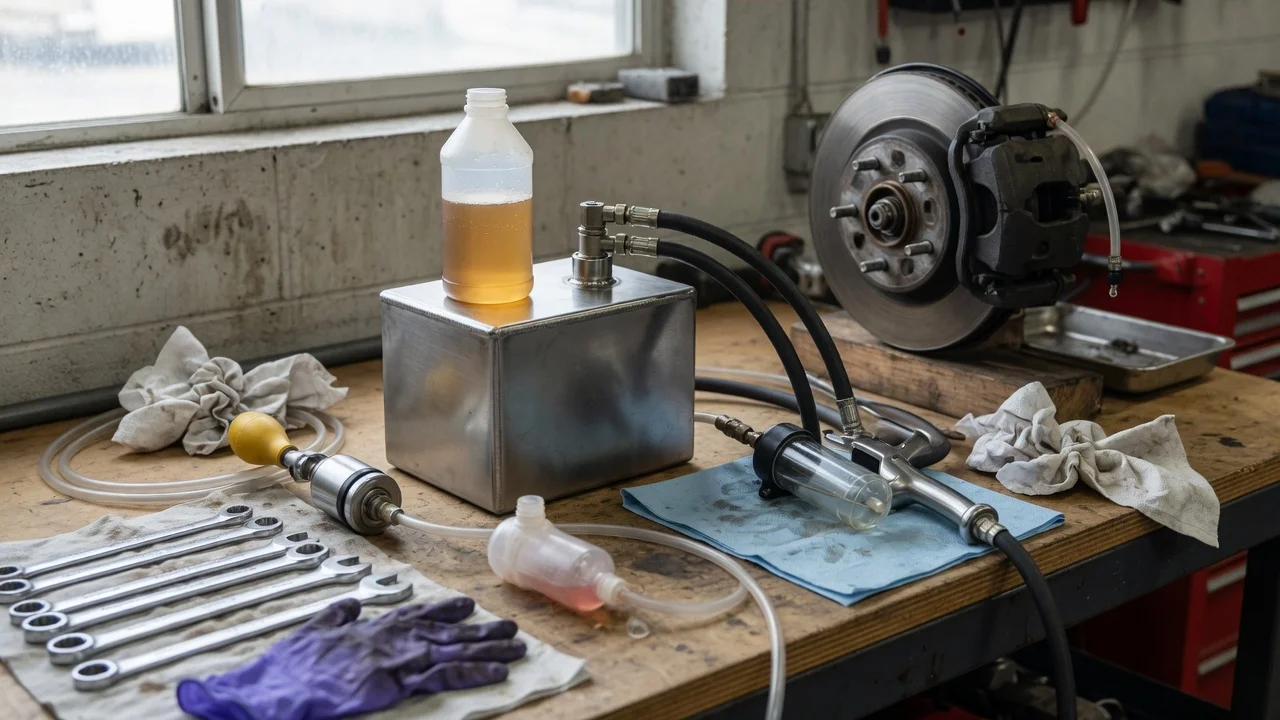
A brake fluid flush tool pressurizes or draws fluid through the system so fresh fluid replaces old fluid without allowing air to enter. There are three common styles: a pressure bleeder that attaches at the master cylinder reservoir, a vacuum bleeder that pulls fluid from the bleeder screw, and a gravity or manual setup that uses a drain bottle and repeated pedal operation. This article covers how to choose and handle the equipment; a complete vehicle procedure should follow the vehicle manufacturer's bleed sequence. For recording a service video, concentrate on a single clear view of the tool connection and the fluid movement rather than trying to capture every step.
Start by choosing a brake fluid change kit that matches the master cylinder adapter style for your vehicle. Many pressure-style kits include a set of adapter caps, while some vehicles require a specific cap that is sold separately. Confirm the cap seals before adding fluid. Then select a drain container with a transparent section so you can see whether the fluid is moving and whether air bubbles are present. A flexible drain hose should fit snugly over the bleeder nipple; a loose hose can let fluid spray near the brake components or recording equipment.
If the equipment uses a pressure source, set it no higher than the pressure stated in the tool and vehicle instructions. Do not use unregulated shop air unless the tool is designed for it. Check the reservoir level after each wheel because the tool can empty the reservoir quickly if the fill bottle runs low. When the flush is finished, close each bleeder valve to the manufacturer's torque value, remove the adapter carefully, and restore the reservoir to the correct level. Wipe or rinse spilled fluid from painted surfaces as directed by the brake fluid container.
Check the output
Confirm that the fluid leaving each bleeder looks clean and has no visible air bubbles. Color is not a reliable fluid-age test by itself, but a change from dark or cloudy fluid to fresh fluid is a practical sign that the line has been flushed. Brake fluid absorbs moisture over time, so do not judge the result only by color or clarity. The main limit of a basic flush kit is that it does not measure the boiling point or moisture content of the fluid. A separate brake fluid tester or laboratory test would be needed for that measurement; the flush tool only moves fluid through the system.
After the flush, check that the pedal is firm and the system holds pressure. A soft pedal means the job is not complete and may indicate trapped air, a leak, or a bleeder that was not fully closed. Verify that no brake fluid is weeping around the master cylinder cap, bleeder screws, or drain connections. Close and store the fluid container tightly because opened brake fluid has a limited service life. Do not reuse fluid that has been drained from the system unless the container and the fluid manufacturer specifically support that practice, and do not record drainage in an area where fumes or splash could reach a camera lens.
Common problems and next steps
A brake flush kit is primarily affected by the bleeder screw condition and the master cylinder adapter fit. If no fluid flows, check for a closed bleeder, a kinked hose, an empty pressure tank, or a cap that is not sealing. If fluid is moving very slowly, the bleeder may be partly blocked or the hose may be too large for the nipple. Air entering around an adapter cap can also make the stream look bubbly at the drain container, so confirm that the bubbles are present only at the bleeder before deciding that the system needs another pass.
Brake systems on some vehicles require an electronic service procedure to retract the caliper or cycle an anti-lock brake pump. A mechanical flush tool alone may not cover those vehicles. If the vehicle has a specific sequence or tool requirement, follow that process rather than treating the kit as a universal solution. Before disposing of the old fluid, check local rules for hazardous fluid collection. Keep the drain container upright and sealed, and label it clearly. If you are recording the job, create a short visible check at the end showing the closed bleeder and a clean wiped area, but keep the camera away from any location where a leak could still develop.