Exhaust Clamps: Choosing the Correct Connection Hardware
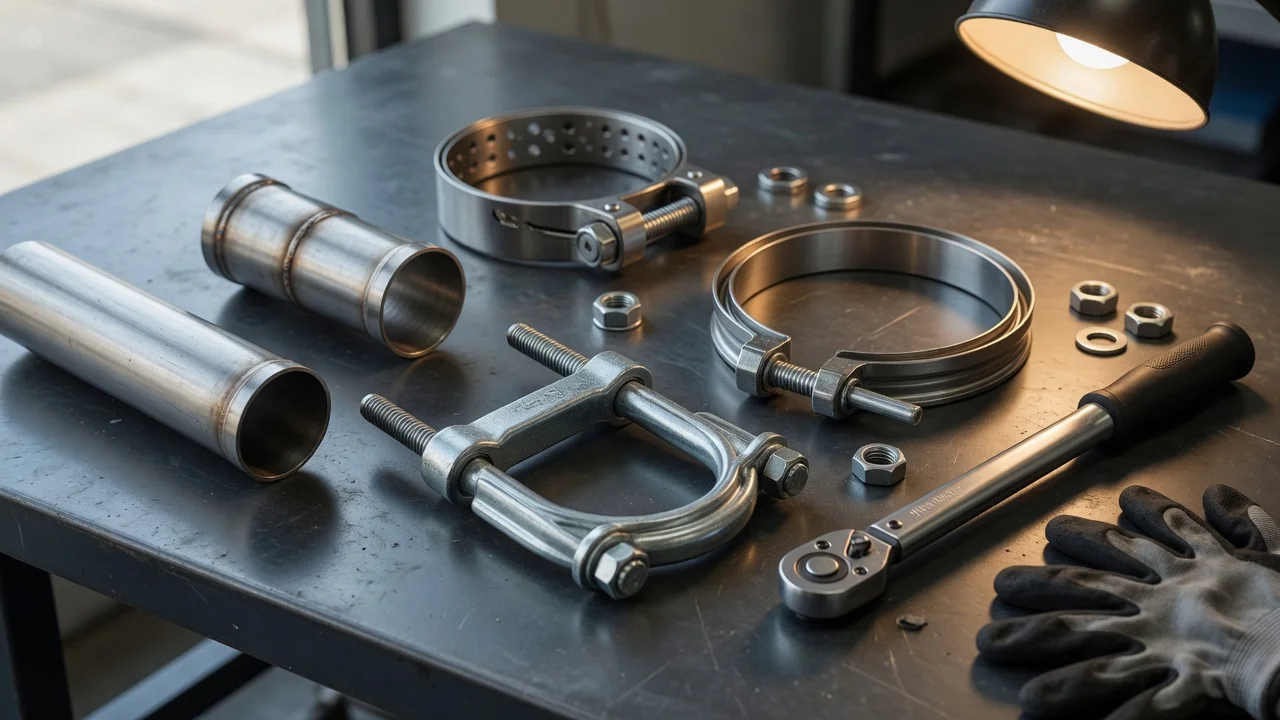
Choose an exhaust clamp that matches the connection design and the pipe’s outside diameter. A clamp for overlapping pipes is not automatically suitable for two pipe ends that meet without overlapping. If the exhaust uses a flange or a formed coupling, buy hardware intended for that connection. A clamp alone may not fix a leak caused by damaged pipe, poor alignment or a failed gasket.
Identify the connection before choosing a clamp
A slip joint has one pipe fitted inside another. It needs a clamp designed for that overlap and its diameter change. A lap-joint band clamp is shaped for this arrangement. A U-bolt clamp may also be specified for a slip joint, but its suitability depends on the exhaust component’s installation requirements.
A butt joint has two pipe ends meeting without an overlap. A butt-joint band clamp spans that connection and is intended for compatible pipes of the same outside diameter. Do not substitute a lap-joint clamp simply because its listed diameter appears correct.
Flanged connections use matching faces, fasteners and, where specified, a gasket. V-band connections use a shaped clamp around matching flanges. These connections require hardware that matches their particular geometry; a general pipe clamp is not a direct replacement.
Check size and application details
Confirm the outside diameter at the actual clamping location, then check how the clamp manufacturer defines its listed size. On an overlapping connection, the expanded outer pipe differs from the pipe fitted inside it. Do not assume a nominal exhaust size describes every surface the clamp must fit.
For a vehicle-specific replacement, verify the model year, market, trim, engine and relevant exhaust configuration against the parts listing. An aftermarket or previously repaired exhaust may use different connections from the original system, so inspect what is installed. No vehicle details, pipe measurements or product specifications were supplied here, so an exact clamp size or part number cannot be confirmed.
Inspect the pipe and allow for future removal
Check the joint for corrosion, cracks, distortion and enough sound pipe for the clamp to engage as intended. A clamp tightened over weakened metal can damage it further. If the pipe is badly deteriorated or the connection no longer fits correctly, repairing or replacing the affected section may be necessary.
Consider whether the exhaust will need to come apart later. U-bolt clamps can indent the pipe and make separation harder. A suitable band clamp spreads its load over a wider area, which can help preserve the connection for later removal. That benefit does not override the need to match the clamp to the joint.
Check material, clearance and the full installation cost
Check the specified material of the clamp, bolts and nuts, especially where road salt and moisture are concerns. A stainless steel band does not establish that every supplied fastener is stainless steel. Choose hardware intended for exhaust service and follow any material requirements from the exhaust manufacturer.
Confirm that the clamp body and fasteners have room around nearby components and that tools can reach them. The pipes should align correctly and the exhaust should have proper hanger support; tightening a clamp should not be used to pull a poorly fitting assembly into place.
Compare the complete installation cost, including required gaskets, replacement fasteners, pipe repairs and labor for removing seized hardware. Check what each clamp package includes. No market, date, currency or price evidence was supplied, so a purchase price or installation estimate cannot be established.
Follow the installation specification
Use the clamp or exhaust manufacturer’s instructions for positioning, tightening sequence and torque. There is no single torque setting suitable for every exhaust clamp. Use sealant only where the connection instructions specify it, and follow any requirement to recheck the fasteners after use.
Work with the exhaust cool and the vehicle securely supported. After installation, check that the system is supported, has adequate clearance and does not leak at the repaired joint. If a correctly fitted clamp does not seal, inspect the pipe fit, sealing surfaces and any required gasket before tightening further.