Choosing OEM Transmission Cooler Lines: Fitment, Features and Real Costs
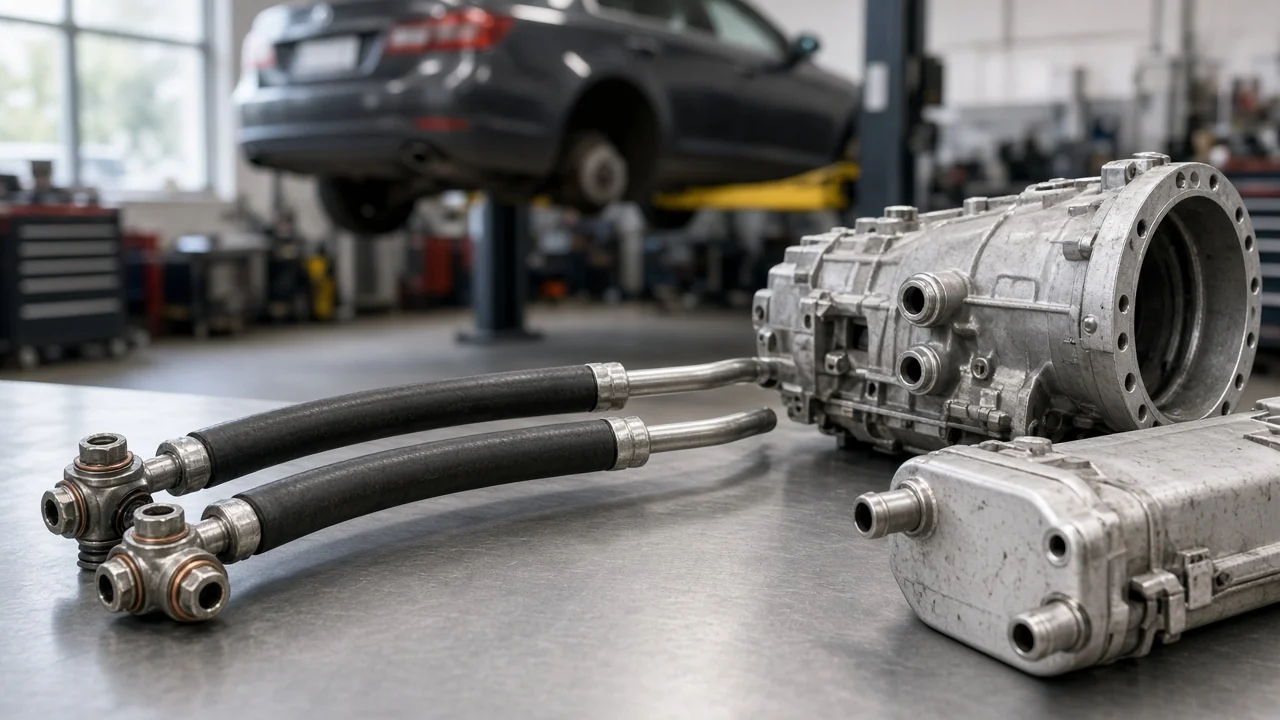
Transmission cooler lines carry automatic transmission or CVT fluid between the gearbox and its cooler, so a poorly fitting or failing line can lead to leaks, low fluid and overheating. Choosing factory-original lines is mostly a fitment exercise. You match the exact vehicle build, transmission type and cooler layout, then weigh price and availability against other repair options. Below is how to confirm the right part, which features matter, and what replacement involves beyond buying the line.
Define the job the product must do
Start with the reason you are shopping. Common triggers include a weeping crimp where a rubber hose section joins the steel tubing, a corroded steel section, a line that has rubbed through against a bracket, or damage during another repair such as radiator or engine work. Before you order anything, confirm where the fluid is actually coming from. Residue near a line can also come from a pan gasket, a seal, the cooler itself or a loose connection above it. Low fluid can change shift behavior, but harsh shifts or slipping do not by themselves prove that a cooler line has failed.
Next, note your practical constraints. Towing, plowing and heavy loads put more demand on the cooling circuit, and vehicles with a factory tow package may have an auxiliary cooler that changes line routing. Also decide whether you will do the work yourself. Access often means removing splash shields and sometimes other components. Consider how long the vehicle can sit while you wait for a part. Review the service history as well. Earlier repairs may have replaced a factory section with generic hose and clamps, so what is on the vehicle now may not match the original design.
Check compatibility
Fitment depends on more than year, make and model. One model can be offered with several transmissions and engines, two-wheel or all-wheel drive, different cab and bed lengths on trucks, and optional towing equipment. Each of these can change line length, bends or end fittings. The most reliable way to identify the part is to look up the vehicle by VIN in an OEM parts catalog or through a dealer parts counter. If the old line carries a stamped or tagged number, compare it as well. Part numbers are sometimes superseded by updated versions, and that is normal rather than a sign of a wrong part.
Then examine the interfaces. Supply and return lines are often sold under separate part numbers. Ends may be quick-connect fittings that snap into the transmission or radiator, threaded flare fittings or other styles. Some quick-connects need a release tool or a fresh retaining clip. Confirm whether the lines run to a cooler built into the radiator, to an auxiliary cooler, or to both. Check whether O-rings, clips and mounting brackets come with the line or must be ordered separately. Finally, confirm the transmission type and its fluid specification in the owner's manual or service information. The line does not determine the fluid, but you will need the correct fluid to refill after the job.
Features that affect the choice
The main advantage of a genuine factory line is that it reproduces the original routing, preformed bends, mounting points and fittings. That usually simplifies installation and lowers the risk of the line contacting exhaust, suspension or steering parts. Replacement options outside the dealer vary widely. Some are direct-fit copies of the original shape, some are made by the original supplier under its own brand, and others are universal kits that require cutting, bending or adapters. Listings use the term OEM loosely. It may mean a genuine factory part, an original-supplier part or simply an OE-style design, so ask the seller which one you are getting.
Pay attention to construction details you can verify. Find out whether the part replaces the whole run or only one section. Check whether hose sections arrive pre-assembled to the steel tubing and whether the tubing has a protective coating, which matters in regions that use road salt. Labels such as heavy-duty or upgraded mean little unless they come with a stated specification. Useful evidence includes a matching part number, clear fitment notes, a list of included hardware, and photos of both ends that you can compare with the line you removed.
Limitations and ownership costs
The line is only part of the job. Expect to lose some fluid when you disconnect it, and budget for the correct fluid, new seals or clips, and possibly clamps and a drain pan. Level-check procedures differ by transmission. Some units have a dipstick. Others use a fill or check plug and require the fluid to be at a specified temperature, which may mean reading temperature with a scan tool. An incorrect level after refilling can cause its own shift problems, so follow the procedure for your specific unit.
A new line also has clear limits. It will not cure internal transmission faults, a leaking or restricted cooler, or a faulty thermal bypass valve on designs that use one. If the transmission has previously failed and shed debris, repair guidance may call for flushing or replacing the cooler and lines so that contamination does not reach a rebuilt unit. If diagnostic codes are stored, record them before the repair, then clear them and recheck after a drive. Codes that return point to further diagnosis rather than confirming the line was the cause.
Genuine parts can cost more than alternatives, and on older vehicles they may be back-ordered or discontinued. In that case the repair options are an original-supplier line, a direct-fit aftermarket line, or a shop repairing the damaged section with hose and fittings rated for transmission fluid and operating temperature. Avoid general-purpose hose that is not rated for this use. Once the new line is installed, inspect it at each fluid service for seepage, rub points and corrosion.
Build a practical shortlist
Before ordering, confirm the transmission type and fluid specification. Use the VIN to get the exact part number for each line you need, supply, return or both. Note whether the vehicle has an auxiliary cooler or a tow package. Record the fitting style at each end, and list the clips, seals and brackets that must be bought separately. Compare the new part's photos with the removed line, especially bend count, length and end fittings.
When comparing candidates, line up a genuine dealer part, an original-supplier part and a direct-fit aftermarket line where one exists. For each, check the part number cross-reference, lead time, price including hardware, and the return policy on special-order items. Prefer sellers who will confirm fitment against your VIN. Finally, plan the installation itself: the fluid quantity and level-check method, any release tools, access steps, and a test drive followed by a leak check once the system has reached operating temperature.