Brake Proportioning Valve Reset Tools: Identifying the Tool You Need
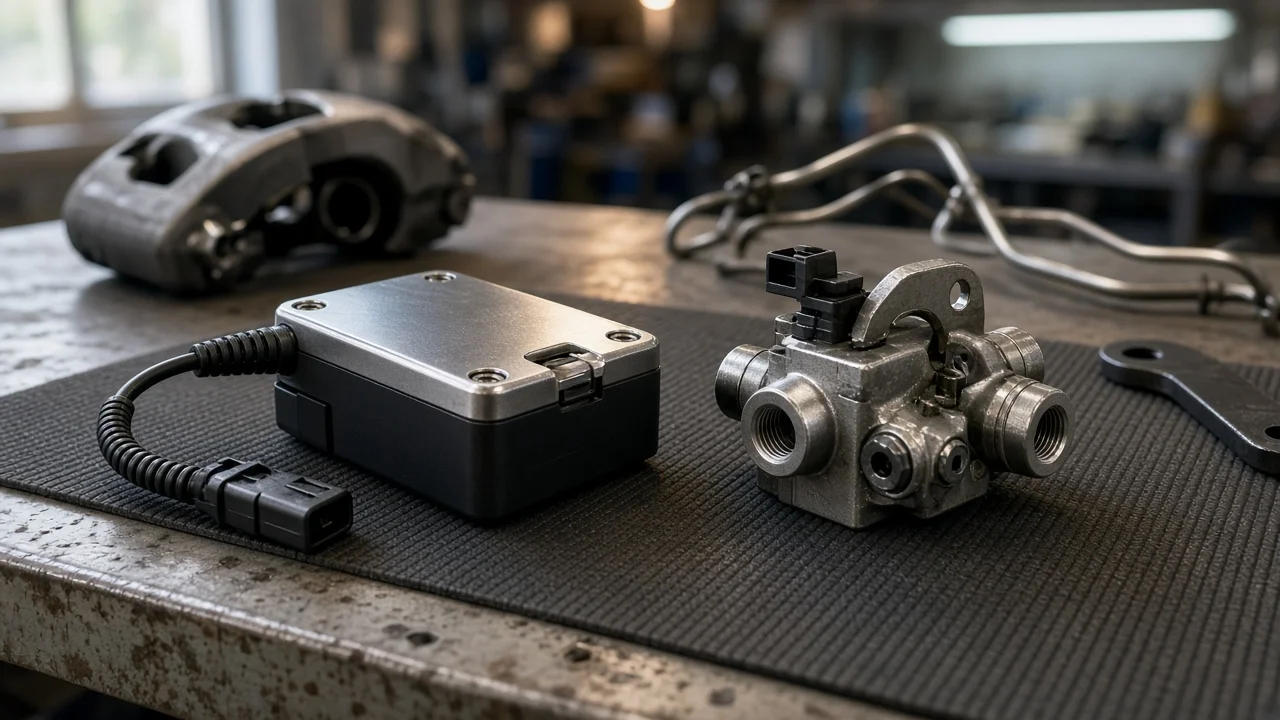
A brake proportioning valve reset tool is a small part of a brake job, but buying the wrong one wastes time and can leave a warning light on or a circuit poorly bled. Most of these tools do one of two things. They hold a metering or combination valve stem in position during pressure bleeding, or they help recenter a pressure differential switch after a hydraulic circuit has been opened. Work out which job your vehicle needs before you compare products.
Define the job the product must do
Many older vehicles with front disc and rear drum brakes route brake fluid through a combination valve near the master cylinder. Depending on its design, the valve can contain up to three sections. A proportioning section limits rear line pressure to reduce rear wheel lockup. A metering section briefly holds back front caliper pressure so the rear shoes engage first. A pressure differential switch lights the dash warning lamp when one hydraulic circuit loses pressure. Sellers use the phrase reset tool loosely for anything that works on this assembly, so the product name alone tells you little.
In practice, the tool serves one of two purposes. A metering valve holder is a clip or bracket that keeps the valve stem pushed in or pulled out while you pressure bleed. It is needed because a tank or pressure bleeder can supply pressure in the range where the metering section blocks flow to the front calipers. The second purpose is centering the warning switch piston. After a line has been opened or a circuit drained, the piston may stay off-center and keep the brake lamp on. Some valves need a centering aid for this, and others need only the correct procedure.
Your bleeding method affects whether you need a tool at all. If you bleed by pedal with a helper and your vehicle has a self-centering switch, you may not need a dedicated tool. A shop that pressure bleeds several older vehicles has a much stronger case for one, and so does a restorer working on a valve that does not self-center. Before shopping, note your vehicle, its brake layout, whether you own a pressure or vacuum bleeder, and how often you expect to do the job.
Check compatibility before you buy
Start with vehicle-specific service information rather than a generic product listing. Year, make, model, brake configuration and option packages all matter, because one model line can use different valves depending on axle type, drum or disc rear brakes, and towing equipment. The service manual's bleeding procedure states three things you need to know. It tells you whether the metering stem must be held, which direction it must be held in, and whether the differential switch recenters on its own. If the manual calls for a holding tool, match the tool to that type and function rather than to a product title.
Vehicles with anti-lock brakes need particular caution. Many use electronic brake force distribution inside the ABS hydraulic unit instead of a separate mechanical proportioning valve. Their bleeding procedure may require a scan tool to cycle the modulator valves, and a mechanical clip does nothing for that system. Load-sensing proportioning valves on many trucks and vans are also a different case. They are linked to the rear suspension and adjusted to a ride-height or linkage specification. They need the manufacturer's adjustment procedure, and sometimes gauges, rather than a reset clip.
For a mechanical holder, check the physical interface. Look at the stem's diameter and shape, and whether the stem sits under a rubber boot. Check whether the tool clips directly to the stem or anchors to a valve mounting bolt, and whether there is clearance around the master cylinder, booster and brake lines. A tool that fits a similar-looking valve may still slip off under pressure. If it does, the metering section can close partway through bleeding and leave air in the front calipers.
Features that affect the choice
How a tool is built matters more than how it looks. A spring steel clip should hold the stem firmly without bending it or tearing the dust boot, and its contact point should be smooth so it does not score the stem. Machined or bracket-style holders can be more secure on valves with limited clearance, but they usually suit fewer applications. A multi-piece kit makes sense for a shop that services a wide range of vehicles. An individual owner usually needs only the one correct piece.
Separate real evidence from marketing labels. A published application list or stem specification from the tool maker is useful information. Phrases such as universal, fits most vehicles or professional grade do not prove fit. OE-style does not mean the part matches the factory tool's dimensions either. Clear instructions that show the correct stem direction are worth more than extra pieces, because a holder installed the wrong way does not do its job. Reviews that name your specific valve or vehicle are more informative than general star ratings.
Limitations and ownership costs
A reset or holding tool only positions the valve. It does not bleed the system, remove air or repair anything. If the warning lamp stays on after the procedure, check other causes before assuming a centering problem. Look at the brake fluid level, the parking brake switch, the differential switch itself and its wiring. A valve that leaks externally, sticks, or gives uneven front-to-rear braking needs diagnosis and usually replacement. Remove the holder after bleeding. If it stays installed, the metering function remains disabled and brake balance can change.
Most of the running cost comes from the work around the tool. You will need fresh brake fluid of the type specified for your vehicle, from a sealed container. You will also need bleeder hoses, a catch bottle, and possibly a master cylinder adapter if you use a pressure bleeder. Brake fluid damages paint and absorbs moisture once the container is opened, so plan quantities and protect painted surfaces. Many owners do this job alongside caliper, brake pad or brake rotor replacement. If you do, measure friction material thickness and rotor dimensions against the manufacturer's wear limits rather than guessing.
The tool itself needs little maintenance. Wipe off any fluid, inspect clips for bending or fatigue, and discard any that no longer grip firmly. It is more important to know when to stop working on the brakes yourself. A low or spongy pedal, a pull to one side, rear wheel lockup, or a red brake warning lamp that will not go out are all reasons to park the vehicle. Have a qualified technician inspect the braking system before you drive it again.
Build a practical shortlist
Before comparing prices, confirm four things in the service information. Find out which valve the vehicle uses and whether it has a metering section. Check whether the stem must be held in or out during pressure bleeding, and whether the differential switch self-centers. Then rule out two kinds of vehicle: those where ABS or electronic brake force distribution replaces the mechanical valve, and those with load-sensing valves that need adjustment instead of a reset tool.
For the remaining candidates, compare a short set of points. The tool should have a stated application list or stem specification that matches your valve. It should grip without marring the stem or boot and fit within your engine bay's clearance. Its instructions should show the correct stem direction, and it should work with the bleeder you already own. A tool that meets those points is a sound choice. Drop any tool that relies on universal-fit claims without details. Whatever you buy, finish the job the same way. Remove the holder, confirm a firm pedal, check that the warning lamp is off, and test the brakes at low speed in a safe area before normal driving.