How to Reset a Brake Proportioning Valve
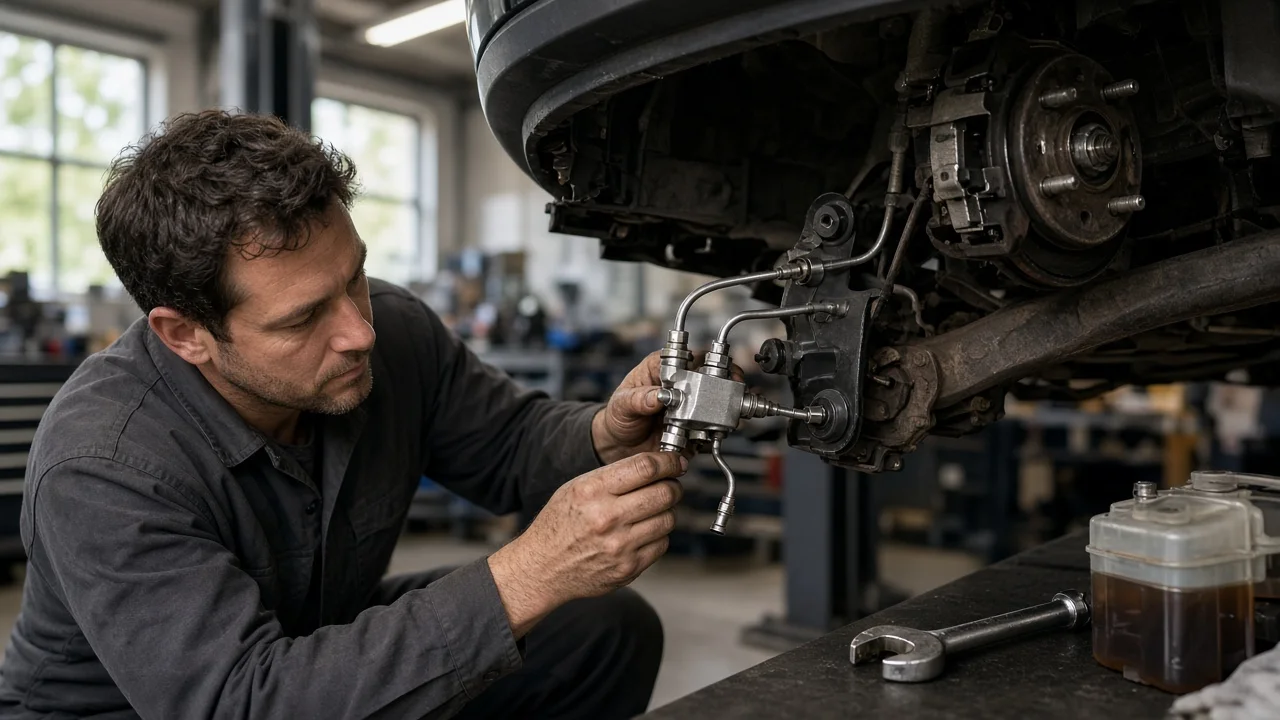
If your brake warning light stayed on after a brake job or bleeding, you may have read that the proportioning valve needs a reset. On most vehicles, the proportioning section itself has nothing to reset. What usually needs attention is the pressure differential switch that shares a housing with it in a combination valve. This guide explains what resetting a brake proportioning valve actually involves, which systems it applies to, and when to stop and get professional help.
The Short Answer
In most cases, a brake proportioning valve reset means recentering the shuttle piston of the pressure differential switch. On many older vehicles, that switch sits in the same combination valve as the proportioning and metering sections. When one hydraulic circuit loses pressure, from a leak or while bleeding, the piston slides toward the low-pressure side and turns on the red brake warning light. On many designs the piston recenters by itself once both circuits have equal pressure again and the pedal is applied a few times. On others it has to be nudged back. You do this by opening a bleeder on the circuit that held pressure and pressing the pedal gently until the light goes out.
A plain proportioning valve has no reset procedure. This applies whether it is built into the combination valve, screwed into the master cylinder, or mounted inline to the rear brakes. It is a spring-calibrated part, and if it fails, it is replaced. Load-sensing valves on some trucks and vans are adjusted rather than reset. Vehicles that use electronic brake force distribution through the ABS module have no mechanical proportioning valve at all.
How the Valve and Warning Switch Work
When you brake hard, weight shifts forward and the rear wheels carry less load. If the rear calipers or wheel cylinders received full line pressure, the rear tires could lock before the fronts and make the vehicle unstable. The proportioning valve passes full pressure up to a set point. Above that point, it reduces how much of the additional pressure reaches the rear as pedal effort climbs. Many vehicles with front discs and rear drums also have a metering section, which does the opposite job at low pressure. It briefly holds back the front brakes so the rear shoes, which must overcome return springs, engage at about the same time.
The pressure differential switch compares the two hydraulic circuits. A small piston sits centered between them, balanced by equal pressure on both ends. If one circuit drops, the piston shifts toward that side and contacts a switch terminal, which completes the warning lamp circuit. That is a useful signal of a real failure. However, bleeding one circuit at a time or opening a line during a caliper or brake rotor replacement can shift the piston too. The light then stays on even though the repair is sound.
What Changes the Answer
Vehicle age and brake layout matter most. Many rear-wheel-drive cars and trucks from roughly the 1970s through the 1990s use a combination valve mounted near the master cylinder with a front and rear split. Some of their switches self-center, while others need the manual method. Many front-wheel-drive cars use a diagonal split, where each circuit feeds one front wheel and the opposite rear wheel. These cars often have separate proportioning valves for each rear line, sometimes threaded into the master cylinder outlets. On some of these designs the warning light is triggered by a reservoir fluid level sensor rather than a differential switch, so there is no piston to recenter.
Load-sensing proportioning valves, common on pickups and vans, connect to the rear axle through a linkage or spring. This lets rear pressure rise as the vehicle is loaded. After suspension work, spring changes, a lift or a valve replacement, the linkage must be set to the manufacturer's specification, often at a specified ride height or with a gauge. Adjustable aftermarket valves used in brake conversions have a knob or lever that changes the front-to-rear split. Turning it is a tuning decision, not a reset. On modern ABS-equipped vehicles, the module manages rear pressure electronically. Bleeding those systems may require a scan tool to cycle the hydraulic unit, and a lit warning light may reflect a stored fault rather than a shifted piston.
Recentering the Warning Switch Piston
Start by confirming the cause. Check the brake fluid level in the reservoir and top up only with the fluid type listed on the cap or in the owner's manual. Make sure the parking brake is fully released, because many vehicles use the same lamp for both. Inspect the lines, hoses, calipers and wheel cylinders for wetness. Fix any leak, soft or sinking pedal, or longer pedal travel before going further, because in that case the light is warning you of a real problem.
If the system is sealed, fully bled and the pedal is firm, turn the ignition on so you can see the lamp. Pump the pedal firmly several times. On self-centering designs the light may go out on its own. If it stays on, work out which circuit was opened or bled last, because the piston has moved toward that side. Have a helper open a bleeder screw on the opposite circuit. Then press the pedal slowly and gently while watching the lamp. The moment it goes out, stop pushing and close the bleeder before the pedal is released. Pressing too hard can push the piston past center and light the lamp from the other side. If that happens, repeat the step using a bleeder on the other circuit.
Afterward, recheck the fluid level, confirm the pedal is firm, and make a careful low-speed test in a safe area. Keep one more point in mind for future bleeding. Some combination valves with a metering section need the metering valve stem held in or out with a retaining tool during pressure bleeding, or fluid will not reach the front brakes. The correct method for your valve is in the vehicle's service information.
Signs the Valve Itself Is the Problem
Two symptoms can point to a faulty proportioning valve: rear wheels that lock early during moderate stops on dry pavement, and rear brakes that seem to do almost nothing. The same symptoms can also come from contaminated friction material, a sticking caliper, a seized wheel cylinder, worn or mismatched pads and shoes, or tires of different sizes, so rule those out first. If replacement is needed, vehicle fitment matters. Proportioning valves are calibrated for specific models, weights and brake packages, so a valve that merely fits the threads can change braking balance in ways you cannot easily detect.
Limitations and Next Step
Valve designs differ by manufacturer, model year and brake package, so this article describes general principles rather than the procedure for a specific vehicle. Use the factory service information for the exact recentering method, bleeding sequence, metering valve tool, load-sensing adjustment and torque values. Whenever the brakes are opened, measure the pads and rotors against the manufacturer's wear limits. Do not disassemble a combination valve or change a proportioning setting to cure a pull or lockup.
Stop driving and have the vehicle towed or inspected by a professional in any of these cases: the warning light returns after recentering, the pedal is low or spongy, fluid is leaking, or the rear wheels lock during normal stops. These signs point to a hydraulic fault, not a switch that simply needs resetting. The same applies to ABS vehicles that require scan tool bleeding you cannot perform.