Bad Brake Proportioning Valve Symptoms and Diagnosis
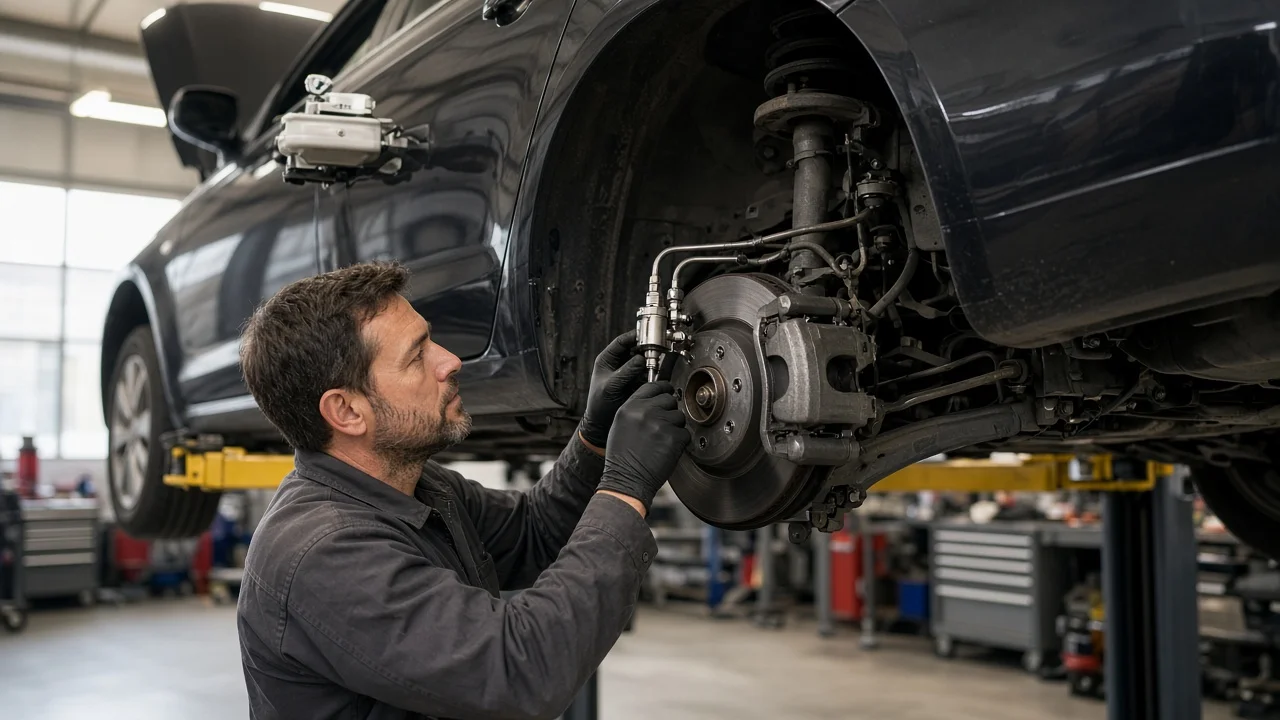
A brake proportioning valve limits hydraulic pressure to the rear brakes so they do not lock before the fronts during a firm stop. When it fails, the warning signs can look like worn brake pads, a sticking caliper or an ABS fault. Replacing the valve on a hunch often wastes money and leaves the real problem in place. This guide covers the common symptoms, the causes that compete with a failed valve, and how to narrow the diagnosis before ordering parts.
Establish the symptoms
A faulty proportioning valve usually shows up in one of two opposite patterns. If too much pressure reaches the rear brakes, the rear wheels lock early under moderate braking. This is most noticeable on wet pavement, gravel or in an unloaded pickup, and the rear of the vehicle may feel loose or step sideways. Flat spots on the rear tires are a common clue. If too little pressure reaches the rear, the front brakes do nearly all the work. The nose dives hard, stopping distances grow, and the front pads and rotors wear quickly while the rear friction material barely changes. On long descents the overworked fronts may overheat and fade.
Before anyone touches the car, write down when the problem happens. Useful details include speed, how hard you pressed the pedal, the road surface, wet or dry conditions, cargo or towing load, and whether the brakes were hot or cold. Note any warning lights, especially the red brake light and the ABS light. Recent changes matter just as much: a brake job, bleeding, line replacement, new tires, a lift kit, lowering springs or a new towing setup. Also confirm that your vehicle actually has a separate valve. Many newer models use electronic brake force distribution inside the ABS module instead, so check the service information for your exact vehicle fitment.
Distinguish plausible causes
The valve itself can fail through a seized internal piston, a weakened spring or an internal or external leak. Many cars combine the proportioning valve with a metering valve and a pressure differential switch in one housing. That switch can stick off-center after a hydraulic failure or careless bleeding, which turns on the brake warning light even when the valve still proportions correctly. Trucks and vans often use a load-sensing valve linked to the rear axle. A corroded, bent, disconnected or misadjusted linkage is a strong suspect when symptoms change with load or appeared after a suspension change.
Several other problems produce the same complaints. Rear lockup can come from rear linings contaminated by an axle seal or wheel cylinder leak, grabbing drum shoes, the wrong friction material, mismatched tires or worn rear shocks. Weak rear braking is often caused by drum self-adjusters out of adjustment, seized caliper slides or pistons, a kinked line, air in the rear circuit, or a brake hose that has collapsed internally. A pull to one side usually points to a caliper or hose at one wheel, because on many systems a single valve feeds both rear wheels. Diagonally split systems can use a separate valve per rear circuit, so the layout matters. On vehicles with electronic distribution, a wheel speed sensor or ABS fault can disable that function, and the dash lights will usually say so.
Checks in a useful order
Start with observations that need no tools or special skill. Check the brake fluid level and condition in the reservoir, and note any warning lights. Look for wetness around the valve, which is usually near the master cylinder or on the frame rail near the rear axle, and along the brake lines and inside the wheels. Compare front and rear pad thickness through the wheel spokes if you can see them, and look for flat spots or uneven tire wear. On a truck, check whether the load-sensing linkage at the rear axle is attached and moves freely. Do not try to provoke wheel lockup on a public road to test the theory.
The next checks require the vehicle to be lifted and properly supported, along with service specifications. Remove the wheels and measure pads, rotors and drums against the manufacturer's wear limits. Inspect self-adjusters, caliper slides and pistons, and look for fluid-soaked linings. With a helper, apply and release the pedal and confirm each wheel turns freely afterward. A wheel that stays dragging suggests a collapsed hose or seized caliper. Scan for ABS codes on vehicles that have them. The definitive valve test uses pressure gauges at the front and rear bleeder ports, compared with the specified output at a given input pressure. Load-sensing valves also need ride height and linkage set exactly to specification. These steps call for gauges, correct data and proper bleeding afterward, which usually means a qualified brake technician.
Interpret the findings
If front and rear pressures match the specification, the valve is doing its job, and attention returns to friction material, drums, calipers and tires. If rear pressure is low and a restricted hose or kinked line is found, repair that first and retest before condemning the valve. If rear pressure is too high, or keeps rising past the point where the valve should start limiting it, the valve or its load-sensing adjustment is at fault. Brake fluid leaking from the valve body means the valve must be replaced regardless of the other results.
Some findings need confirmation before you buy parts. Front pads naturally wear faster than rears, so uneven wear alone does not prove a valve fault. A lit brake warning light can mean low fluid, a worn pad sensor or a stuck differential switch rather than failed proportioning. Proportioning valves are generally replaced as an assembly rather than rebuilt, so confirm the correct part by VIN. After installation, the system must be bled to the specified procedure. Some combination valves need the metering stem held open during pressure bleeding. Finish with a controlled road test and a repeat inspection.
Urgency and next action
Stop driving and arrange a tow if the rear wheels lock or the vehicle skids under normal braking. The same applies if the pedal feels soft, sinks or reaches the floor, if the red brake warning light comes on with low fluid, if fluid is visibly leaking, or if the brakes fade noticeably. A proportioning fault changes how the vehicle behaves in an emergency stop, so there is no safe remaining mileage anyone can promise once these signs appear.
Give the repair shop the year, make, model and VIN, plus drivetrain details and whether the vehicle has a load-sensing valve. Describe the conditions you recorded, any recent brake or suspension work, warning lights and stored codes, and when the pads were last replaced. Ask the shop to share pressure readings and component measurements before replacing the valve. That way the repair targets the confirmed cause instead of the most convenient guess.