Brake Proportioning Valve Repair: Diagnosis, Options and Verification
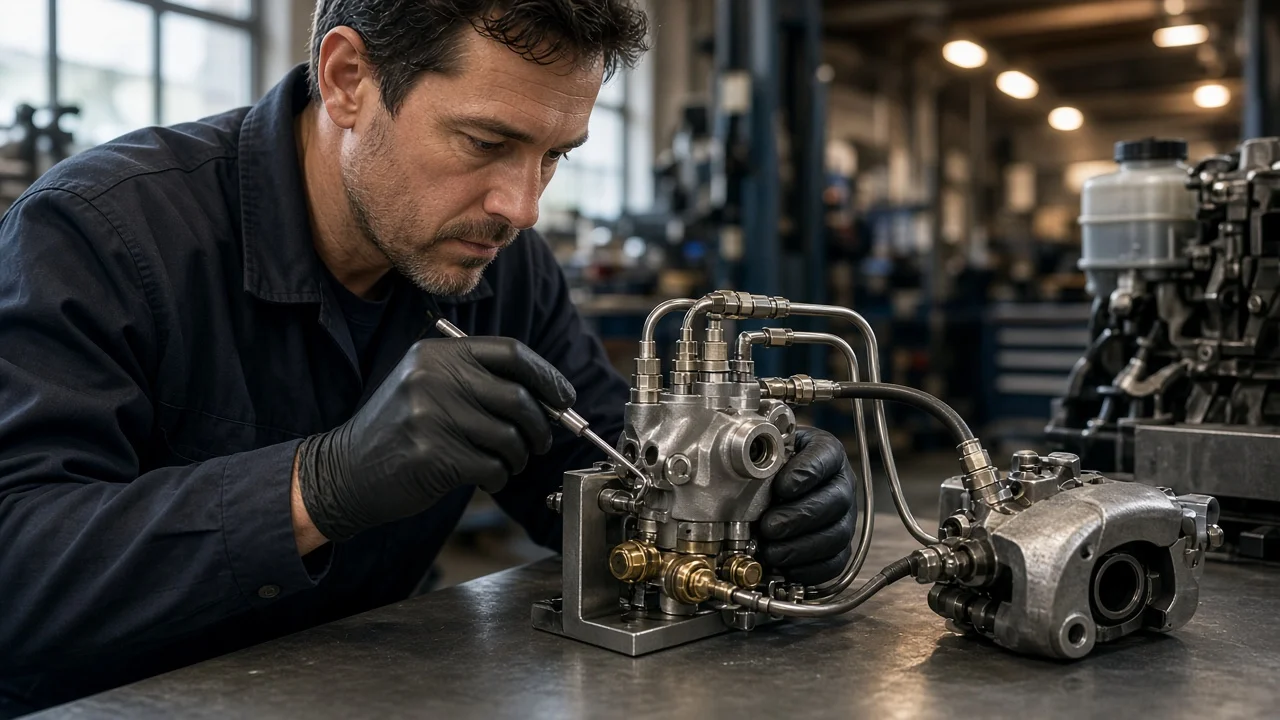
A brake proportioning valve limits hydraulic pressure to the rear brakes so the rear wheels do not lock before the fronts during hard stops. When it fails, a vehicle can feel front-heavy and slow to stop, or the rear can become unstable under braking. Repair is rarely a simple parts swap. You have to confirm the fault, identify the valve type, and check the result against the vehicle's own service information.
Confirm the fault before repair
A failing proportioning valve usually shows up in one of two ways. If it sends too much pressure to the rear, the rear wheels lock early, the vehicle may step sideways under hard braking, and the rear pads or shoes wear faster than expected. If it restricts pressure, the rear brakes do little work, stopping distances grow, and the front brake pads and brake rotors carry most of the load. Many other faults feel the same. These include contaminated or glazed friction material, a seized caliper slide or piston, leaking wheel cylinders, out-of-adjustment drum brakes, a collapsed rubber hose, low or degraded brake fluid, and mismatched pad compounds between axles.
Because of that overlap, the valve should be the last suspect, not the first. Start with a full inspection. Check fluid level and condition, look for external leaks at the valve and lines, and measure pad and shoe thickness against the manufacturer's wear limits. Inspect rotors and drums, and confirm that calipers and adjusters move freely. Confirming a valve fault usually takes a hydraulic pressure test, with gauges at a front and a rear wheel and readings compared against the pressures listed in the service information. On load-sensing systems, a bent, seized or disconnected linkage is also direct evidence. A dash warning light alone does not prove the valve has failed. The light may come from the pressure differential switch, a low fluid sensor, the parking brake switch or the ABS system.
Define the repair scope
There is no universal proportioning valve. Older rear-wheel-drive cars with front discs and rear drums often use a combination valve. This houses a metering section, the proportioning section and a pressure differential switch in one body. Other vehicles use separate inline valves, sometimes one per rear circuit on diagonally split systems, or valves threaded into the master cylinder outlet ports. Pickups and vans often have a load-sensing valve on the frame, linked to the rear axle so that rear pressure rises as the bed is loaded. Many newer vehicles have no mechanical valve at all. Instead, electronic brake force distribution in the ABS unit does the same job by modulating rear pressure.
Use the VIN-specific parts catalog and service information to find out which design the vehicle actually has. The same model can change between years, drivetrains or brake packages. Next, establish how far the problem extends. It may be only the valve, or contaminated fluid, a failed master cylinder or corroded lines may have affected other components. Modifications matter too. A lift kit, lowered suspension, different tire size, rear disc conversion or heavy towing changes the conditions the original valve was designed for. A repair that ignores those changes may not restore balanced braking.
Compare repair options
Adjustment applies mainly to load-sensing valves. The linkage is set with the vehicle at the ride height and load condition the manufacturer specifies, often using a dedicated gauge or a stated dimension. A correct adjustment fixes rear lockup or weak rear braking caused by a wrong setting. It does not fix a valve that is seized or leaking internally, and the setting needs rechecking after any suspension work. On designs that require it, recentering the pressure differential switch can clear a warning light, but it has no effect on proportioning itself.
Internal repair is uncommon. Most factory combination and inline valves are sold only as complete assemblies. Rebuild kits, where they exist, are mostly for older or classic applications. The usual remedy for a valve that is stuck, leaking or corroded inside is replacement with the correct part for the vehicle fitment. Replacement does not address the cause of contamination. If the fluid was dirty or the wrong type, the master cylinder, hoses and other seals may also be compromised, and the whole system will need flushing. Aftermarket adjustable valves are meant for custom or converted brake systems. They are not a substitute for the factory-specified part on a stock vehicle.
Specialist service is the right choice in three situations: the vehicle uses electronic brake force distribution, the hydraulic unit has to be cycled with a scan tool during bleeding, or the test results do not clearly point to one component. A shop with diagnostic equipment can read stored brake system codes and wheel speed data, which a gauge test cannot show.
Requirements and limits
This is safety-critical hydraulic work. At minimum it requires the following: the vehicle's service information, including valve location, test pressures, torque values and bleeding sequence; flare-nut wrenches so fittings are not rounded off; the brake fluid type specified on the reservoir cap or in the manual; a reliable bleeding method; and secure support on jack stands rather than a jack. Pressure testing needs gauges and adapters made for brake hydraulics. Some combination valves need a tool to hold the metering section open during pressure bleeding. Vehicles with ABS may need a scan tool to purge air from the modulator.
Brake fluid damages paint and absorbs moisture, so keep containers sealed and clean up spills immediately. Never reuse fluid drained from the system. Replacement lines and fittings must match the original thread and flare type, because mismatched fittings can leak under pressure. If any of these prerequisites are missing, or the system uses electronic distribution, the job belongs with a qualified brake technician. Do not drive a vehicle with a suspected proportioning fault in normal traffic until it has been repaired.
Verify the outcome
After replacement or adjustment, check several things before the vehicle moves. The pedal should be firm and consistent, every disturbed fitting should be leak-free under pedal pressure, and warning lights should come on at start-up and then go out. If a pressure test was used to diagnose the fault, repeat it and compare the front and rear readings with the specification. Then road test the vehicle at low speed in a safe, empty area. Work up to firmer stops while watching for pulling, rear instability or early rear lockup. For load-sensing valves, test braking both empty and loaded if the service information calls for it.
Record the part number, the adjustment setting or measured pressures, the fluid type and the date. Also note any related work on pads, rotors or calipers. These records make later diagnosis much easier. If symptoms persist after a correct valve repair, the cause lies elsewhere. Recheck caliper and wheel cylinder operation, friction material condition, hose restriction, master cylinder function and any ABS codes. Persistent rear lockup, a pull, a low pedal or a warning light that stays on means the braking system needs professional diagnosis before further use.