How to Break In New Brake Pads
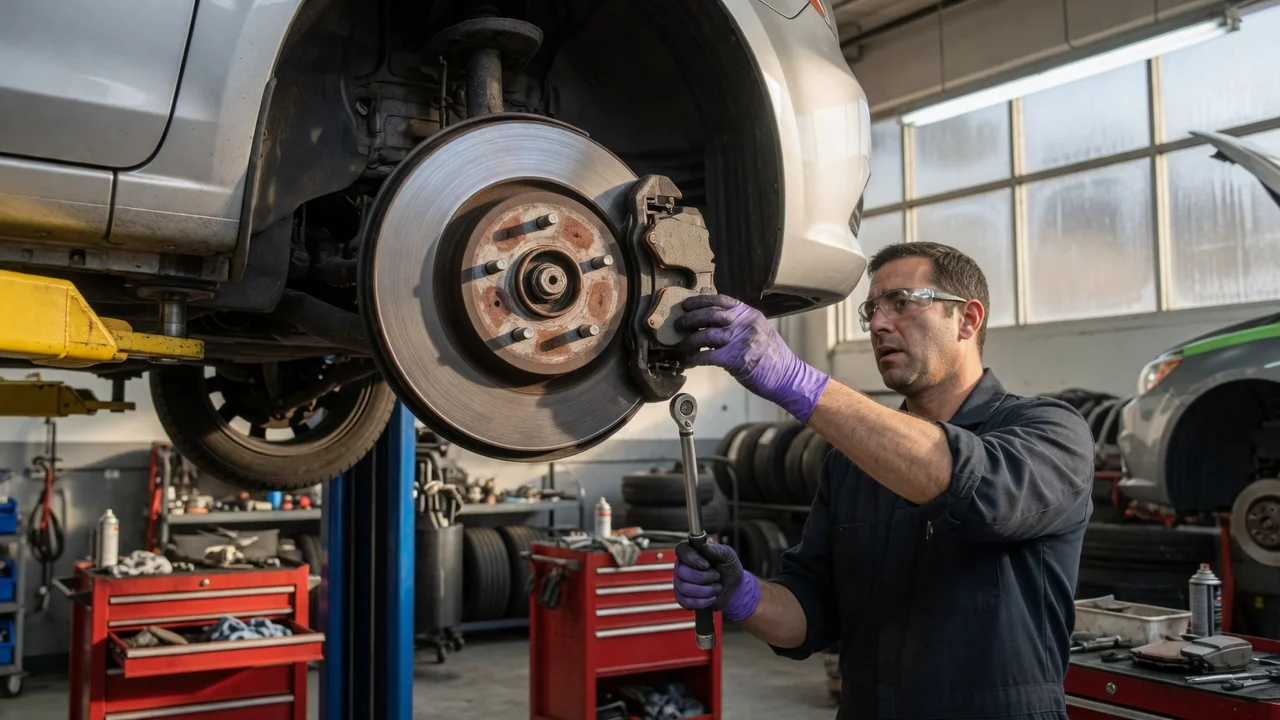
Direct Answer
Breaking in new brake pads, also called bedding or burnishing, is the controlled transfer of a thin, even layer of pad friction material onto the rotor surface. The essential procedure is a series of moderate stops from speed followed by a cooling period without coming to a complete rest. This process conditions the pad and rotor interface, reduces noise, and develops consistent stopping power. The scope of this guidance applies to common street disc brakes. Racing pads, carbon-ceramic rotors, or heavily worn or resurfaced rotors without the correct finish may require a different bedding method from the pad or rotor manufacturer.
Why Bedding Matters
A new pad face and a new or machined rotor surface are not perfectly matched. Without bedding, the pad can deposit friction material unevenly, creating high spots that cause pedal pulsation, steering wheel shake, or squeal. A proper bed-in cycle heats the pad enough to transfer a consistent film onto the rotor without overheating the resin and glazing the pad surface. The result is a stable friction coefficient over the operating temperature range. Skipping this step does not typically ruin the components, but it can leave the brake system feeling weaker, noisier, or less predictable for several hundred miles.
Before You Start
Use a clean, dry road with light traffic and a safe runoff area. Verify that the brake fluid level is at the maximum mark and the pedal is firm before driving. Confirm the pads are seated correctly and the caliper slide pins move freely if you installed the parts yourself. Leave the parking brake off during and immediately after the procedure to avoid clamping hot pads to one spot on the rotor.
Common Street Bed-In Procedure
The following sequence is typical for mainstream street pads from major aftermarket and original equipment suppliers. Check the specific pad manufacturer's instructions first, because the target speeds and stop count can differ. Perform the entire sequence in one continuous drive.
Accelerate to about 50 to 60 km/h (30 to 40 mph). Apply the brakes with firm, moderate pedal pressure and slow to roughly 10 to 20 km/h (5 to 10 mph). Do not stop completely. Accelerate back to the starting speed and repeat the slowdown eight to ten times. Avoid triggering the anti-lock braking system; the goal is controlled friction, not a panic stop. After the last slowdown, drive for five to ten minutes at highway speed with as little braking as possible to let the rotors and pads cool evenly. Park the vehicle and leave the parking brake off until the brakes have cooled.
What You Should Notice
During the bedding stops you may perceive a hot friction smell or a slight softening of the pedal as the pad surface heats and cures. This is normal and typically disappears after the cooling drive. The brakes may feel less immediate for the first few stops, then firm up as the transfer layer forms. After the procedure, the rotor faces should show a light, consistent blue-grey tint. Any deep scoring, uneven patches, or a wobble felt through the pedal indicates a problem such as a stuck caliper, a contaminated pad, or an improperly machined rotor.
After the Bed-In
For the first 300 to 500 kilometres (about 200 to 300 miles), avoid hard, prolonged braking from high speed and do not hold the vehicle on a hill with the brakes. Both actions can overheat the fresh pad material and create uneven deposits. Light commuting with normal stops helps the transfer layer mature. If the pad manufacturer specifies a bedding procedure, follow that instead of this generic sequence. A gap in the available evidence is the absence of a universal standard across all vehicle makes and pad compounds, so material uncertainty remains for applications such as heavy electric vehicles, towing, or performance friction where heat cycles differ.