Atwood Stabilizer Jacks: What to Check Before You Buy
The short answer
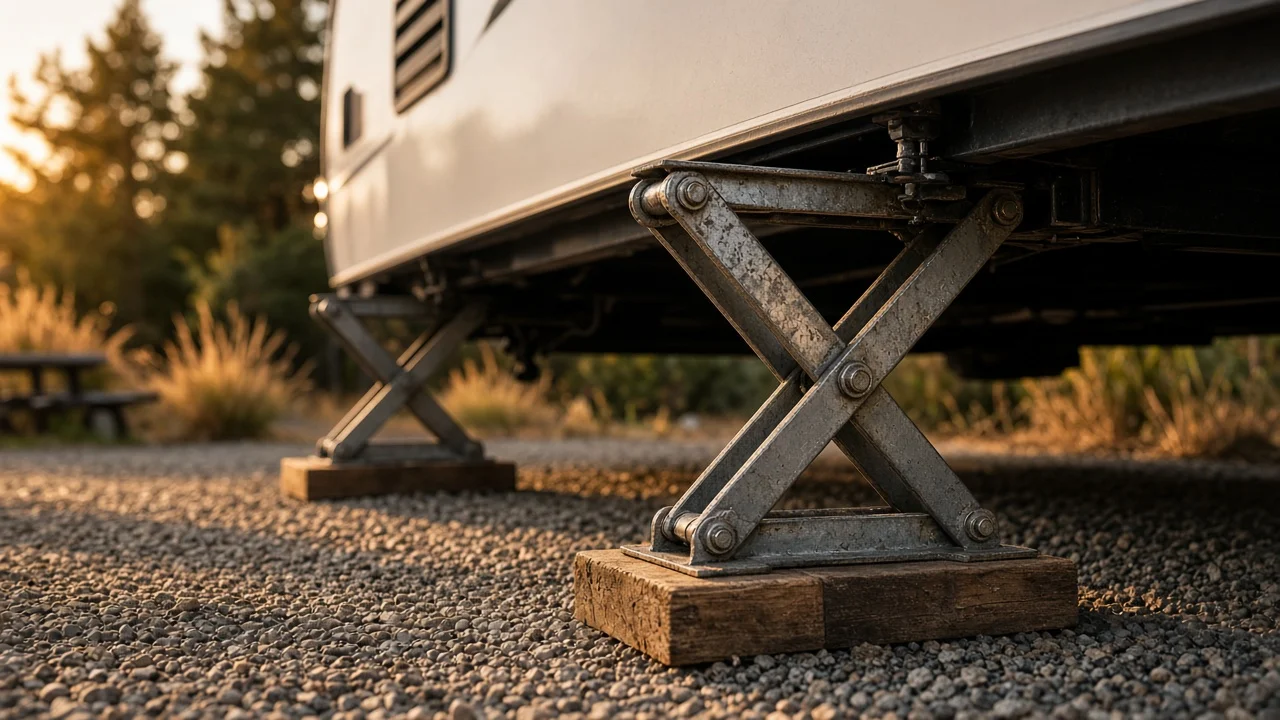
Atwood stabilizer jacks are designed to reduce sway, bounce and rocking in a parked caravan or travel trailer. They are not designed to level the trailer or lift its weight. Choose a set that fits your frame, reaches the ground at your typical campsite height, and suits how you want to deploy it, whether by hand crank or with power. If you expected the jacks to level the trailer or take weight off the tires, look at levelling blocks or a dedicated levelling system instead.
Stabilizing versus levelling
Levelling means getting the trailer flat, side to side and front to back. You usually do this with blocks or ramps under the tires and the tongue jack at the front. Stabilizing comes after levelling. The jacks are extended until they press firmly against the ground, which limits the movement you feel when people walk around inside. Using stabilizer jacks to lift a corner or correct a slope can bend the jacks or strain the frame where they are mounted.
Common types you will see
Type | How it works | Points to weigh; Scissor jack | Folds flat under the frame and extends with a crank or drill adapter | Common on travel trailers. Check retracted clearance and how it mounts. Drop-down or swing-down leg | Pivots down from the frame, then locks or extends to the ground | Quick to deploy. Check the locking method and leg reach. Powered (electric) jack | A motor extends and retracts the jack | Less manual effort. Needs a 12-volt supply, wiring and a switch location.
Exact model names, ratings and dimensions vary by product and production period. This guide includes no specific figures, so confirm them on the product listing or the packaging of the part you are considering.
What to check before buying
Frame fit: confirm the mounting plate or bracket suits your frame rail shape and width, and whether it bolts on or must be welded. Extended reach: measure from the frame to the ground at the jack location with the trailer level at a typical site, and make sure the jack's extended range covers that distance with some margin for uneven ground. Retracted clearance: check how far the jack hangs below the frame when stowed, so it does not reduce ground clearance on ramps, driveways or rough access roads. Load rating and its meaning: read whether the stated rating is for stabilizing only. A rating is not permission to lift the trailer. Operation: decide between a hand crank, a drill-driven socket or powered operation, and check which crank or socket size the jack uses. Quantity: check whether the listing is for a single jack or a pair, and how many corners you plan to fit. Finish and corrosion protection: look at the coating if you camp near the coast or tow on salted winter roads. Footprint: check the foot pad size, and whether you will need separate pads for soft ground or asphalt. Replacement fit: when replacing an existing jack, match its bolt pattern and mounting position so you do not need to drill new holes.
Branding and replacement parts
Atwood RV hardware is now widely sold under the Dometic name, so current listings may show either brand, or both. When you are matching an existing jack, compare the part number stamped or labelled on the old unit, along with its mounting dimensions, rather than relying on the brand name or a product photo.
Fitting considerations
Stabilizer jacks are usually mounted near the rear corners of the frame, and sometimes at the front as well. Before drilling or welding, check what is near the mounting spot, such as brake lines, wiring, propane lines and tank brackets. Welding to a trailer frame can affect its structure and any warranty, so check the trailer maker's guidance first. For powered jacks, plan the fuse, wiring route and switch position before mounting. If you are unsure about frame work, have a trailer or RV service shop do the installation.
Setup habits that protect the jacks
Level the trailer with blocks and the tongue jack first, then deploy the stabilizers. Extend each jack until it is firm against the ground. Do not keep cranking to lift the trailer. Extend jacks on opposite sides evenly so you do not twist the frame. Put pads under the feet on soft ground, gravel or hot asphalt. Retract and stow every jack before hitching up or moving the trailer.
Gaps in this guide
No confirmed prices, load ratings, extension ranges, model years or fitment tables were available for this guide. Treat the checks above as a method, not a specification. Before you buy, confirm compatibility with your trailer's frame and your typical campsite conditions using the product documentation and your trailer maker's guidance.