How to Replace a 7.3 Powerstroke Glow Plug Relay
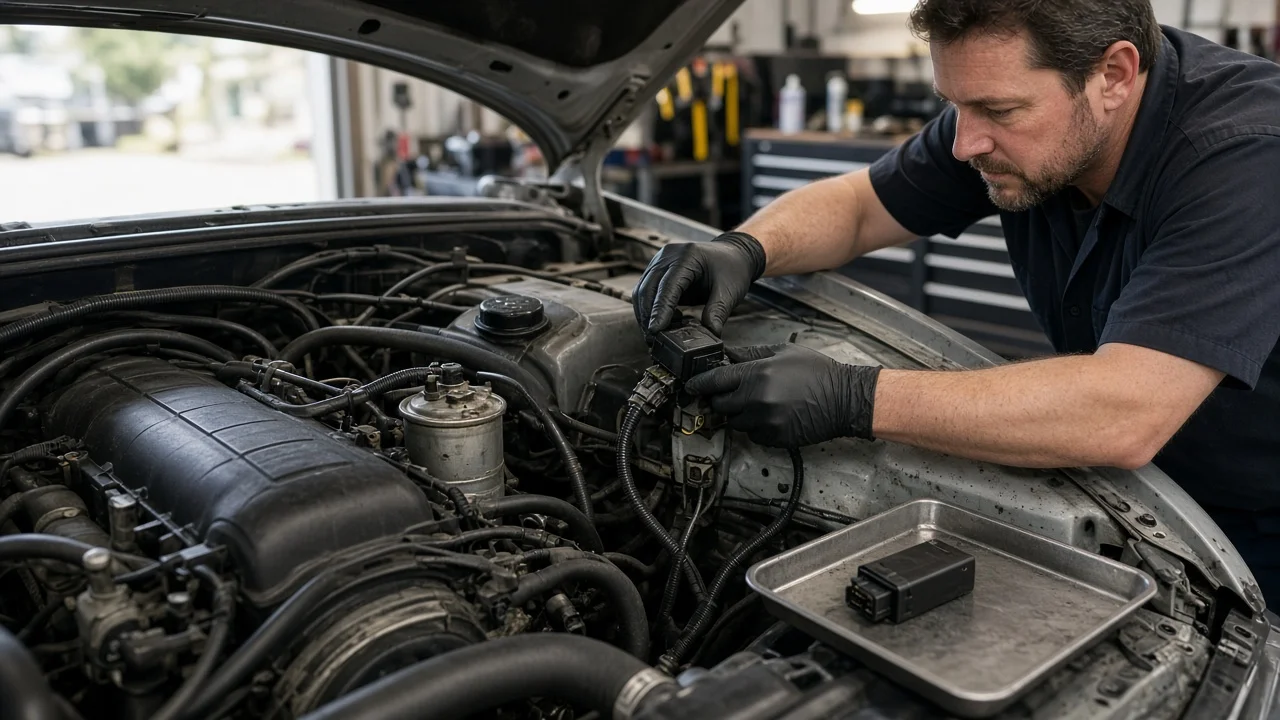
When a 7.3L Power Stroke cranks for a long time and blows white smoke on cold mornings, check the glow plug relay early. It is a heavy-duty switch that sends battery current to all eight glow plugs. Once you have confirmed that it has actually failed, replacing it is a straightforward bolt-on job. This guide covers confirming the diagnosis, preparing safely, swapping the relay and checking the result.
Confirm the part and repair scope
Ford installed the 7.3L Power Stroke in F-Series pickups from mid-1994 through 2003, and also in E-Series vans and the Excursion. Relays for the earlier body style and the later Super Duty generation are not always interchangeable. Match the replacement to your model year, body and engine, ideally by VIN when ordering. Before you start, compare the stud layout and control connector of the new part with the old one. A relay that physically fits but has a different terminal arrangement can be wired incorrectly.
A new relay only helps if the old one is at fault. Typical symptoms are hard cold starts, long cranking, rough idle and white smoke until the engine warms. You may also hear no click from the relay at key-on with a cold engine. Before buying parts, check the condition of both batteries. Then measure voltage at the relay output stud while the glow cycle is active. If the input stud has battery voltage and the control signal is present, but the output has little or no voltage, the relay is bad. If there is no control signal, look at the engine computer circuit, wiring or fuses instead. If the relay clicks and passes voltage, the likely causes are failed glow plugs or the harness under the valve covers.
Other problems can mimic a weak glow system. Any of these can make cold starts difficult on this HEUI engine: • Gelled or water-contaminated diesel; • A restricted fuel filter; • Low fuel pressure from a weak fuel pump; • Low injection control pressure; Cold-weather additives can help prevent gelling, but they do not repair a failed relay or glow plug. Treat them as fuel management, not a fix.
Prepare tools and safe access
This job does not open the fuel system or the high-pressure oil system. Do not loosen fuel lines, the fuel filter housing or injector oil lines. If you notice fuel or oil weeping nearby, note it for a separate leak check and leave the fittings alone. The main hazard here is electrical. The relay's input stud is connected to battery power at all times. A wrench that bridges that stud to ground can arc, burn you or damage the cable. These trucks have two batteries, so disconnect the negative cables from both and keep the cable ends away from the posts.
Gather a socket set, a ratchet with extensions, a digital multimeter, dielectric grease and a flashlight. You will also need a wiring diagram and the factory or another reliable service manual for your exact year. These show the relay terminals and give the fastener torque values; do not guess at those numbers. The relay usually sits on the driver's side of the engine near the valve cover, but its exact position and access vary by chassis. Confirm the location for your vehicle. If you are not comfortable working around high-current battery cables or reading a wiring diagram, hand this job to a diesel technician.
Remove without avoidable damage
Let the engine cool before you start, because the relay sits close to hot engine surfaces. Clean the area around the relay so dirt does not fall into the connectors. Photograph the relay from several angles and label each wire. Note which heavy cable is the battery feed, which leads go to the glow plug harness, and where the small control and ground leads attach. Some installations ground the relay through its mounting bracket, so look for any ground strap or eyelet under the mounting bolts.
Remove the protective boots or caps from the large studs, then remove the nuts and lift the cables off. Where the design allows, use a backup wrench so the studs do not twist. Handle the cable eyelets gently, because you will reuse them. Release the locking tab on the control connector by hand rather than prying the plastic. Remove the mounting fasteners and take the relay out. Inspect the cable eyelets, connector pins and mounting surface for corrosion, heat discoloration or melted insulation. Any of these signs points to a high-resistance connection, which will destroy a new relay too unless you repair it.
Install and restore the system
Mount the new relay in the same orientation as the original, with the studs and connector facing the way the cables route. Leads should not be stretched or chafing against brackets. If the relay grounds through its bracket, clean the mounting surface and ground eyelets to bare metal. Fasten the relay to the specified torque. Reattach each cable to its labeled stud, and make sure the battery feed and harness output are not swapped. Tighten the nuts to the service specification without spinning the studs. Refit the protective boots so the energized stud cannot touch metal.
If the service manual allows it, apply a light film of dielectric grease to the control connector seal. Push the connector on until the lock engages. Route all wiring away from the exhaust and moving parts. Reconnect both battery negative cables last. This relay normally needs no programming or relearn procedure. The engine computer simply switches it on and off based on engine temperature and other inputs. If the instructions supplied with the replacement part say otherwise, follow them.
Check the completed work
Test with a cold engine, ideally after it has sat overnight, because the glow cycle may be short or skipped when the engine is warm. Turn the key to run without cranking and listen for a firm click from the relay. With a multimeter, confirm that the output stud reads close to battery voltage while the cycle is active and drops to zero when the relay shuts off. If you have a clamp-on ammeter, put it around the output cable to see whether current is actually reaching the glow plugs. A reading much lower than expected suggests one or more failed plugs or a broken harness connection.
Start the engine and compare cranking time, smoke and idle quality with how the truck behaved before. Check that the cables and relay case do not get hot over repeated cycles, and confirm that the fasteners stay tight. If your truck's computer supports them, scan for stored codes related to the glow plug circuit. More diagnosis is needed in these cases: • The relay chatters, which often points to low system voltage or a poor ground. • The relay clicks but the output voltage stays low. • The new relay fails quickly. • Hard starts continue even though glow current is normal. Look next at fuel delivery, injection control pressure and injector performance.