Why Should a Restored Car Be Tested in Stages?
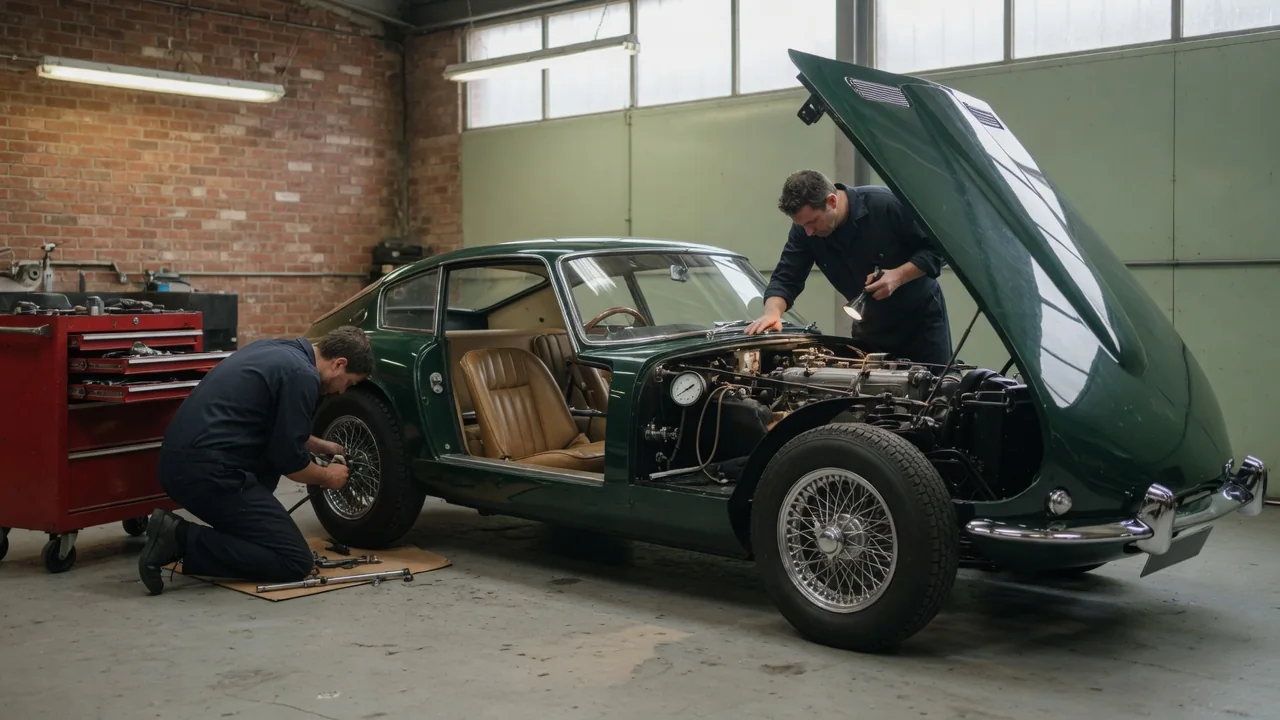
A restored car is a collection of rebuilt, replaced, and reconnected systems that have never worked together as a whole. Testing it in stages means moving from stationary checks to short drives, with fault correction between steps. This lets you confirm each system before you rely on it. Staged testing limits the harm a single overlooked mistake can cause and makes problems easier to trace. It also builds justified confidence before the car faces traffic, highway speeds, or long trips.
Stationary checks
The first stage happens with the car standing still. It is the most controlled environment you will have: the engine is not under load, the car is not moving, and you can shut everything down immediately. Start by confirming that every fluid system has been filled with the type and quantity the service manual specifies. That includes engine oil, coolant, brake fluid, transmission and differential lubricants, and power steering fluid where fitted. Let the car sit and look underneath for drips. Then work through the fasteners that were disturbed during the restoration, especially on suspension, steering, brake lines, and wheels. Confirm that they are tightened to the manual's values rather than to memory or feel.
The first start of a freshly assembled or rebuilt engine deserves particular care. Some rebuilt engines have specific initial run-in requirements, so follow the engine builder's or manual's guidance rather than a generic routine. Watch the oil pressure gauge or warning light from the first seconds, along with coolant temperature. Listen for knocking, ticking, or grinding that was not expected. Check every fuel connection for seepage, because a fuel leak near a hot engine is a fire risk; keeping a suitable extinguisher within reach is sensible. As the engine warms, confirm that the cooling system circulates, that the fan operates when it should, and that trapped air is bled out according to the manual's procedure.
Electrical and chassis checks complete this stage. Test every light, gauge, warning lamp, wiper, and the horn. Use a multimeter to confirm that the charging system is actually charging, rather than trusting a dashboard indicator alone. Check that the brake pedal is firm and does not sink with steady pressure, and that the parking brake holds. Turn the steering from lock to lock while looking and listening for binding or tires rubbing on bodywork. With the car safely supported, rotate each wheel by hand to make sure nothing drags. Each of these checks costs little when stationary and can prevent a much more serious discovery on the road.
Short drives
Once the car passes its stationary checks, the first drives should be brief, slow, and close to the workshop. They are best done on private property, an empty lot, or a quiet road where stopping is easy and safe. Test the brakes at walking pace before anything else, checking that the car stops straight without pulling. Then confirm that the steering returns toward center, the clutch or automatic transmission engages smoothly, and gears select cleanly. Build speed gradually. The goal of the earliest drives is not to evaluate performance but to confirm that the car can start, steer, and stop reliably.
Later drives can extend distance and speed step by step. Include stop-and-go driving and some idling after the engine is fully warm, because cooling problems often show up when airflow is low. Repeat several braking events to see how the brakes behave as they heat. After every drive, inspect the car again. Look for fresh leaks, new smells, exhaust leaks, and anything that has shifted. Compare how warm each wheel and brake assembly feels, since one noticeably hotter corner can point to a dragging brake. New gaskets, hoses, and fasteners can settle after the first heat cycles, so recheck items such as wheel nuts and clamps where the manual or component maker recommends it.
Keeping each drive short also keeps each test simple. When only one condition changes between drives, such as a little more speed or a longer warm-up, a new noise or warning can be linked to that specific change. A brief written log of distance, conditions, gauge readings, and observations makes these patterns much easier to spot than relying on memory.
Fault correction
Faults are a normal part of bringing a restored car back into service. A restoration may involve hundreds of disconnected and reconnected parts, and any of them can be misrouted, incorrectly adjusted, defective, or simply loose. The value of staged testing is that each fault tends to appear when the number of possible causes is still small. That advantage disappears if you keep driving around a problem, so the general rule is to correct a fault before advancing to the next stage.
Effective correction starts with a clear description of the symptom and the conditions under which it appeared: cold or hot, idling or under load, at low or moderate speed. Check the most recently disturbed work first, because new faults often trace back to it. Use the diagnostic procedures in the service manual for the specific vehicle. Change one thing at a time so the effect of each correction is clear. Then retest at the same stage where the fault appeared, not further along. Keep in mind that one fault can hide another. An engine that runs poorly may conceal a vibration or temperature issue that only becomes visible once it runs properly and can be driven under more load.
After any repair, repeat the relevant stationary checks before driving again. If a brake line was opened, the system needs bleeding and a fresh pedal check. If coolant was drained, the system needs refilling and bleeding again. It also helps to separate safety-critical faults from minor ones. Problems with brakes, steering, wheels, suspension mounting, or fuel leaks mean the car stays parked until they are fixed. A trim rattle or an inaccurate gauge can be recorded and scheduled without halting the testing process.
Practical implications and limits
In practice, staged testing takes more time than a single celebratory drive, and it is worth planning that time into the restoration schedule and budget. A project is rarely finished the first time the engine starts; parts may need to be reordered, adjusted, or replaced during the shakedown. Driving on public roads also requires the car to be legally registered and insured, and inspection requirements differ by state. Some owners therefore do their earliest movement tests on private property.
Staged testing reduces risk, but it cannot reveal everything. Some problems appear only after many miles, in extreme heat or cold, at sustained highway speed, or once components have bedded in. The appropriate sequence and intensity also depend on the vehicle and the scope of the work. A car that received mostly cosmetic attention needs less verification than one with a rebuilt engine, a new brake system, and fresh wiring. Where the service manual, engine builder, or component manufacturer gives specific instructions, those take priority over any general approach.
Some checks call for equipment that many home restorers do not own, such as alignment machines or diagnostic tools for later vehicles with electronic control systems. A professional inspection can fill those gaps. Even after the car is in regular use, it makes sense to treat the first months as an extended shakedown period, with periodic inspections of the systems that were rebuilt or replaced.