How to Check a Restored Car for Water Leaks
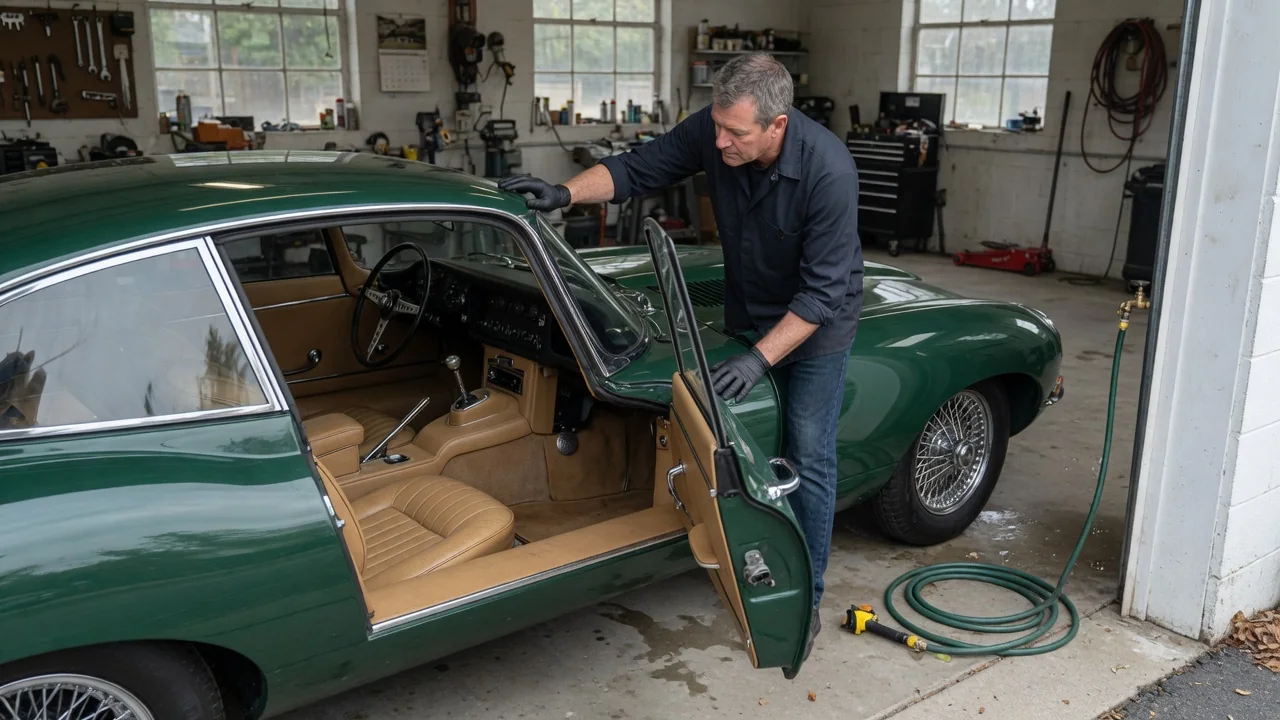
A fresh restoration can look flawless and still let water in. New seals, reinstalled glass, and resealed seams all have to work together, and a single gap can soak carpet padding or start rust under fresh paint. Checking a restored car for water leaks is a methodical process: inspect the seals, run a controlled spray test one area at a time, and dry everything thoroughly afterward. This guide explains each step and what the results can and cannot tell you.
Seals: Inspect Before You Add Water
Most leaks in a restored car start at a seal, gasket, or seam that was disturbed during the work. Before any water touches the car, inspect the door weatherstrips, trunk lid seal, windshield and rear glass gaskets, vent and quarter window seals, and any convertible top or sunroof seals. Look for splits, stretched corners, gaps where a seal joins itself, adhesive that has let go, and areas where the rubber is not fully seated in its channel. Also confirm that each seal is the correct profile for its location, because a seal that looks close but sits too low or too high may never compress evenly.
Contact checks show whether a closed panel actually presses on its seal. One common method is to close the door or trunk on a strip of paper at several points around the opening and feel how much resistance there is when pulling it out; a spot where the paper slides free easily suggests weak contact. Another is to rub chalk or talc lightly on the seal, close the panel, and look for a continuous transfer line on the body. Breaks in that line point to alignment or seal problems. At night, a helper can also shine a flashlight along the seal from outside while you watch for light from inside.
Seals are only part of the picture. Check that door bottom drains, cowl drains, sunroof drains, and any rocker or floor drains are open, since a blocked drain can let water back up and overflow into the cabin. Inspect body plugs and wiring grommets in the floor, firewall, and trunk, along with tail light, marker light, antenna, and badge gaskets. Look at seam sealer along the floor pans, trunk floor, and drip rails for gaps or cracks left after welding or paint work.
Controlled Spray: Testing One Zone at a Time
A controlled spray test reproduces rain in a way you can trace. Start with a dry interior, ideally with carpets lifted or removed so you can see the floor, and have a helper inside with a flashlight. Use a garden hose with a gentle flow or a soft shower setting rather than a pressure washer. High pressure can force water past seals that would hold in normal rain, giving misleading results, and it can damage fresh paint, trim, or new rubber.
Work from the bottom of the car upward. Water runs downhill, so if you start at the roof, it will flow over every seal below and you will not know which one failed. Wet one zone, such as the lower edge of a single door, for several minutes before moving on, then work gradually higher: door seams, window seals, the lower windshield corners, A-pillars, the top of the windshield, and finally the roof, drip rails, and rear glass. The helper should watch for drips, dampness, or water tracking along panels and wiring, and you should note each result before moving to the next area.
Keep in mind that where water appears is not always where it enters. Water can travel along a pillar, behind a kick panel, or along a wiring loom before it shows up on the carpet. Placing paper towels or tissue at suspected exit points makes small drips easier to spot. Some technicians also apply a soapy solution to a seal from outside while blowing low-pressure air from inside, or use an ultrasonic leak detector, to pinpoint gaps that a hose test identifies only roughly.
Drying: Removing Water After the Test
Drying matters as much as finding the leak. Restored interiors often include new jute or foam padding, sound deadening, and carpet backing, all of which can absorb water and hold it out of sight. Moisture trapped under these layers can cause mildew, persistent odors, and corrosion on newly painted or repaired floor pans, undoing work that took considerable effort and money to complete.
After testing, lift or remove wet carpet and padding, towel up any standing water, and check less visible places such as the trunk floor, spare tire well, under the rear seat, and inside the door bottoms. Leave the doors and trunk open where it is safe to do so, and use fans to move air across the floor. In a closed garage, a dehumidifier can help pull moisture out of the cabin and padding. Avoid aiming strong direct heat at upholstery, adhesives, or plastic trim, since some materials can shrink, warp, or lose their bond.
Do not reinstall carpet or padding until everything is fully dry, including the underside of the padding. Persistent window fogging or a musty smell after reassembly are signs that moisture remains. If you corrected a leak, repeat the spray test on that zone and dry the car again before considering the job finished.
Practical Implications and Limits
A static hose test cannot reproduce every real condition. At highway speed, air pressure around the body, wind-driven rain, and spray from other vehicles hit seals at angles a hose does not. The body also flexes slightly over uneven roads, which can open a gap that stays closed when the car is parked on level ground. A car that passes a careful garage test may still show a leak on its first drive in heavy rain, so it is worth checking the floors and trunk after early wet-weather use.
New seals can also change behavior over time. Rubber tends to settle and take a set as it is compressed repeatedly, and it stiffens in cold weather, so a marginal seal may pass one test and fail another. When contact is weak, the usual fix is to adjust door, hinge, striker, or glass alignment, or to replace an incorrect seal, rather than add sealant. Broad applications of silicone can hide the actual entry point, trap water behind it, and make later repairs harder.
Drain locations, seal designs, and body construction differ between vehicles, so the factory service manual or a reliable model-specific reference is the best guide to where water should exit and how panels should align. Recording which zones were tested and what was found makes future checks faster. Leaks involving windshield or rear glass installation, or structural seams, may justify a specialist if adjustment and seal replacement do not solve the problem.