How to Verify Vehicle Details by VIN
The Short Answer
A vehicle identification number (VIN) is a unique code assigned to a vehicle by its manufacturer. For cars and light trucks built for the US market from the 1981 model year onward, it is 17 characters long and follows a standardized format. To verify a vehicle's details, find the VIN in several places on the vehicle and its paperwork, confirm the numbers match, run the VIN through a decoder to see the factory description, and then compare that description, plus recall and title records, against the actual vehicle and the seller's claims.
Two conditions change what you can expect. First, a VIN decode describes how the vehicle was built at the factory, such as make, model, model year, body style, engine and assembly plant. It usually does not list every optional feature or package, and it cannot show aftermarket changes. Second, vehicles built before 1981 used manufacturer-specific formats that were often shorter, so standard decoders may return incomplete or no results for them.
What the 17 Characters Mean
Knowing the structure helps you spot errors and understand what a decoder is reading. Modern VINs never use the letters I, O or Q, to avoid confusion with the numbers 1 and 0. If a VIN contains one of those letters, it has been miscopied or is not genuine.
Position | Name | What it identifies; 1–3 | World Manufacturer Identifier (WMI) | Country or region of origin and the manufacturer; 4–8 | Vehicle Descriptor Section | Attributes such as model line, body type, restraint system and engine, as defined by the manufacturer; 9 | Check digit | A calculated digit used to detect transcription errors or invalid VINs; 10 | Model year | A code letter or number for the model year; 11 | Plant code | The assembly plant; 12–17 | Production sequence | The individual vehicle's serial number
The model-year codes in position 10 repeat on a 30-year cycle, so the same code can stand for two different years. Decoders account for this, but it is still worth confirming the year against the title and registration.
Before You Start
Access to the vehicle in good light, plus a flashlight for reading the dashboard and door labels; The title, registration and, if available, the insurance card or sales paperwork; A phone or notepad to record the VIN exactly as it appears in each location; An internet-connected device to use a VIN decoder and recall lookup; Optionally, the original window sticker or build documentation, if the seller has it
Step-by-Step: Verifying a Vehicle by Its VIN
Step 1: Locate the VIN on the vehicle
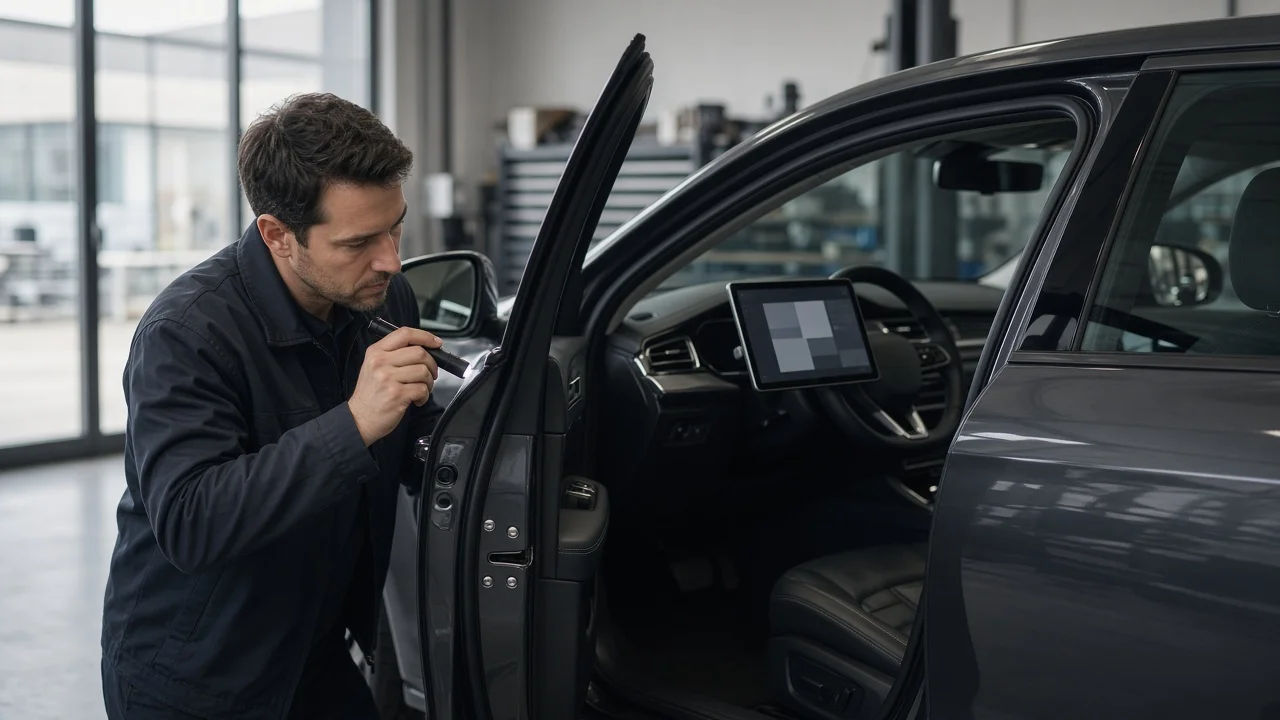
The most common location is a plate on the dashboard at the lower corner of the windshield on the driver's side, readable from outside through the glass. A second location is the label on the driver's door jamb or the pillar it closes against. Many vehicles also carry the VIN, or part of it, stamped on the frame, engine or other components, but these locations vary by manufacturer and model. Inspect only what you can see safely from a standing or kneeling position. Do not crawl under a vehicle supported only by a jack; if you need a frame or engine stamping checked, have a qualified technician or inspection station do it on a lift.
Step 2: Compare it with the paperwork
Write down the VIN from each physical location and from the title and registration, character by character. All of them should match exactly. Also look at the condition of the dashboard plate and door label: signs of tampering, loose rivets, scratches around the plate or a missing or replaced door label call for caution.
Stop condition: if any VIN does not match, or a VIN plate or label appears altered, do not proceed with the purchase until the discrepancy is explained and resolved. In that situation, a state motor vehicle agency or law enforcement VIN inspection is the appropriate next step, as requirements vary by state.
Step 3: Decode the VIN
Enter the VIN into a decoder. The National Highway Traffic Safety Administration (NHTSA) provides a free decoding tool based on the information manufacturers submit to it, and many commercial services offer decoders as well. A decoder will typically flag a VIN with an invalid check digit, which suggests either a typing mistake or a VIN that is not legitimate. Retype it carefully before drawing conclusions.
Review the decoded results for make, model, model year, body style, engine, drive type and assembly plant. Fields left blank are common, because manufacturers do not report every attribute in the same way.
Step 4: Match the decode to the actual vehicle
Compare what the decoder reports with what is in front of you and with the listing. Check that the body style, number of doors, engine type and drive layout agree. A listing that claims a different engine or model year from the decode is a red flag, though a seller's honest mistake is also possible, so ask for an explanation and supporting documents.
Step 5: Confirm features and equipment
If you are trying to find a car's features by VIN, be aware that a basic decode often stops at the model and engine and may not identify trim level, option packages or individual equipment. Better sources for factory equipment include the original window sticker (sometimes called the Monroney label), a build sheet, or a franchised dealer for that brand, which can often look up the factory configuration from the VIN. Some manufacturers and third-party services offer window sticker reproductions, but availability varies by brand and model year. Any feature that is not documented should be checked physically on the vehicle.
Step 6: Check for open recalls
NHTSA offers a free recall lookup by VIN, and many manufacturers provide their own. This shows safety recalls that have been issued for that specific vehicle and whether they remain unrepaired. Recall repairs are performed by authorized dealers for that brand.
Step 7: Review title and history records
Title and history records help confirm whether the vehicle's identity and story are consistent. The National Motor Vehicle Title Information System (NMVTIS) is a federal database of title information, accessible through approved data providers, that can show title brands such as salvage, junk or flood. The National Insurance Crime Bureau (NICB) offers a free lookup that can indicate whether a vehicle has been reported stolen and not recovered, or reported as a salvage vehicle by participating insurers. Commercial history reports may add details such as reported accidents, service records and ownership changes.
When reading these reports, compare the model, year and odometer readings with the vehicle and the title. Look for title brands, gaps in records, odometer readings that go backward, and registrations in regions prone to flooding shortly before sale. Keep in mind that every report depends on what was reported to its sources; an accident repaired without an insurance claim or police report may not appear at all. A clean report is not proof of a clean history.
Step 8: Confirm your results
Your verification is complete when all of the following are true: the VIN matches in every physical location and on all documents; the decode agrees with the vehicle's model, year, body and engine; claimed features are documented or physically confirmed; recall status is known; and title and history records show no unexplained brands, theft records or inconsistencies. If any item fails, resolve it before buying.
What a VIN Check Cannot Tell You
A VIN identifies the vehicle and links it to records, but it says nothing about the vehicle's current mechanical condition. Wear, hidden damage, poor repairs and maintenance quality can only be assessed through a physical inspection. For a used purchase, a pre-purchase inspection by an independent qualified mechanic is the most reliable way to evaluate condition, especially for brakes, suspension, steering, structural damage and anything else that affects safety.