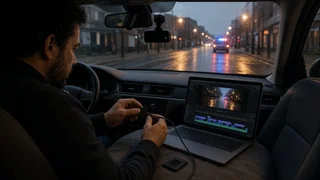
How to Submit Dash Cam Evidence to Police
The Short Answer
To give dash cam footage to the police, contact the law enforcement agency handling the incident, get a report or case number, and ask how that agency accepts digital evidence. Before you hand anything over, save an unedited copy of the original video file. Then submit it the way the agency specifies, which is often an online upload link, an in-person drop-off on a USB drive or memory card, or collection by an investigating officer. Include a short written statement that identifies the case and explains what the clip shows.
Three things change how this works. First, in an emergency involving injuries, danger or a crime in progress, call 911 before you think about the footage. Second, if no report exists yet, you usually need to file one or reach the responsible agency before anyone will accept evidence. Third, procedures differ between police departments, sheriff's offices and state highway patrols across the US, so the agency's own instructions take priority over any general guide, including this one.
Key Terms
Dash cam: a camera mounted in a vehicle that records the road, and on some models the cabin or rear view, usually to a removable memory card. Loop recording: a mode in which the camera records continuously and overwrites the oldest files when the card fills. This is the main reason footage gets lost after an incident. Event or locked file: a clip the camera protects from loop overwriting. Some cameras lock a clip automatically when a built-in motion sensor (often called a G-sensor) detects an impact. Others let you lock it with a button. Metadata: information stored with the video, such as date, time, and on some cameras GPS location and speed. Editing or converting a file can remove or change it. Chain of custody: a record of who has held the evidence and how it was handled. It helps show the footage was not altered.
Before You Start: What You Need
The dash cam, its memory card, or both. A computer, or the camera maker's phone app if your model transfers files that way. A card reader if your computer has no matching slot. Backup storage, such as a second USB drive, an external drive or a computer folder you will not clean out. The incident details: date, approximate time, location, direction of travel, and any plate numbers or vehicle descriptions. The report or case number, if a report has already been filed. The user manual for your camera, which explains how to lock, export and play back files on that specific model.
Step-by-Step: Submitting Your Footage
1) Deal with safety and emergencies first
If anyone is hurt or the scene is dangerous, call 911 and follow the dispatcher's instructions. Do not handle the camera or review footage while driving or while standing in traffic. Move to a safe place before touching the device. If police respond at the scene, tell the officer you have dash cam video. They may give you instructions or collect it directly.
2) Protect the footage from being overwritten
Because of loop recording, an important clip can be overwritten if the camera keeps running. Once it is safe to do so, lock the relevant clip using the camera's emergency or lock function. If you are unsure the clip is protected, stop recording or power the camera off and remove the memory card. Lock behavior and storage folders differ between brands and models, so check your manual rather than assuming. Stop here and seek professional help if the card is damaged or the files will not open. Repeated attempts to read a failing card can make recovery harder, and a data recovery specialist is better placed to retrieve files than trial-and-error software.
3) Copy the original files without changing them
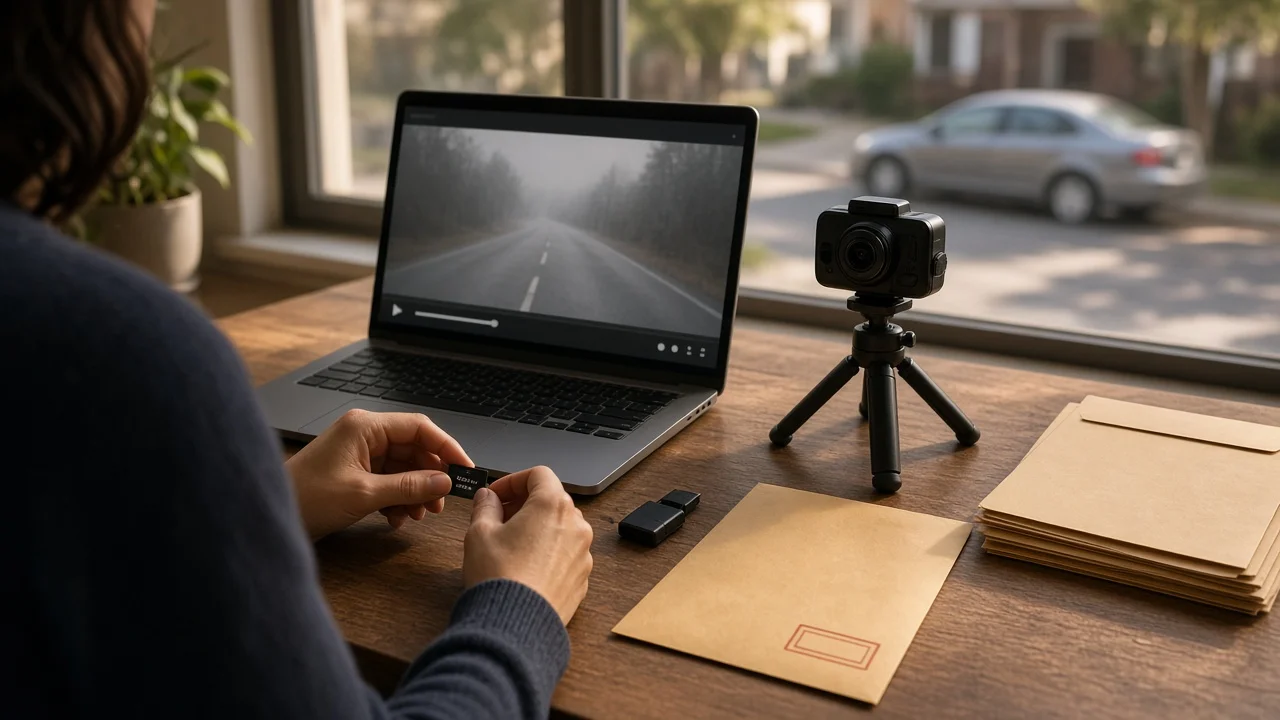
Copy the relevant video files from the card or app to your computer. Then make a second backup copy somewhere else. Do not trim, crop, add music or text, apply filters, convert the format, or compress the files before submission. Avoid renaming them as well, since many cameras put the date and time in the file name. Any of these changes can remove metadata or raise questions about whether the footage is authentic. If you want a short highlight clip for your own reference, make it from a separate copy and still submit the originals. Copy the files from the minutes leading up to and following the incident too, not only the moment of impact, because context can matter to investigators.
4) Review the footage and write down what it shows
Watch the copy, not the only original, and write down the timestamps of key moments, visible plate numbers, vehicle descriptions, road conditions and the location. Check whether the camera's clock was correct. If the date or time is wrong, for example because the clock was never set or did not adjust for daylight saving time, note the difference in your statement. Do not try to correct it in the file.
5) Identify the right agency and get a case number
Footage generally goes to the agency with jurisdiction where the incident happened. Depending on the road and location, that may be a city police department, a county sheriff's office or a state highway patrol, not necessarily the department near your home. If an officer already took a report, use that agency and that report number. If no report exists, call the agency's non-emergency line or use its reporting process to file one or ask whether one exists. Officers can usually match your footage to an investigation only if you give them a case number or precise incident details.
6) Ask how the agency accepts digital evidence
Ask the agency, ideally the investigating officer or the unit named on your report, how they want to receive video. Ask whether there are file size or format limits, whether they need the original memory card, and whether you should include a written statement. Some agencies send a secure upload link connected to the case. Others ask you to bring the files in person. Follow their method rather than choosing your own.
Method | How it usually works | What to confirm; Secure upload link or portal | The agency sends a link tied to your case and you upload the original files | Whether the link expires, any size limits, and whether you receive an upload confirmation; In-person drop-off | You bring files on a USB drive or the memory card to a station or records unit | Whether they keep the card or drive, and whether you get a property or evidence receipt; Officer collection | The investigating officer copies or collects the footage directly | The officer's name and badge or ID number, and the case number it was logged under; Email | Some agencies may accept short clips this way, though large video files often exceed attachment limits | Whether email is acceptable for this case or a different method is preferred
7) Prepare a short written statement
Include your name and contact information, the case number, the date, time and location of the incident, the camera's make and model, any known clock offset, and timestamps of the key moments in the files. State plainly that the files are unedited originals copied from the camera. Describe only what you saw and what the video shows, without guessing about fault.
8) Submit and document the hand-off
Submit the files using the agency's chosen method. Record the date and time of submission, the method used, the name of the person who received the files, and which files you sent. Keep any receipt, confirmation message or reference number. If you hand over the original memory card, keep your backup copies, and stop using that camera until you have a replacement card so new recordings do not mix with the evidence.
9) Confirm receipt and follow up
If you have no confirmation after submitting, contact the agency and ask whether the footage was received and attached to the correct case. Keep your copies until the matter is resolved, including any insurance claim or court case that follows. Be aware that you may be contacted as a witness, and if the case goes to court you could be asked to confirm how the footage was recorded and handled.
How to Know You Are Done
The relevant clip is locked or copied, so loop recording cannot overwrite it. You have at least two unedited copies stored in separate places. The footage was submitted to the agency with jurisdiction, using the method it requested. The submission is linked to a report or case number. You have a confirmation, receipt, or the name of the person who received it. Your written statement notes any clock error and the key timestamps.
Limits and Cautions
Footage you submit becomes part of the investigation and may be reviewed for everything it shows, including your own driving. If you were directly involved and are worried about liability, consider speaking with an attorney licensed in your state before submitting. Audio recording rules also differ between US states, and some require the consent of everyone recorded, so check local law if your camera records cabin audio. Avoid posting the footage publicly before police have it, since doing so can complicate an investigation and raise privacy issues.
This guide covers general practice only. It does not include agency-specific deadlines, upload systems, phone numbers, file size limits or state statutes, because none were verified for this article. Confirm those details directly with the agency handling your case, and use your camera manufacturer's instructions for model-specific steps such as locking clips and exporting files.