Repair cracks in car body panels
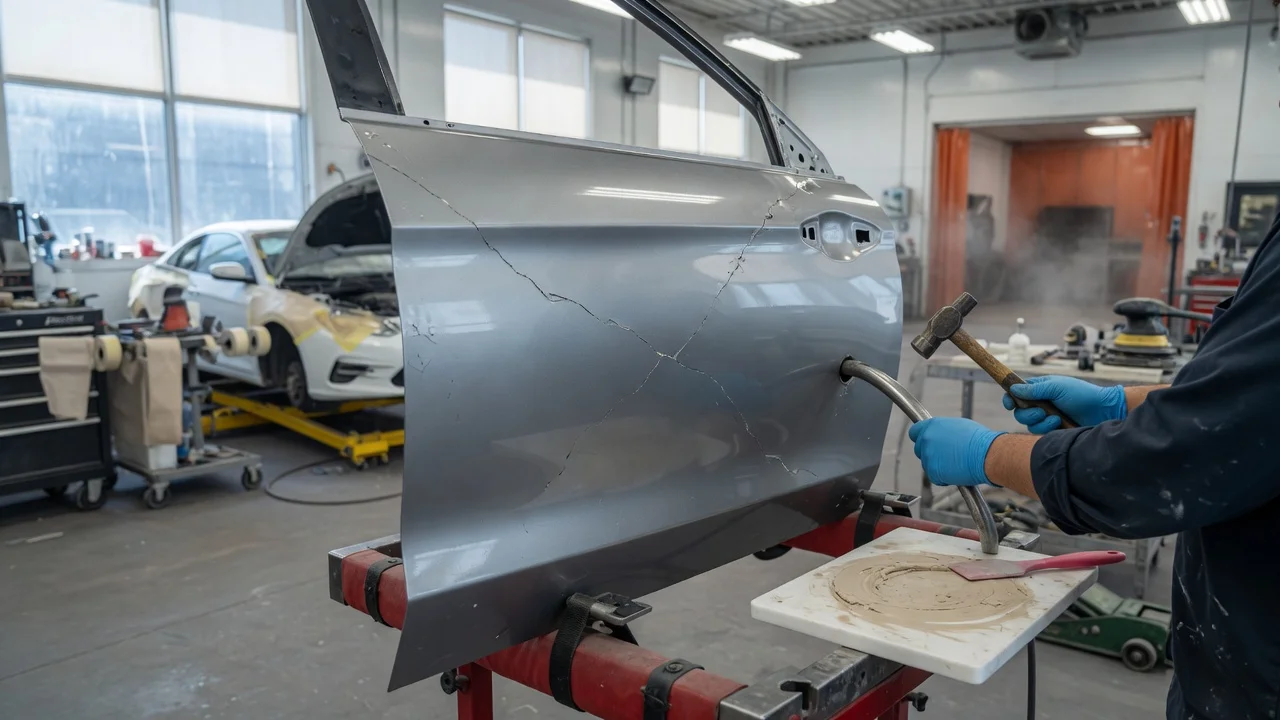
Can a crack kit fix a body panel?
A body-panel crack kit can close a small, stable crack when the panel is still sound, the crack has not reached a mounting point or crush structure, and the kit chemistry matches the panel material. Plastic bumpers, steel skins, aluminium panels and fiberglass each need a different repair method. A kit restores continuity so the crack does not keep spreading; it does not restore factory crash performance or a perfect colour match on its own.
Stop using a kit and have the vehicle inspected if the crack sits in a structural member, a weld, a door-intrusion beam, a bumper energy absorber, or a rust-through hole. The same applies if the panel flexes open under light hand pressure, if paint is bubbling from corrosion under the crack, or if the panel no longer lines up with adjacent gaps.
Identify the panel before you buy a kit
The repair fails when the adhesive, filler or weld rod is made for a different substrate. Check the owner’s handbook, a parts diagram for your model year and market, or the back of the panel where a material mark is sometimes moulded in. Unresolved differences between trims—steel versus aluminium doors, plastic versus steel bumper covers—mean you cannot assume a kit that worked on one vehicle will work on another of the same nameplate.
Panel type Typical location Kit approach that matches What a mismatch does; Thermoplastic bumper or cladding Bumper cover, rocker moulding, grille surround Plastic welding rod of the same family, or a two-part structural plastic adhesive rated for that plastic Body filler or metal epoxy stays brittle and the crack reopens when the bumper flexes; Steel outer skin Fender, door skin, bonnet, boot lid, roof Metal-compatible epoxy or fiberglass-reinforced body filler after the crack is V-grooved and rust is removed Plastic bumper adhesive will not key to steel; leftover rust continues under the repair; Aluminium outer skin Some doors, bonnets and wings on later or higher trims Aluminium-compatible filler and adhesive; no steel-only rust converters used as a substitute for proper prep Steel-oriented products can corrode the aluminium around the joint; Fiberglass or SMC Some sports roofs, lids and older aftermarket panels Fiberglass cloth or mat with polyester or epoxy resin as the kit specifies Flexible bumper adhesive lacks stiffness; metal filler can crack on a thin laminate
If the plastic type is unmarked, a bumper-repair kit that lists several common families (often polypropylene and related blends) is the usual starting point, but only if the product states those plastics. Do not treat “universal body filler” as a bumper crack repair.
What a typical kit contains
Kits are sold for a job class, not as a single all-purpose product. Read the label for substrate, indoor or outdoor use, and whether the repair is meant to be painted.
Plastic kits: welding rod or mesh, two-part adhesive, mixing nozzles, sometimes a reinforcing patch and a plastic-compatible filler. Metal kits: rust-removing prep, two-part epoxy or fiberglass filler, spreaders, abrasive sheets, and a finishing glaze. Fiberglass kits: resin, hardener, cloth or mat, and a release film or spreader. Finish items are often sold separately: etch or epoxy primer, high-build primer, colour, and clearcoat matched to the vehicle’s paint code.
A kit that only includes cosmetic glaze will hide a hairline on a rigid, rust-free steel skin for a short time. It will not hold a through-crack in a bumper or a load-bearing flange.
How to choose among kits
Match material first, then crack type: through-crack, surface split, or tear at a mounting hole. Prefer a structural adhesive or weld for a crack that goes through the panel; use finishing filler only after the crack is bridged. For flexible plastic, choose a product described as remaining flexible after cure. Rigid filler on a bumper cover will crack again. For steel, the kit must allow rust to be removed to bright metal. If perforation is already present, the kit is the wrong product. Confirm the repair can be sanded and painted if the area is in the painted body colour. Some adhesives stay glossy or slightly rubbery and will print through paint. Check the stated service temperature and whether the panel sits near exhaust heat or a lamp housing. If the crack runs into a sensor, camera, washer jet or lamp seal, plan to remove that part rather than burying it in filler.
Prep and repair sequence
Work on a clean, dry panel at the temperature the kit specifies. Wash off road film, then degrease. Remove trim that blocks the crack. From the back of the panel if you can reach it, you get a stronger joint than filling only the painted face.
Stop-drill or round the ends of a spreading crack only if the kit or a body-repair procedure for that material calls for it. On thin plastic this can start a new tear if the hole is too large or too close to an edge. Open the crack into a shallow V on both faces where accessible so adhesive or filler has a mechanical key. On plastic, a coarse scuff and a reinforcing mesh or weld on the reverse side does more than face filler alone. On steel, grind to clean metal, remove rust, and treat only with products compatible with the filler and primer you will use. Do not trap scale under epoxy. Align the panel so the crack is closed and the outer profile is fair. Tape, clamps or a backing board hold alignment while the adhesive cures. Misalignment shows as a ridge after paint. Apply the structural product first. After it reaches the stated sanding stage, apply finishing filler in thin layers rather than one heavy dump. Sand progressively, then prime. Guide-coat the primer to find lows. Colour and clearcoat follow only after the primer is sealed and the surrounding blend area is prepared.
Cure times, mixing ratios and sanding grits belong on the kit instructions for that product. Using leftover hardener from a different brand, or painting over tacky resin, is a common reason repairs fail later.
When the kit is the wrong next step
The crack crosses a crumple zone, strut tower, sill, chassis rail or bumper beam. The panel is aluminium and you do not have aluminium-specific prep and filler. Rust has eaten through, or the inner structure behind a steel skin is flaking. The bumper cover is torn at a parking-sensor or headlamp mount and the mount itself is broken. You need a factory colour match on a metallic or three-stage paint and have no paint code, spray-out card or blending plan. Airbags, pedestrian-protection actuators or radar units sit in or behind the damaged cover. Those parts need correct fasteners and aiming after the cover is repaired or replaced.
Replacement of the outer panel or bumper cover is often cleaner than a large crack repair when the part is inexpensive relative to paint and labour, or when multiple cracks meet at a corner. That choice depends on your model year, market and the price of the painted part, which you should confirm from a dealer or dismantler for the exact vehicle rather than from a generic kit listing.
Safety and finish quality
Resins, isocyanate paints and grinding dust need the ventilation, gloves and respirator the product labels require. Keep sparks and open flame away from solvent and polyester resin. Do not grind through a panel into a fuel, brake or wiring run.
A structurally closed crack can still telegraph through paint if the filler is too proud, the primer is under-cured, or the blend is too tight. Plan the visible finish as a separate job from closing the crack. If you cannot match texture on orange-peel factory paint, a shop respray of that panel is the usual way to hide the repair.
Practical next step
Confirm the panel material and whether the crack is cosmetic or structural. Buy a kit labelled for that material and for a through-crack if the split goes all the way through. If the panel is steel with rust-through, aluminium without the right materials, or a bumper torn at a mount or sensor, skip the kit and price a replacement panel or a body-shop repair for your specific vehicle.