Rear Axle Shaft Seal Replacement Cost
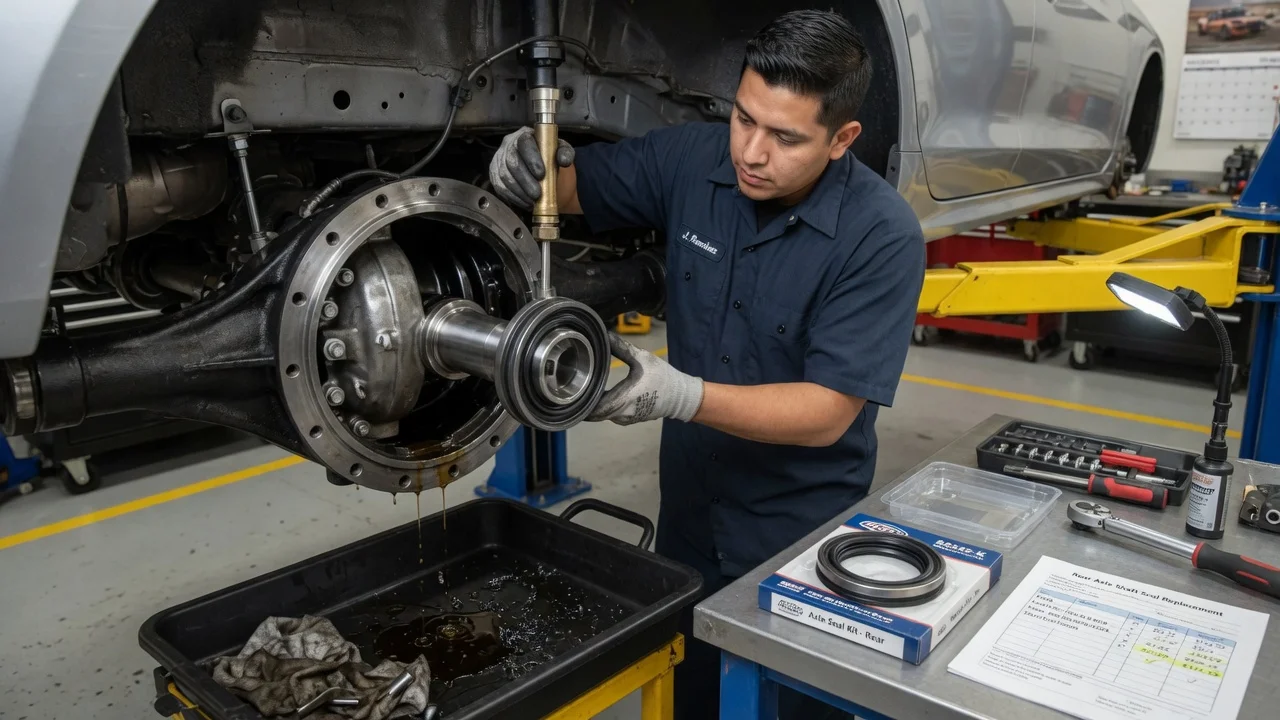
A leaking rear axle shaft seal lets gear oil escape from the axle housing toward the wheel end, where it can reach the brakes. The final bill depends less on the seal itself than on how your axle is built and what the technician finds once the shaft is out. This guide explains what a fair estimate should cover, which factors move the total, and how to compare quotes so you pay only for the work your vehicle needs.
What the estimate includes
On most solid rear axles, the seal sits at the outer end of the axle housing, next to the wheel bearing. Replacing it usually means removing the wheel and the brake drum or caliper and rotor, then pulling the axle shaft. On C-clip designs, the differential cover comes off and the gear oil is drained so the clip can be released. On bearing-retained designs, the bearing and its retaining ring may have to be pressed off the shaft, which normally means installing a new bearing. Afterward the axle is reassembled, the cover is resealed if it was removed, and the differential is refilled with the fluid type and quantity listed in the manufacturer specifications.
A complete estimate covers diagnosis, the seal, labor, gear oil, any cover gasket or sealant, and shop or disposal fees. A partial quote may list only the part and a labor figure, leaving fluid, gaskets and brake cleanup off the page. Confirm whether the price is for one side or both, because shops often quote per side. Vehicles with independent rear suspension use output seals at the differential rather than wheel-end seals, so make sure the quote describes the seal your vehicle actually has.
What changes the cost
Vehicle configuration sets the baseline labor. A C-clip axle, a bearing-retained axle and a full-floating axle, where the seal lives in the hub, each require a different procedure and different tools. Rear disc brakes with a drum-style parking brake inside the rotor can add disassembly steps, and a limited-slip differential may need a specific gear oil or friction modifier. Rust matters too: on older vehicles or those driven on salted roads, seized brake hardware, cover bolts or retaining hardware can add time beyond the standard labor estimate.
The biggest swings come from associated findings. A worn wheel bearing is a common reason a seal fails, so many shops recommend replacing it at the same time, and on pressed-bearing designs it is often unavoidable. If the seal lip has worn a groove into the axle shaft, a repair sleeve or a new shaft may be needed for the new seal to hold. Brake shoes or pads soaked in gear oil generally cannot be cleaned reliably and are usually replaced. A clogged axle vent or an overfilled differential can push oil past a new seal, so these should be checked. Finally, labor rates vary by region and by shop type, so the same job can be priced quite differently across town.
Compare like-for-like options
Dealers, independent shops, mobile mechanics and do-it-yourself repair can all handle this job, but quotes are only comparable when the scope matches. Check that each one specifies the same seal quality, original equipment or aftermarket, the same bearing decision, the correct fluid, the same number of sides and a stated warranty on parts and labor. A seal-only price is not cheaper than a quote that includes the bearing and brake parts if your axle turns out to need them. If the vehicle is still under a powertrain or extended warranty, find out whether axle seals are covered before paying out of pocket, since that depends on the specific terms.
Some shortcuts cost more later. Stop-leak additives and repeatedly topping off the differential may slow a leak but do not fix a failed seal, and running low on gear oil risks damage to the bearings and gears. Driving with oil on the brakes reduces stopping performance on that wheel, which is a safety issue rather than a cosmetic one. Doing the job yourself is realistic for experienced owners with the right tools, but it requires correct shaft removal, careful seal installation, possibly a bearing press, and an accurate refill; a seal driven in crooked or nicked during installation will leak again quickly.
Read an itemized quote
A useful quote lists each part with its brand or part number and whether it is original equipment or aftermarket, the labor hours and hourly rate for each side, the gear oil type and quantity including any limited-slip additive, gaskets or sealant, the diagnostic fee and whether it is credited toward the repair, shop supplies, disposal charges and taxes. With these details you can see where two offers differ instead of comparing only the bottom line.
Look just as closely at what is excluded or conditional. Ask how the shop will handle a worn bearing, a grooved shaft, contaminated brake parts or seized hardware discovered during the repair, and request a call for approval before any additional work. Confirm whether cleaning the brake assembly is included. Get the warranty terms in writing and ask to keep the old parts. Sharing your service history, such as earlier seal or bearing replacements and recent differential fluid service, helps the shop judge whether a repeat failure points to a deeper cause.
Decide the next step
Start with an inspection that confirms the leak source. Gear oil on the inside of the wheel, the backing plate or the inner tire sidewall points toward the axle seal, but a leaking wheel cylinder or caliper can look similar while being a different and more urgent brake problem. Pinion seal and differential cover leaks drip from the center of the axle instead. Have the gear oil level checked at the same visit, because a low level affects how soon the repair should happen.
Before requesting estimates, have your VIN and exact vehicle configuration ready, along with whether the vehicle has a limited-slip differential. Get two or three written, itemized quotes covering the same scope, ask whether the opposite side shows signs of leaking, and check any applicable warranty. Do not postpone the repair if oil has reached the brakes. After the work, follow the differential fluid recommendations in your maintenance schedule, which vary by vehicle and operating conditions such as towing or heavy loads, rather than relying on a generic interval.