Rear Axle Bearing Press and Installation Tools: Choosing the Right Setup
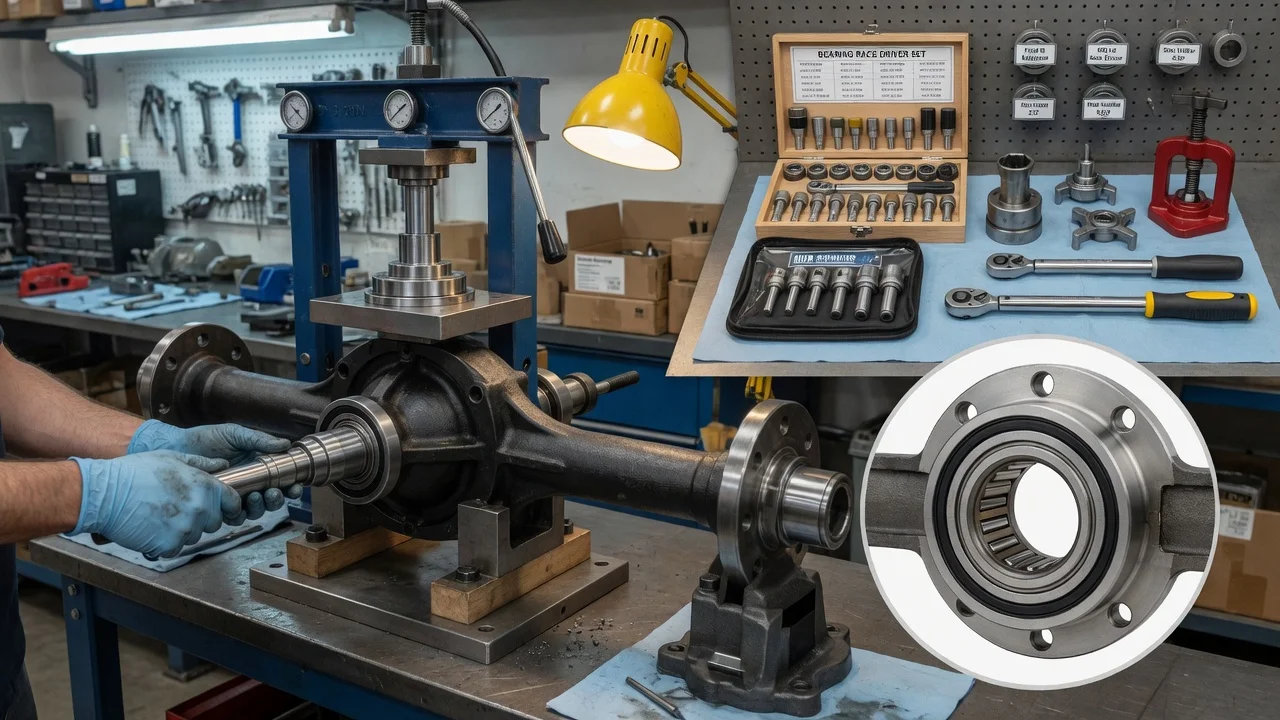
Whether a rear axle bearing job takes an afternoon or a weekend often comes down to the tools on the bench. The right rear axle bearing puller and installer depends on how your axle holds its bearing, the exact dimensions of the parts, and whether you plan to use a shop press or work at the vehicle. This guide explains how to match a press or installation tool to your vehicle configuration so the kit you buy actually fits the job.
Define the job the tool must do
Start with the axle design, because it decides which tools you need at all. On a semi-floating axle retained by C-clips at the differential, the bearing is pressed into the end of the axle housing and its rollers ride directly on the axle shaft. Once the shaft is out, you need a puller that grips behind the bearing inside the tube, usually a slide hammer with expanding jaws. You also need a driver to seat the new bearing and seal squarely. On axles held by a bolted retainer plate, the bearing is pressed onto the shaft and locked by a retaining ring. The shaft comes out with the bearing attached. Replacing it means removing the old ring and bearing, then pressing on new parts. That calls for a shop press with a bearing separator or a dedicated rear axle bearing press tool. Many independent rear suspensions use a hub bearing instead. Bolt-on hub units need no press, while pressed-in units need a hub bearing press kit. Full-floating axles carry their bearings in the hub and generally call for race drivers rather than an axle bearing press.
Then list your practical constraints. A one-time repair on your own truck justifies a different purchase than a kit that will serve several vehicles. Consider where you work and whether you already own a hydraulic press. It may also be simpler to pay a machine shop to press a bearing onto a removed shaft than to buy equipment. If the service history shows earlier axle work, confirm what was installed. A previous owner may have used a repair bearing or a different seal than the original design.
Check compatibility before you buy
Fitment depends on dimensions and interfaces, not on vehicle make alone. For bearings pressed into the housing, the puller jaws must pass through the bearing bore and grip its back edge inside the axle tube. The installer face must match the bearing outer race and the outside diameter of the seal. For bearings pressed onto the shaft, the fixture must support the bearing inner race, clear the shaft diameter, and accommodate the flange, wheel studs and overall shaft length. Identify the exact axle from the service manual, the axle tag, or the parts catalog for your model year and drivetrain. Then measure the parts you remove rather than trusting a listing that claims to fit most vehicles.
Check how the pieces connect. Some kits include a slide hammer and driver handle. Others supply only adapters that thread onto tools you must already own, so confirm thread size and pitch. Look for an application chart that names bearing or seal part numbers, not just vehicle families. Finally, read the installation steps in the manufacturer specifications. Force should go through the race being press-fitted: the outer race when driving a bearing into the housing, and the inner race when pressing one onto a shaft. Seal depth and orientation also matter. A tool that pushes on the wrong surface can damage a new bearing before the wheel ever turns.
Features that affect the choice
For removal, a slide hammer puller is fast and works at the vehicle. However, it relies on impact and can slip if the jaws are worn or the wrong size. A screw-type or bridge puller applies steady force with more control, at the cost of setup time and sometimes clearance. For installation, solid one-piece drivers sized to a specific bearing locate more squarely than stacked universal discs, while a disc set covers more sizes. For pressed-on bearings, a hydraulic shop press with a bearing separator is versatile. A dedicated mechanical rear axle bearing press is compact and purpose-built, but it is limited to the shaft and bearing sizes it was designed for.
Judge build quality by things you can verify: machined adapter faces, clear size markings, hardened jaws, legible instructions, and the availability of replacement parts. Labels such as professional grade or universal fit mean little without a dimension list. If a press or puller carries a capacity rating, check what it applies to and stay within it. A fitted case is worth having, since a missing adapter is the usual reason a kit fails on the day of the job.
Limitations and ownership costs
No puller or installer fixes a damaged part. On C-clip axles, the shaft serves as the inner bearing surface, so a pitted or grooved journal will quickly wear a new bearing. The options are a new shaft or, where one is offered for your application, a repair bearing designed to ride on a different section of the shaft. Pressed-on retaining rings are single-use, and many service procedures warn against using heat on the shaft. Budget for consumables as well: axle seals, retaining rings, a differential cover gasket or sealant, and gear oil of the specified type. Add any friction modifier your differential requires, plus gaskets or O-rings for retainer plates.
Ownership also involves care and safety. Keep adapters clean and lightly oiled, and inspect slide hammer threads and puller jaws for wear. Replace damaged pieces rather than forcing them. Pressing parts stores a lot of energy, so wear eye protection, keep the work centered, and use guards where provided. Account for bench space and storage too. If you expect to do this job only once, compare the kit price against having a shop press the bearing onto your removed shaft.
Build a practical shortlist
Before comparing prices, confirm the axle design and retention method from the service information. Then record the bearing and seal dimensions or part numbers, and decide whether the work will happen at the vehicle, on a bench press, or partly at a shop. With that settled, compare candidate kits on a few points. Does the application chart list your parts? Is the needed slide hammer, handle or press included, or do you already own it? Do the drivers contact the correct bearing race? How complete are the instructions, and can replacement adapters be bought separately? Add consumables and gear oil to the total so that each kit is judged on the real cost of the job, not just its sticker price.
After installation, follow the manufacturer's procedure for fluid fill and inspection. Check the seal area for leaks after a short drive and listen for new noise. Bearing life depends on load, operating conditions and the parts used. Use the maintenance schedule for your vehicle, rather than a generic interval, to decide when to check the axle again.