Install a Chicco NextFit Rear-Facing: What the Job Involves and What to Check
The short answer
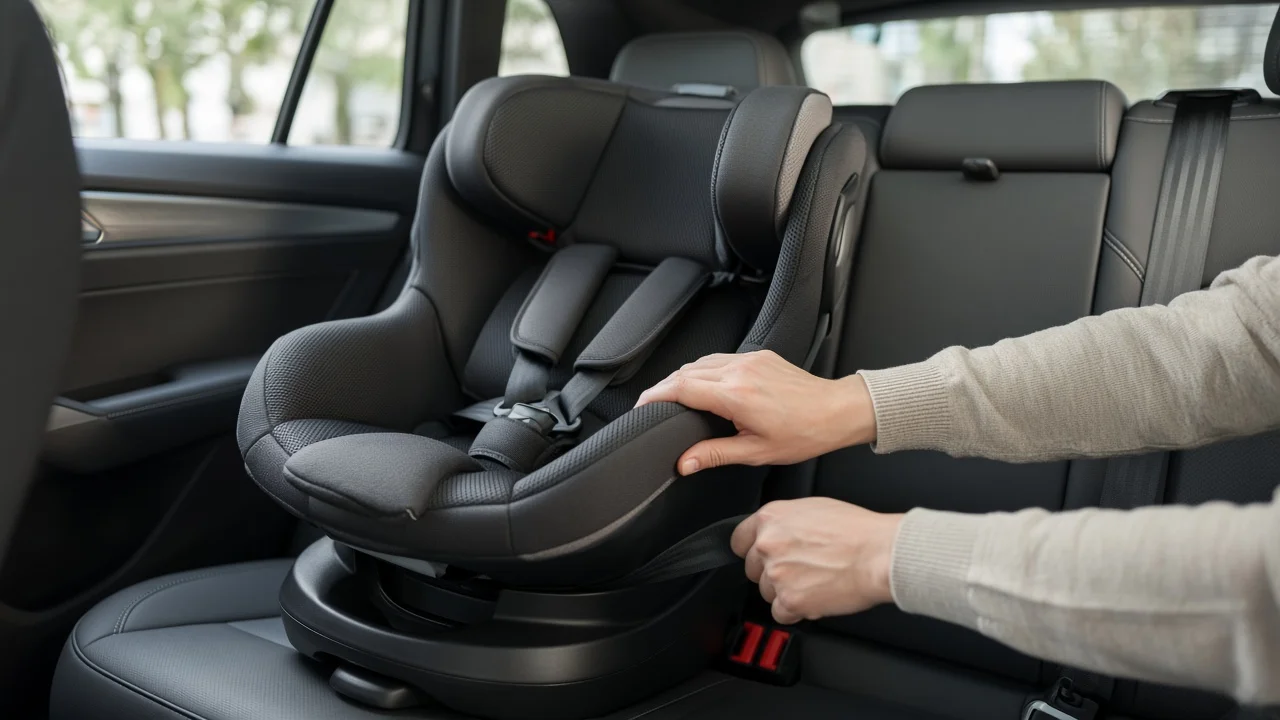
A Chicco NextFit convertible car seat is installed rear-facing in the same basic way as most convertible seats. You secure it to the vehicle with either the lower anchors (the LATCH system) or the vehicle seat belt, routed through the seat's rear-facing belt path. You set the recline so the seat sits within the angle the manufacturer allows, tighten until the seat barely moves at the belt path, and then adjust the harness to fit the child.
The details that decide whether your installation is correct come from two documents: the NextFit owner's manual with the labels on the seat, and your vehicle owner's manual. This guide explains the general process and the checks that apply to it. It does not replace either manual.
What this guide can and cannot confirm
No verified specifications for the NextFit were available for this article. That includes rear-facing weight and height limits, lower-anchor weight limits, recline positions and model-year changes. These figures are therefore not stated here. The NextFit name may also cover more than one version, and features or limits can differ between versions and production dates. Before you install the seat, check the labels on your seat and the manual that came with it, or the current manual for your exact model.
Before you start
Confirm that the child is within the seat's rear-facing limits printed on the seat label and in the manual. Check the seat's expiration date and confirm the seat has not been in a crash. Follow the manufacturer's guidance on crash replacement. Read the car seat section of your vehicle manual. It shows which seating positions have lower anchors and whether any positions are unsuitable for a child seat. Never place a rear-facing seat in front of an active frontal airbag.