How to Use a Hitch Bike Rack
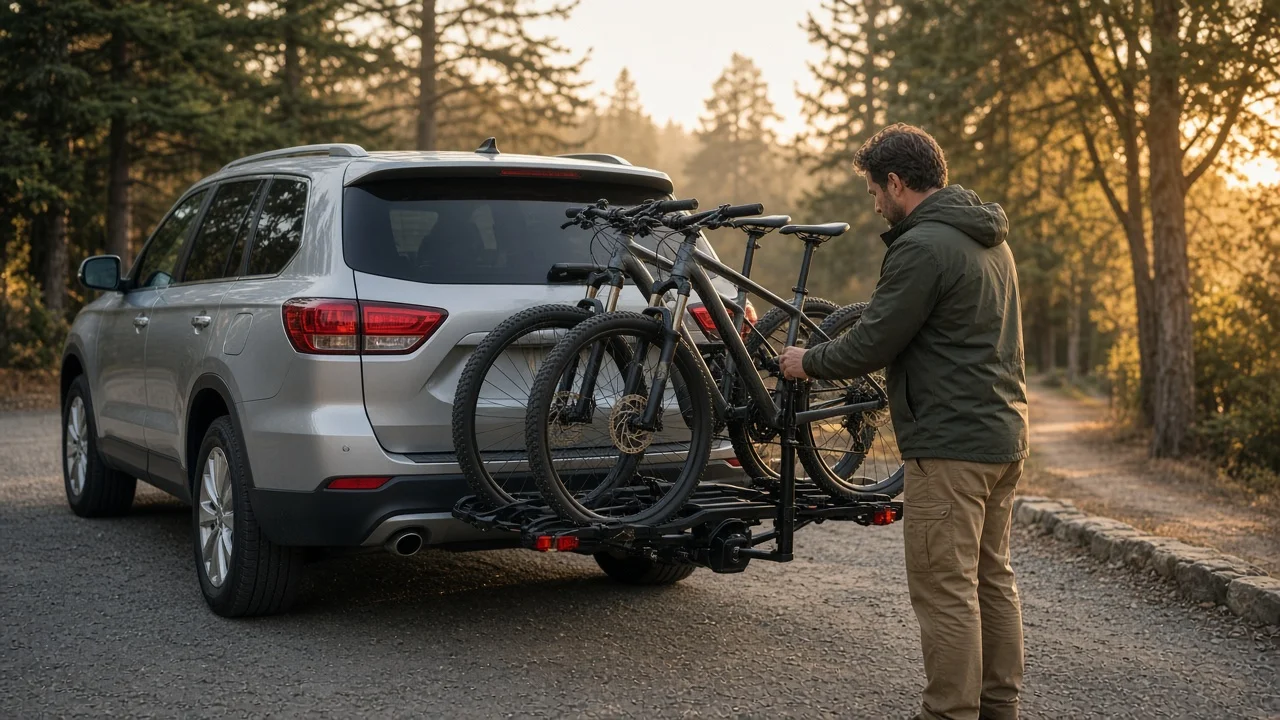
A hitch bike rack turns a vehicle’s receiver mount into a stable way to carry bicycles without lifting them onto a roof. The procedure begins with confirming that the receiver, rack shank, retaining pin, bike capacity, and load rating all match, then securing the rack before loading bicycles and checking clearance. Using the rack correctly reduces sway, protects the vehicle and bikes, and keeps the load within the hitch class limits.
Direct answer
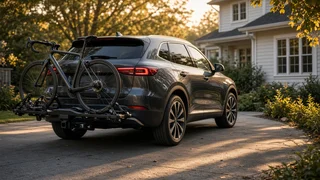
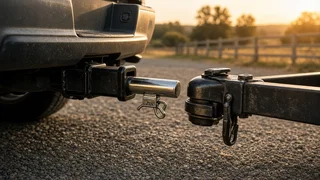
Using a hitch bike rack means inserting the rack’s shank fully into the receiver mount, aligning the pinholes, and installing the retaining pin or locking bolt. The rack must sit close to the bumper without excessive play, and the bicycles should be loaded with the heaviest frame nearest the vehicle. Before driving, confirm that the anti-rattle mechanism is snug and that the rack does not block lights, the license plate, or rear camera view.
A correct setup depends more on fit and sequencing than on force. The rack’s load rating and the vehicle’s hitch class set the outer limit, but uneven bike placement can still create sway or sag. If the receiver is dirty or corroded, clean it first so the shank fully seats. A partially inserted rack can concentrate stress on the retaining pin and allow movement that damages the receiver or nearby bodywork.
How to proceed
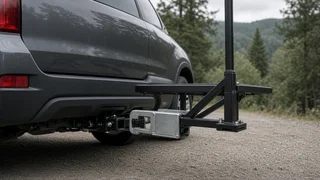
Start by checking the receiver for debris and damage, then slide the rack shank in until the pinholes line up. Insert the retaining pin completely and tighten any anti-rattle wedge or lock. Shake the rack once; movement should be small and not create a metallic strike. If the rack tilts significantly, remove it and inspect the shank, receiver, and pin for wear or an incorrect fit before proceeding.
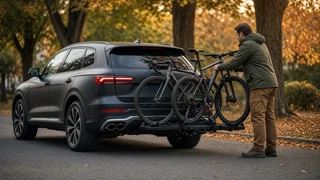
Load bicycles from the position closest to the vehicle outward, alternating handlebar directions when the rack design allows so grips and saddles do not collide. Use the rack’s frame hooks, wheel trays, and straps in the order shown by its design, and avoid attaching only by a wheel or a suspension part. Finally, walk around the vehicle to check ground clearance, pedal clearance at full suspension travel, and visibility of the rear lamps and plate.