How to Use a Thule Hitch Bike Rack
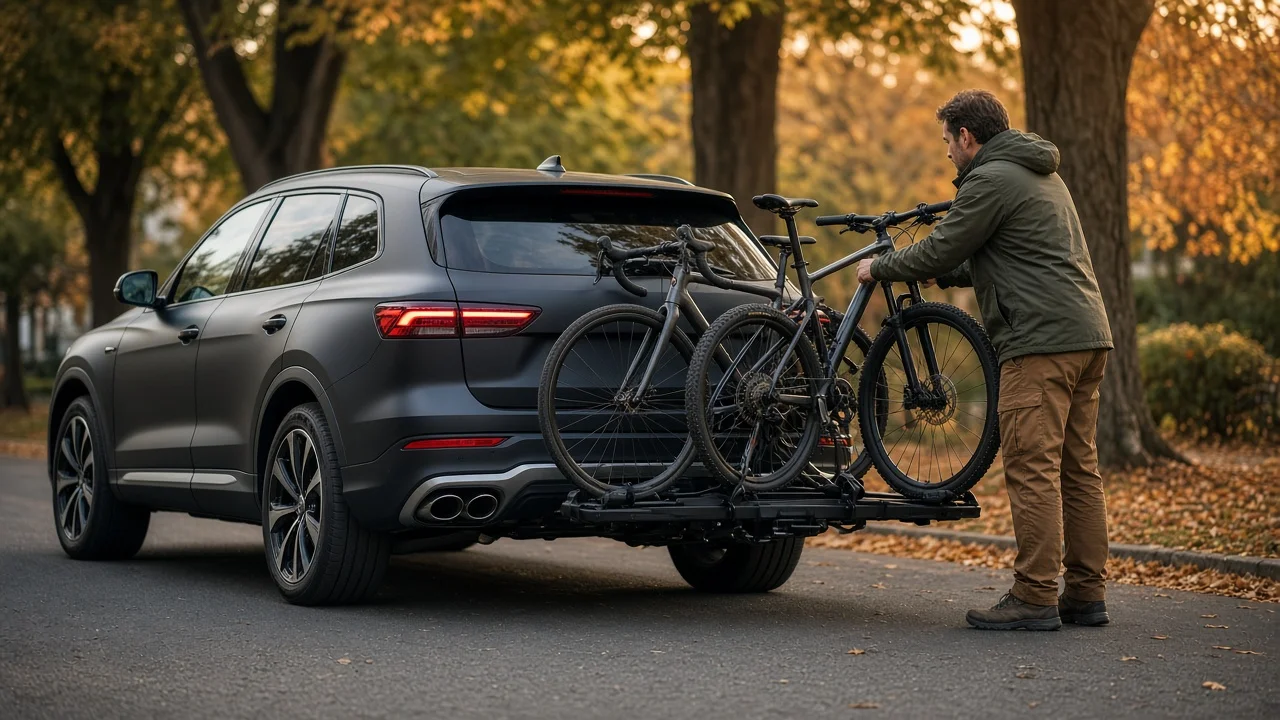
A Thule hitch bike rack carries bicycles on a receiver mount at the rear of a vehicle, but safe use depends on matching the rack to the hitch class and bike capacity. Correct setup starts with checking the retaining pin, ground clearance, and load rating before loading bikes. This guide explains the essential answer and a practical sequence for installing, securing, and verifying the rack so bicycles remain stable during travel.
Direct answer
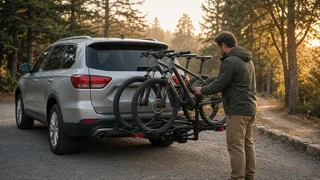
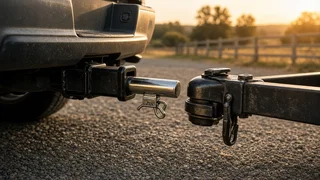
To use a Thule hitch bike rack, first confirm that the rack's shank fits the vehicle's receiver mount and that the hitch class supports the rack's loaded weight. Insert the rack into the receiver, align the pin holes, and secure it with the retaining pin or locking hardware supplied by Thule. Then fold the rack into its carry position, load the bicycles according to the rack's bike capacity, and fasten each frame and wheel using the integrated arms and straps.
The correct sequence matters because a loose retaining pin allows rocking at the receiver, which can amplify movement at the bike trays and reduce ground clearance. Before driving, check that the rack does not obscure the license plate or taillights and that the loaded bicycles do not block the driver's rear view. If the rack uses a threaded anti-rattle device, snug it enough to remove vertical play without overtightening, since excessive force can make later removal difficult.
How to proceed
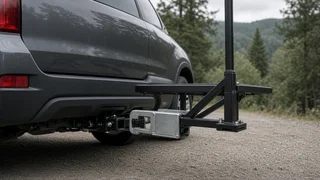
Begin by verifying the hitch class and load rating of both the vehicle and the Thule rack. If the receiver has accumulated dirt or corrosion, clean the inside so the shank slides fully and the retaining pin aligns without forcing. Insert the rack, install the retaining pin through the matched holes, and secure any locking mechanism. Lift or unfold the main mast away from the vehicle body until the carry arms click into place, making sure you have enough clearance to stand behind the rack while working.
Load the heaviest bicycle closest to the vehicle and alternate frame directions to reduce bar and crank interference. Place each bike on the cradles, then close the frame hook or ratcheting arm around a stable tube. Secure the wheel straps so tires cannot roll or rotate, and shake the rack gently to check for movement at the receiver. Before departure, walk around the vehicle to confirm that the rack, bicycles, and straps are clear of hot exhaust outlets and that folded or low-hanging parts retain adequate ground clearance for driveways and dips.