How to Remove Dust From a Textured Dashboard
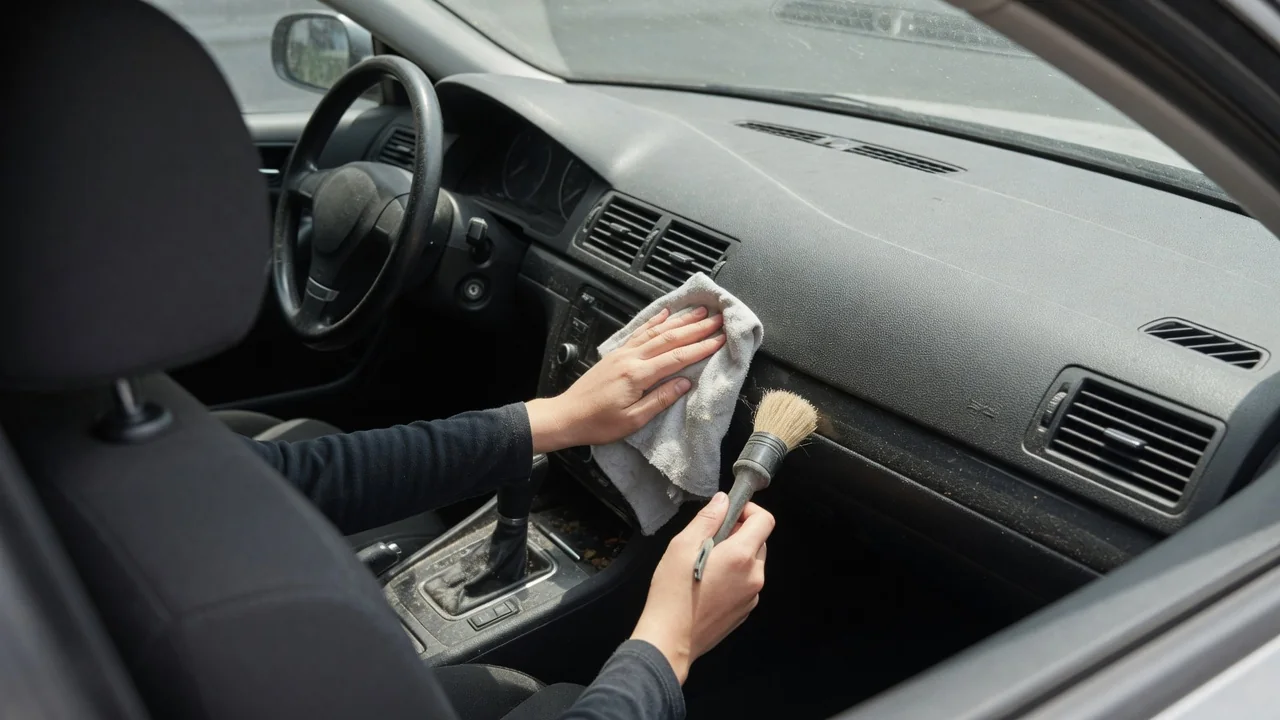
Textured dashboards hide dust well until sunlight hits them at a low angle, and then every grain and pore seems to hold a gray film. Learning how to remove dust from a textured dashboard comes down to lifting particles out of the grain instead of pushing them deeper, using soft tools, light pressure, and very little moisture.
Loosen dust
A grained dash surface is a landscape of tiny peaks and valleys, and dust settles into the low spots where a flat cloth glides right over it. Start dry. A soft-bristled detailing brush, or a clean makeup or paint brush with fine synthetic bristles, can be swept across the surface in short, light strokes to flick particles out of the texture. Working with the doors open and out of direct sun helps, because a hot dashboard softens slightly and holds onto grit more stubbornly.
Pair the brush with a vacuum held just above the surface so the loosened dust is captured rather than drifting onto the instrument cluster or settling back a minute later. A soft brush attachment on the hose works well if its bristles are clean. You should see the gray haze lift and the original color return in the brushed area. Dashboards differ: some use soft-touch coatings that mark easily, others use hard molded plastic, so pressure that suits one may leave shiny streaks on another.
Clean crevices
The hardest dust to reach sits where panels meet: around air vent slats, along the seam at the base of the windshield, beside the infotainment screen bezel, and in the stitching channels of wrapped dashboards. A narrow, long-bristled brush reaches between vent louvers without bending them, and a foam-tipped swab handles the tight corners around buttons and trim rings. Move the debris toward the vacuum nozzle instead of deeper into the gap, where it tends to compact into a visible gray line.
Compressed air can dislodge dust from seams, but short bursts from a distance are safer than a sustained blast, which may drive grit into vents, speaker grilles, or switch gaps. The area where the dash meets the glass is awkward to reach, and a brush with a long handle usually does better than a hand wedged against the windshield. Layouts vary widely, so take a moment to note where sensors, small speakers, or head-up display openings sit on your vehicle, and keep tools and airflow gentle around them.
Wipe residue
After dry removal, a fine film often remains, especially in vehicles where skin oils, vaping residue, or old protectant have bonded dust to the surface. A clean microfiber towel, lightly dampened with water or an interior cleaner labeled for the material, picks this up. Apply the product to the cloth, not the dashboard, so liquid does not run into seams or electronics. Wipe in overlapping passes with light pressure, and fold the towel often so a fresh face is always doing the work.
On deeper grain, a damp towel alone may skate over the valleys. Lightly misting the soft brush with cleaner and working it gently into the texture, then following with a dry microfiber, lifts residue from the low spots. The finish you are aiming for is even and matte, with no patchy gloss. Test any cleaner on a hidden area first, since coatings, dyed vinyl, leather wraps, and faux suede panels react differently, and the owner's manual often lists products the manufacturer advises against.
Everyday Use and Observations
Dust returns quickly because the dashboard sits beneath the windshield, in the path of defroster airflow, and next to vents that circulate whatever the cabin filter lets through. A quick dry pass with a soft brush or a clean microfiber every week or two keeps buildup from bonding, which means the damp step is needed far less often. Keeping a dedicated brush in the door pocket makes this a thirty-second job while waiting in a parking lot.
Pay attention to what the surface tells you. Dust that reappears within a day or two can point to a cabin air filter that is due for inspection, or simply to driving with windows down on unpaved roads. A greasy film that smears instead of lifting usually means leftover dressing rather than dust alone. Glossy protectants tend to attract particles and add windshield glare, so a low-sheen, non-greasy product, if any is used, generally suits textured surfaces better.
Limits and Next Steps
A low-abrasion routine removes loose and lightly bonded dust, but it will not reverse wear. Shiny patches where the grain has been polished smooth, white marks from scuffs, sticky or tacky soft-touch coatings, and sun-faded areas are changes to the material itself. Scrubbing harder, or reaching for melamine sponges, stiff brushes, or household solvents, usually makes those spots larger and more noticeable. Paper towels and worn rags can also leave lint in the texture and fine scratches on nearby gloss trim and screens.
If residue remains after gentle cleaning, repeat the mild process once more before escalating, and consider a professional interior detailer for sticky coatings, staining, or heavy contamination. Be especially careful around airbag seams, where the passenger panel is designed to open, and avoid soaking or prying at those edges. Material types and care recommendations depend on the make, model, and trim level, so the owner's manual or a dealer can confirm what is safe for your particular dashboard before trying a stronger product.