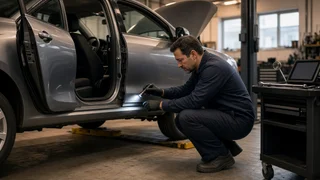
How to read a vehicle inspection report before buying
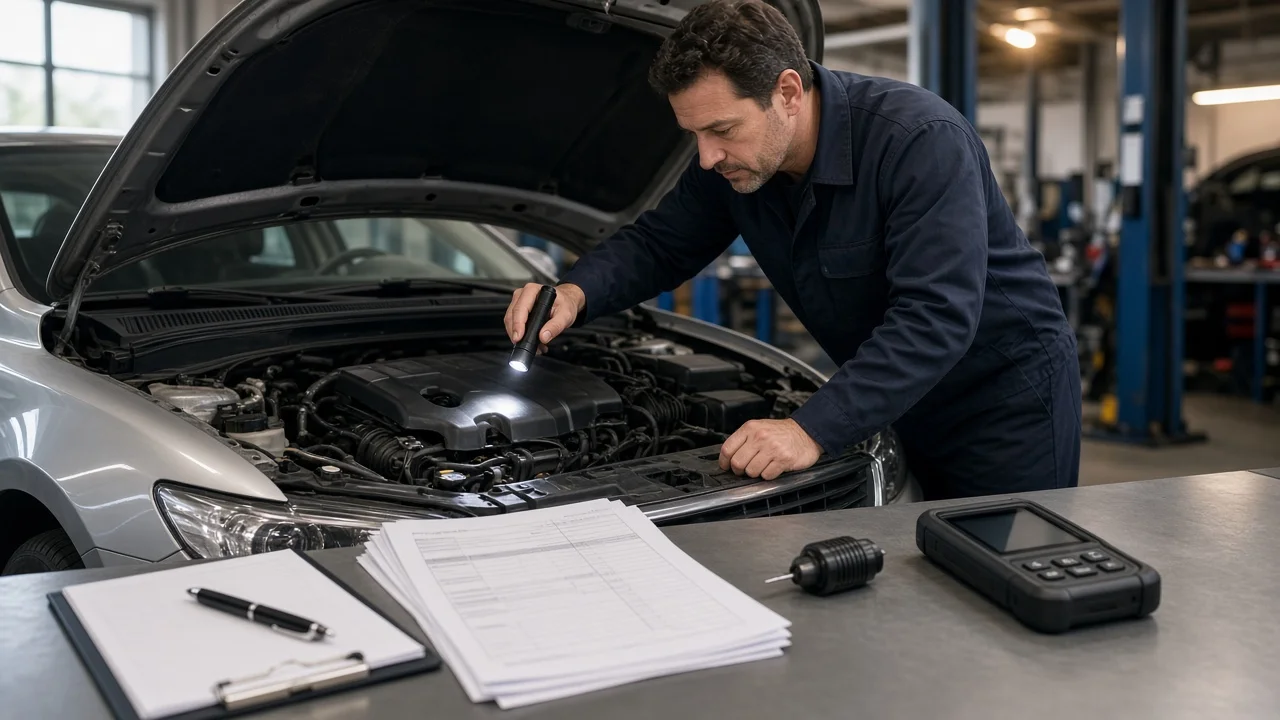
The short answer
A pre-purchase inspection report is a written record of what an independent inspector or mechanic observed on one specific vehicle at one specific time. To read it well, first confirm it describes the exact car you are buying. Next, work out what the inspection covered and what its rating terms mean. Then sort every finding into three groups: safety-critical problems, repairs needed soon, and minor or cosmetic notes. Base your decision on the safety-critical and expensive items, not on an overall score or the number of green checkmarks.
How much a report can tell you depends on how the inspection was done. A visual walk-around leaves far more unknowns than a detailed inspection that includes a test drive, a lift to see underneath, and a diagnostic scan. A state safety or emissions certificate is also different from a pre-purchase inspection. It confirms the vehicle met that state's requirements on the day it was tested, and those requirements vary by state. It is not a full assessment of the vehicle's condition.
Terms you are likely to see
Pre-purchase inspection (PPI): An inspection arranged by a prospective buyer, ideally done by someone independent of the seller. OBD-II scan: A reading taken from the vehicle's onboard diagnostic system, which is standard on cars and light trucks sold in the US from the 1996 model year on. Diagnostic trouble code (DTC): A code stored by a vehicle computer when it detects a fault. Stored codes reflect confirmed faults. Pending codes reflect faults that have been detected but not yet confirmed. Readiness monitors: Self-tests the vehicle runs on its emissions systems. Monitors that read 'not ready' can mean the battery was recently disconnected or codes were recently cleared. Seep versus leak: A seep is a damp film of fluid. A leak is fluid that drips or collects. Inspectors use these terms differently, so check how your report defines them. Wear item: A part that is expected to wear out with normal use, such as tires, brake pads, wiper blades and filters. Within spec or out of spec: Whether a measurement falls inside the manufacturer's acceptable range for that vehicle. Not inspected or N/A: The item was not checked. That makes it an unknown, not a pass.
What to have before you start
The full inspection report, including photos and notes, not only a summary page; The seller's listing and the title or registration showing the VIN (vehicle identification number); Any vehicle history report you have obtained; The manufacturer's maintenance schedule for that model, usually found in the owner's manual; A way to contact the inspector with follow-up questions; A notepad or spreadsheet to sort the findings
Step-by-step: reading the report
Step 1: Confirm the report matches the vehicle
Compare the VIN on the report with the VIN on the title, the registration and the vehicle itself. Then check the year, make, model, trim, engine and transmission. Stop if the VIN does not match: the report does not apply to the car you are considering. Also compare the odometer reading on the report with the listing and the title. Ask the seller to explain any mismatch before you go further.
Step 2: Check the scope and conditions of the inspection
Find the date and location of the inspection, and note whether it included a test drive, a lift, a diagnostic scan and a cold start (starting the engine after it has sat long enough to cool fully). Look for notes about rain, darkness, a dirty underbody or locked compartments, since these can hide problems. List every item marked not inspected. Those are open questions you may want answered before buying. If the inspection is more than a short time old, or the car has been driven a lot since, the findings may no longer be current.
Step 3: Learn the rating system the report uses
Inspection services format their reports differently, so read the legend or key before interpreting anything. Many use a three-level scale plus a not-inspected category, along the lines shown below. Confirm the exact meanings with your report or the inspector.
Typical label | What it usually means | How to treat it; Good / Pass / Green | No issue found at the time of inspection | Note it and move on; Fair / Monitor / Yellow | Worn or showing early signs of a problem | Budget for it and ask how soon it will need attention; Poor / Repair / Red | Defective, unsafe or out of spec | Price the repair; decide whether it changes the deal; Not inspected / N/A | Not checked | Treat as unknown; consider having it checked
Step 4: Read the safety-critical sections first
Brakes: pads, rotors, lines, fluid condition and any warning lights; Steering and suspension: play in the steering, worn joints or bushings, leaking shocks or struts; Tires and wheels: tread depth, uneven wear, damage, mismatched tires, tire age; Structure: frame or unibody damage, rust that weakens structural parts, signs of improper repair; Airbags and restraints: airbag (SRS) warning lights, seat belt condition; Fuel system: any fuel leak or fuel smell; Lights and visibility: headlights, brake lights, turn signals, windshield damage
Stop condition: if the report notes a fuel leak, brake failure, structural damage, steering defects or an airbag warning light, do not drive the vehicle until a qualified technician has repaired it. Treat any of these as a major factor in your decision. Repairs to structure, airbags, brakes and fuel systems should be done by qualified service professionals, following the manufacturer's procedures for that specific vehicle.
Step 5: Review the powertrain and diagnostic results
The powertrain is the engine, transmission and the parts that deliver power to the wheels. Read the notes on engine noise, smoke, idle quality, shifting behavior, cooling system condition and fluid levels and condition. A trouble code points to a system with a problem, but it is not a diagnosis. The same code can have several causes, so ask the inspector what further testing they would recommend. If the readiness monitors are not ready and no codes are present, the codes may have been cleared shortly before the inspection. Ask the seller about it, and consider having the car rescanned after it has been driven.
Step 6: Look for evidence of past damage or repair
Detailed reports often note uneven paint thickness, mismatched panel gaps, overspray on trim or seals, non-factory welds, and replaced body panels. Any of these can indicate earlier collision repair. Signs of flood exposure include water lines, silt in hidden areas, corrosion in unusual places and musty odors. Compare these findings with the vehicle history report. A history report that shows no accidents does not prove the car was never damaged, because not every incident is reported.
Step 7: Separate normal wear from real defects
Worn tires, brake pads nearing replacement and dirty filters are normal on a used car and are mostly a budgeting question. Check the manufacturer's maintenance schedule against the vehicle's mileage. Overdue major services, such as timing belt replacement on engines that use one or transmission fluid service where the manufacturer specifies it, are costs you may be taking on. Service intervals depend on the model, engine and model year, so confirm them in that vehicle's own documentation rather than assuming.
Step 8: Put a cost on the findings
For every item rated monitor or repair, get a written estimate from a qualified repair shop. Labor rates and parts prices vary by region and vehicle, so a general figure is not a reliable guide. Unless the inspector says otherwise, treat any rough cost figures in the report as approximate. Add up the safety-critical items and the near-term repairs separately so you can see what the car will cost to make sound.
Step 9: Ask the inspector follow-up questions
Which findings would concern you most if you were buying this car? What do you mean by the ratings or comments on specific items? Was anything you would normally check not inspected, and why? Do any trouble codes or symptoms need further diagnosis before I commit? Did you see signs of recent repairs, cleared codes or attempts to hide problems? How urgent is each repair item?
Step 10: Choose your next step
Proceed: no safety-critical issues, and you are comfortable with the cost of the remaining items. Negotiate: use the written estimates to support a lower price. Ask the seller to repair: get documentation of the work, and consider having the repaired items reinspected. Get more diagnosis: if key items were not inspected or need specialist testing, resolve them before committing. Walk away: structural damage, flood signs, a VIN or odometer mismatch, or repair costs that make the deal unreasonable are common reasons buyers stop.
Completion check
The VIN and odometer on the report match the vehicle and its paperwork. You know what the inspection included and what was not inspected. You understand the report's rating labels. Every safety-critical finding has a clear status: none found, repaired with documentation, or still to be resolved. Every repair or monitor item has a written estimate or a plan to get one. You have checked for open recalls on the VIN through the National Highway Traffic Safety Administration's recall lookup or a franchised dealer. You have picked a next step and can explain why.
What an inspection report cannot tell you
A report describes the vehicle's condition on one day. It may miss intermittent faults that did not appear during the inspection, and it cannot reveal internal engine or transmission wear without disassembly. It cannot predict future reliability. It does not confirm clean title status, liens or title branding such as salvage or flood titles; check those through the title documents and the state motor vehicle agency. Read any terms on the report that limit the inspector's responsibility, so you know what recourse, if any, you have if something was missed.
Limits of this guide
This guide covers general principles for reading pre-purchase inspection reports in the US. It does not describe any particular inspection service's report format, pricing or rating thresholds, and it gives no measurement limits for tires, brakes or other components, because those depend on the vehicle and the manufacturer. Check specifications, service intervals and repair procedures against the manufacturer's information for the exact model year, engine and equipment of the car you are considering, and confirm state-specific inspection or title rules with your state motor vehicle agency.