How to Read a Car Repair Estimate
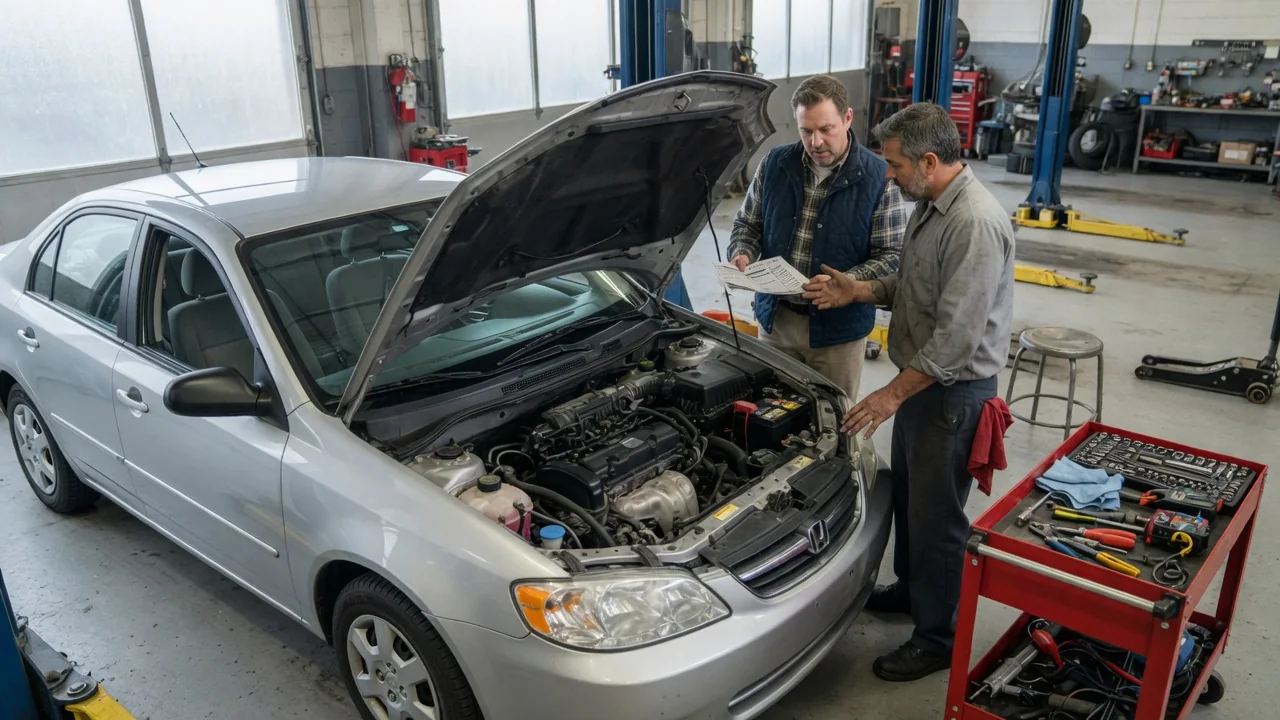
Learning how to read a car repair estimate turns a page of abbreviations and dollar figures into a clear picture of what a shop plans to do. Every estimate breaks down into parts, labor and scope, and understanding each piece helps you compare quotes, spot gaps and approve work with confidence before a wrench ever touches your vehicle.
Line items
Most estimates list each part on its own line with a description, a quantity, a unit price and often a part number. A brake job, for example, might show front pads, two rotors and a hardware kit as separate entries. Look for a notation showing whether a component is original equipment, aftermarket, remanufactured or used, because that choice affects price and warranty. Abbreviations vary by shop software, so an unfamiliar code beside a part is worth asking about rather than guessing.
Labor usually appears as a number of hours multiplied by the shop's hourly rate. Those hours typically come from a published labor guide rather than a stopwatch, so the figure reflects a standard time for that job on your particular vehicle. The same repair can carry very different labor on different engines or drivetrains, since access to the component changes. Below the main lines, expect smaller entries such as shop supplies, fluid disposal, a diagnostic charge and sales tax, each of which should be labeled.
Included work
Scope describes what the shop is actually promising to do, and it is the section most often misread. A line reading replace water pump may or may not include new coolant, a thermostat, gaskets or a drive belt that must come off anyway. Good estimates spell out related operations, such as bleeding the brake system after caliper replacement or performing a wheel alignment after steering parts are changed. If a step is not written down, do not assume it is covered by the total.
Diagnostic time deserves a careful look as well. An estimate built around a stored fault code should explain what testing confirmed the problem, because a code points toward a circuit or system and is not proof that a specific part has failed. Some codes are manufacturer specific and need to be interpreted with information for your exact vehicle. Notice too whether the document separates required repairs from recommended maintenance, since items like a cabin filter or fluid service are sometimes bundled alongside the main repair.
Questions to ask
A few direct questions clear up most confusion. Ask which symptom or test result each repair addresses, and whether the listed parts are new, remanufactured or used. Ask how the labor time was calculated and whether overlapping operations have been combined, since two jobs that share the same disassembly should not always be billed as if each started from scratch. It is also reasonable to ask whether the diagnostic fee is credited toward the repair if you approve the work.
Warranty and approval terms matter just as much as the price. Find out how long parts and labor are covered, whether coverage follows the vehicle to another location, and what happens if the technician discovers additional damage once components are apart. Many shops will contact you before exceeding the written figure, but policies and local consumer rules differ, so ask for that commitment in writing. Requesting to see the old parts afterward is a simple way to confirm what was replaced.
Everyday Use and Observations
Your own observations make an estimate far easier to judge. Before visiting the shop, note when the problem occurs, such as a grinding noise only while braking, a vibration at highway speed or a warning light that appears on cold starts. Then compare those notes with the concern written at the top of the estimate. If the document describes a different complaint than the one you reported, the proposed repair may not address what you actually experience behind the wheel.
Many items can be checked without tools. You can see a fluid spot on the driveway, uneven tread across a tire, a cracked belt or a torn wiper blade, and a technician can usually show you worn pads or a leaking shock while the car is on the lift. Photos or measurements attached to the estimate serve the same purpose. What you can observe depends on the vehicle, though, since underbody covers, engine layout and electric or hybrid components can hide parts from view.
Limits and Next Steps
An estimate is a forecast, not a final invoice. Hidden conditions such as seized fasteners, corroded lines or a second failed component can only be found once work begins, and prices for parts may change with availability. The document also cannot tell you whether a repair is truly necessary; it only records what one shop proposes. Pricing, labor times and part options differ by region, vehicle and facility, so a number that looks high or low is not automatically wrong.
When the figures are large or the explanation feels thin, a second opinion from another qualified shop is a sensible step. Bring the written estimate so both quotes can be compared line by line on parts quality, labor hours and included operations instead of the bottom total alone. Check your owner's manual and any active warranty or recall coverage before paying out of pocket. Once you are satisfied, approve the work in writing and keep the estimate with your service records.