How to Clean Seat Rails and Tight Interior Crevices
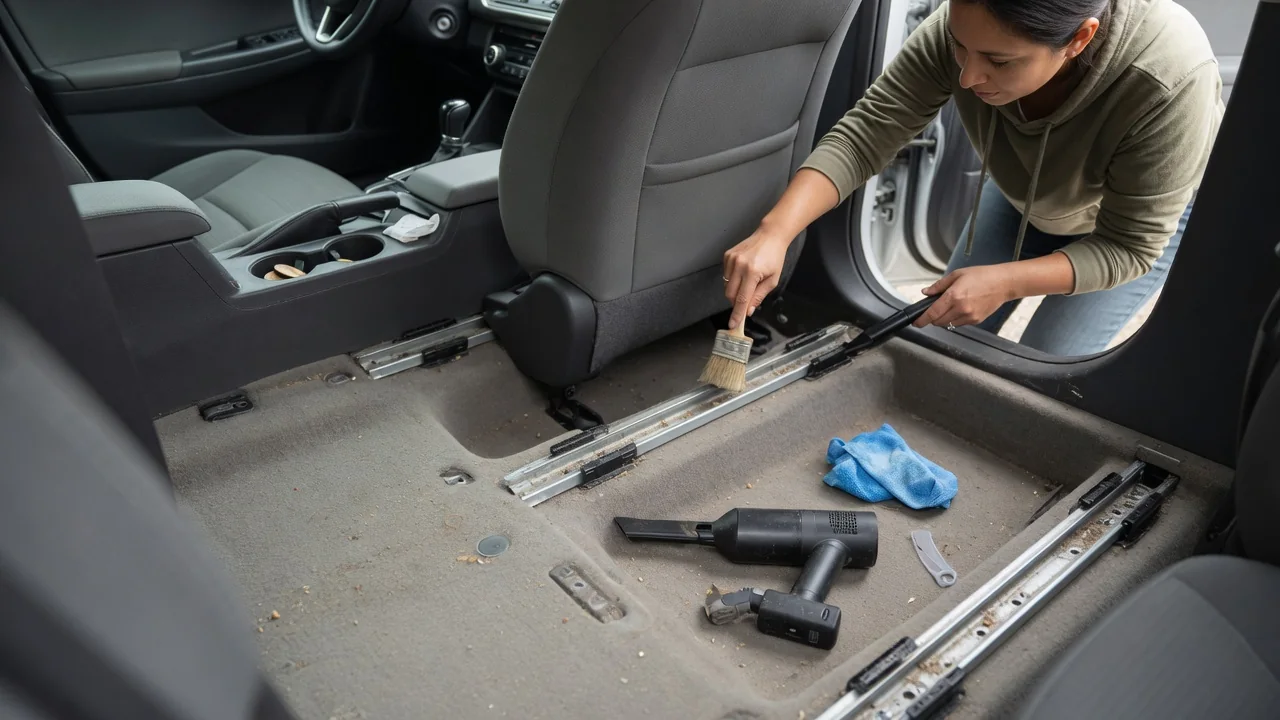
Learning how to clean seat rails and tight interior crevices is mostly a matter of access and patience. Crumbs, sand, and coins collect where a standard vacuum nozzle cannot reach, and the tracks beneath the front seats hide grease, wiring, and moving parts. The right vacuum attachments and careful seat positioning do most of the work without putting anything at risk.
Expose area
Seat rails are only partly visible with the seat in its normal driving position, so the first job is to uncover them in stages. Slide the seat fully rearward to reveal the front half of each track, clean that portion, then slide it fully forward and work from the rear footwell. Raising the cushion on height-adjustable seats and tilting the backrest forward opens more room for your hand and the vacuum hose. Remove floor mats first so loosened debris does not hide beneath them.
Move the seat slowly and look before you do. A bottle, coin, or toy lodged in the track can jam the mechanism, and a power seat motor will keep pushing against an obstruction until something gives. Keep fingers, hoses, and cloths clear of the rails while the seat is traveling. Layouts differ widely: some vehicles have exposed tracks with plastic end caps, others hide them behind trim covers, and third-row or folding seats may use floor latches instead of rails. A flashlight shows what you are actually dealing with.
Remove grit
Dry debris should come out before any liquid goes in, because sand and crumbs mixed with moisture turn into a paste that packs deeper into the channel. A narrow crevice tool on a vacuum hose reaches along the rail and into the gap between the seat base and the center console. Pair it with a soft detailing brush, working the bristles ahead of the nozzle so loosened grit is lifted immediately instead of resettling. A flexible hose extension helps where the rigid wand cannot angle under the seat frame.
Stubborn material in the rail channel often responds to a stiffer, narrow brush or a wooden skewer wrapped in microfiber, which dislodges compacted dirt without scratching painted metal. Short bursts of compressed air can chase particles out of seams, though they also scatter dust, so hold the vacuum nearby to catch it. The rails usually carry a film of factory grease that looks dirty but helps the seat slide. Wipe away only the grit-laden excess with a cloth, and avoid flooding the track with cleaner or degreaser.
Avoid wiring
The space under a modern front seat is rarely empty. Harnesses for power adjustment, seat heaters, occupancy sensors, seat belt pretensioners, and side airbags often run along the floor and plug into connectors beneath the cushion. Airbag-related wiring is commonly wrapped in yellow sheathing or uses yellow connectors, although color conventions vary by manufacturer. Treat every wire and plug as something to clean around, not something to move, and never tug a harness aside to make room for a vacuum attachment or brush.
Suction and bristles can both cause trouble here. A strong vacuum nozzle pressed against a loose connector can pull at it, and a stiff brush can snag a clip or abrade insulation. Use a soft brush near wiring, keep the nozzle a short distance away, and avoid spraying liquid cleaners toward connectors or modules. A disturbed connection may trigger a warning light on the dash, and that light is a prompt for proper diagnosis, not evidence that a component has failed. The owner's manual identifies what sits under your particular seats.
Everyday Use and Observations
Daily driving explains where the dirt ends up. Shoes carry sand and road salt into the footwells, and each seat adjustment pushes that material along the track. Food crumbs fall into the gap beside the console, the seat belt buckle slot, and the seams where cushions meet. Pet hair weaves into carpet edges near the rail mounts. Vehicles used on gravel roads, at the beach, or for hauling children tend to fill these crevices faster than a commuter car that rarely carries passengers or snacks.
Small signs tell you when the rails need attention. A seat that feels gritty or hesitant when sliding, a crunching sound during adjustment, or visible debris at the track ends all point to buildup. Smooth, quiet travel after cleaning confirms the work was effective. Light, regular vacuuming with a crevice attachment keeps the job short, since loose dirt lifts easily before it compacts into the grease. Dropping a slim brush and a microfiber cloth into the door pocket makes quick touch-ups practical between thorough interior cleanings.
Limits and Next Steps
Some areas stay out of reach with the seat installed, particularly the center section of each track and the carpet directly beneath the cushion. Removing a seat gives full access, but it is not a casual step on vehicles with seat-mounted airbags, pretensioners, or occupancy sensors, where disconnecting wiring calls for manufacturer-specific precautions. If spilled liquid has soaked the padding, or debris has dropped deep inside the mechanism, a professional detailer or repair shop is the safer route than improvising with tools under the seat.
Cleaning also has limits as a fix. A seat that still binds, rocks, or refuses to move after the tracks are clear may have a worn mechanism, a bent rail, or an electrical fault that needs inspection. Corrosion on the rails or floor mounts deserves a closer look, since those parts anchor the seat in a collision. If the original grease was heavily contaminated and wiped away, check the owner's manual or ask a dealer which lubricant suits the tracks, because recommendations differ between manufacturers and seat designs.