How to Clean Rubber Floor Mats in a Car
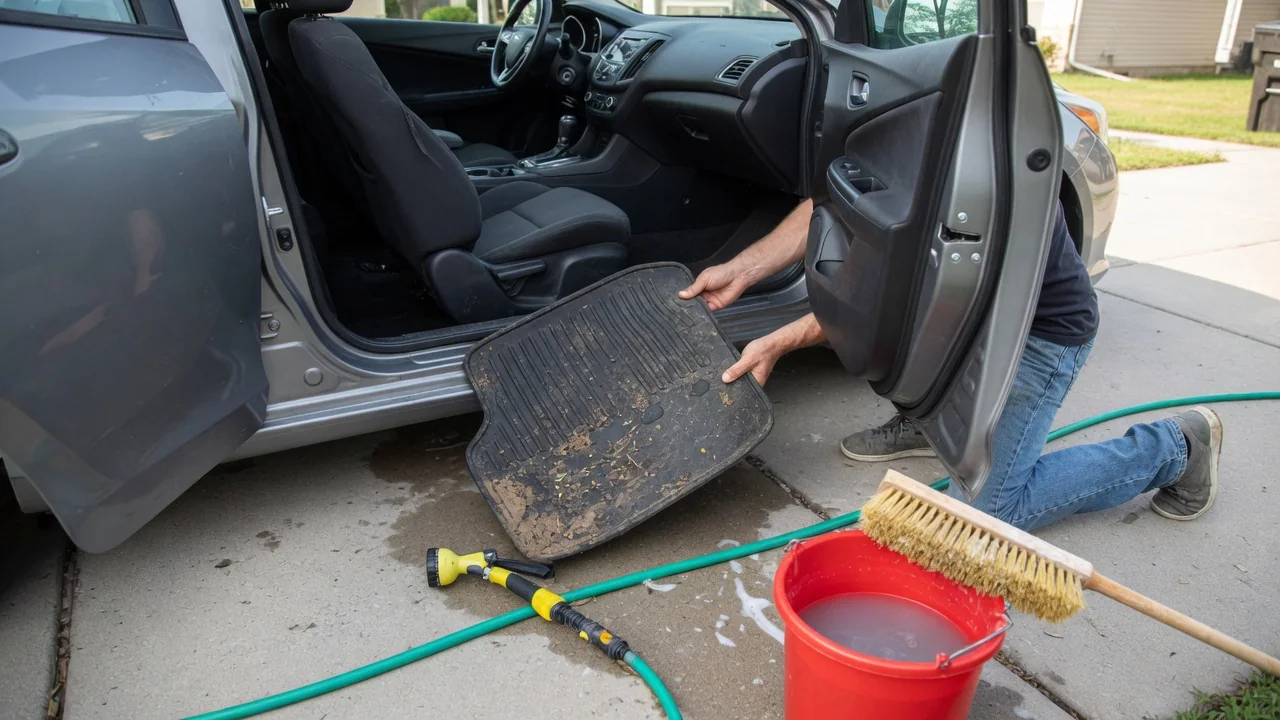
Learning how to clean rubber floor mats in a car comes down to three things: getting the mats out, lifting the grime with a suitable cleaner, and rinsing thoroughly enough that nothing slick remains. Rubber is forgiving, but soap film and glossy dressings can turn a clean mat into a hazard under the pedals. The steps below keep the surface clean and grippy.
Remove mats
Cleaning starts outside the vehicle. Washing mats in place pushes dirty water over the edges and into the carpet underneath, where it can linger and cause musty odors. Before lifting, look at how the driver mat is held down. Many vehicles use hooks, twist locks or posts that pass through eyelets in the mat, while others rely only on a nibbed backing that grips the carpet. Release any retainers rather than pulling against them, since torn eyelets leave the mat free to creep forward later.
Lift each mat by its edges and keep it level, because deep channels often hold standing water, sand, road salt or gravel that will spill onto the carpet if the mat tips. Carry it clear of the car and shake or knock it against a hard surface to drop loose debris. With the mats out, take a moment to vacuum the exposed carpet and check it for dampness. Rear mats, one-piece second-row liners and cargo trays vary widely by vehicle, so some may need folding to come out through the door.
Scrub
Begin with a strong rinse from a garden hose to flush grit out of the grooves, since scrubbing over loose sand simply grinds it into the surface. Then apply a mild cleaner, such as diluted car wash soap, an all-purpose cleaner mixed as its label directs, or a dedicated rubber mat cleaner. Work it in with a medium-stiff brush, following the channels and then crossing them so the bristles reach the corners of each ridge. Brown or gray foam is a good sign that embedded dirt is lifting.
Pay attention to the heel pad area on the driver mat, where shoe polish, oil and ground-in dirt build up fastest, and flip the mat to brush the backing as well. Rinsing is the step that matters most for grip. Keep the water running until it sheets off clear with no suds, then run a finger across the surface; it should feel squeaky rather than slimy. Leftover detergent dries into a film that becomes slick again the first time a wet shoe lands on it. Avoid harsh solvents, which can dry out or discolor rubber.
Dry and refit
Shake off the excess water and hang the mats or lean them upright so the channels drain instead of pooling. A microfiber towel speeds things up, and a few minutes of air movement finishes the job. Check the underside as carefully as the top, because moisture trapped between a mat and the carpet has nowhere to go and encourages mildew and a persistent damp smell. Shade is kinder than prolonged direct sun, which can warp thinner mats or leave them stiff, although how quickly this happens depends on the material.
Skip tire shine, silicone sprays and glossy interior dressings entirely. They make rubber look dark and new, but they leave a slippery coating exactly where your feet need traction, and it transfers to shoe soles and pedal pads. If you want a refreshed look, choose a product specifically described as a non-slip mat finish. When refitting, place each mat in its own position, engage the retention hooks or clips, and confirm the driver mat lies flat and sits clear of the accelerator, brake and clutch pedals through their full travel. Never stack one mat on top of another.
Everyday Use and Observations
How often mats need washing depends on climate and use rather than a fixed schedule. Winter driving leaves white salt crust in the channels, beach trips bring fine sand, and muddy boots or pets can fill the grooves in a single outing. A quick shake-out and hose rinse between full washes keeps dirt from packing down. Deep-dish liners with tall edges hold more water and debris than flat mats, so they benefit from being emptied before the contents slosh over the lip under braking or cornering.
A few simple observations tell you whether the last wash went well. A properly rinsed mat has an even, matte appearance and feels slightly grippy when dry. Streaks, a hazy white film or a greasy shine suggest soap or dressing was left behind, and a shoe that slides on the heel pad confirms it. Another rinse and light brushing with plain water usually corrects the problem. Also watch for a mat that shifts when you get in or out, which points to a missed retainer or worn backing nibs.
Limits and Next Steps
Cleaning restores appearance and grip, but it cannot fix worn material. A heel pad that has thinned or split, edges that curl upward, cracks along the channels or broken eyelets all mean the mat no longer stays put or contains spills. A mat that has hardened and lost its flexibility may never lie flat again. Some staining, such as faded patches or deeply set discoloration, is cosmetic and may remain after scrubbing. Pressure washers can help with heavy mud, but holding the nozzle close may damage softer or thinner mats.
When a mat is past saving, replace it with one shaped for the specific vehicle, because fit and retention hardware differ between models and even between model years. The owner's manual usually describes the correct anchoring method and any warnings about mat placement. If the carpet beneath stays wet after the mats have been dried properly, the moisture is probably coming from elsewhere, such as a door seal, a blocked drain or a heater-related leak, and that deserves a professional inspection rather than more cleaning.