How to Choose the Best Parking Brake Shoes for Your Vehicle
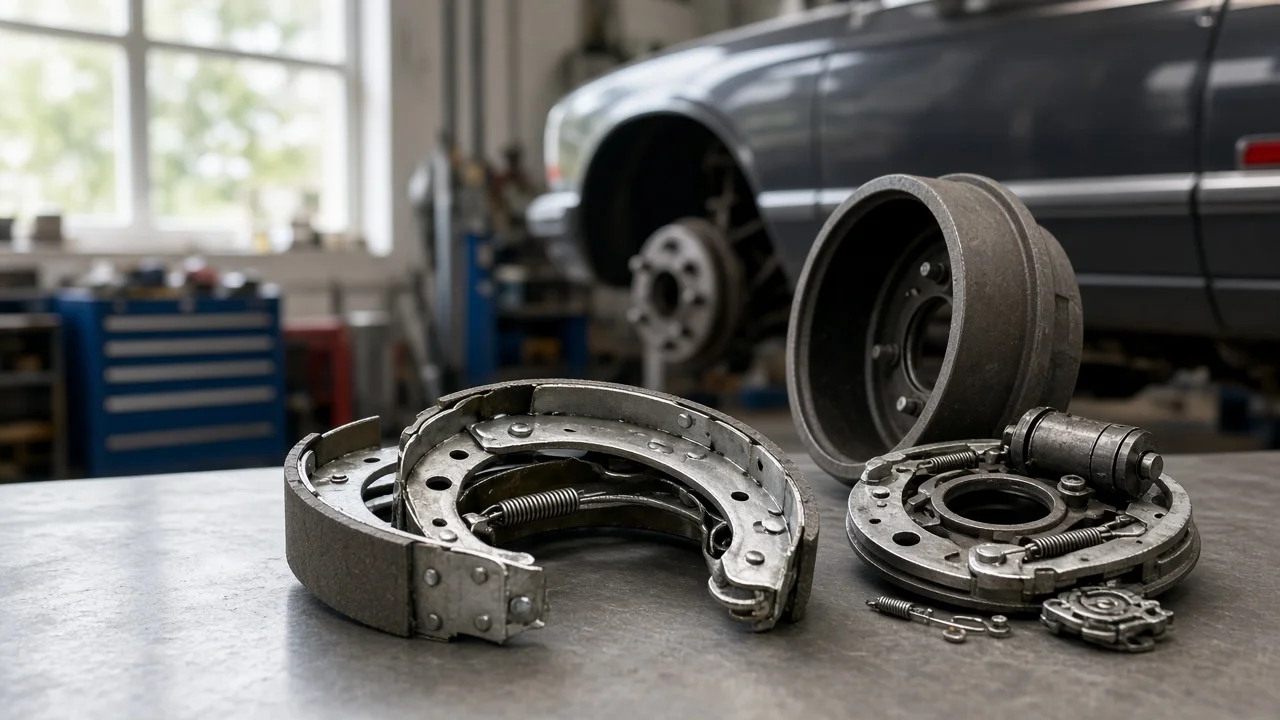
The best parking brake shoes are the ones that match your vehicle's parking brake design, fit the drum or rotor hat precisely and hold the vehicle securely on a slope. Brand names and packaging claims matter far less than correct fitment, appropriate friction material and sound hardware. This guide covers how to define what you need, confirm compatibility, weigh the features that genuinely affect performance and narrow your options to a practical shortlist.
Define the job the product must do
Start by identifying how your parking brake works, because the right shoe depends on the layout. On vehicles with rear drum brakes, the same shoes stop the car during normal driving and also serve as the parking brake through a lever and cable. On many vehicles with rear disc brakes, a small drum is built into the hat of the rear brake rotor, and a separate pair of shoes inside it handles parking only. This is usually called a drum-in-hat design. If your parking brake is built into the rear caliper, whether cable-operated or electronic, it uses the rear brake pads and you do not need shoes at all. Your service information or a look behind the wheel will confirm which system you have.
Next, think about how the vehicle is used. A daily driver parked on level ground asks less of the parking brake than a truck that tows, a vehicle parked on a steep driveway or a manual-transmission car that relies on the parking brake to stay put. Road salt and long periods of disuse matter too, since corrosion inside the drum and cables is a common cause of weak holding or dragging. Also note the symptom that prompted the purchase: excessive lever travel, rolling while parked or a grinding noise can come from cables or adjustment rather than worn shoes. If the parking brake will not hold the vehicle, chock the wheels and do not rely on it, and if rear drum service brakes feel weak, pull or make noise, stop driving the vehicle until it has been inspected.
Check compatibility
Vehicle fitment is the first filter. Match year, make, model, drivetrain and trim, then confirm the rear brake type, because the same model can be built with drum or disc rear brakes, different rotor sizes or heavy-duty packages. Some applications change mid-year, so the build date or a VIN-based lookup may decide between two similar part numbers. The most reliable reference is the part number in the vehicle's service information or an OE cross-reference supplied by the parts maker.
Then check the physical interfaces. Shoe diameter and lining width must suit the inside of the drum or rotor hat, and the shoe web must match the anchor, the adjuster ends and the parking brake lever or actuator. Shoes are often side-specific, and on duo-servo drum brakes the primary and secondary shoes usually carry different lining lengths, so they cannot simply be swapped. Some shoes come with the lever attached, while others require transferring the original lever. Laying the old and new shoes side by side before installation catches most mismatches.
Finally, measure what the shoes will run against. Drums and rotor hats carry a maximum diameter specification, often stamped or cast into the part, and a drum worn beyond it should be replaced rather than paired with new shoes. Compare the remaining lining on the old shoes with the manufacturer's wear limits to judge whether replacement is actually due, and look for uneven wear that points to a seized adjuster or sticking hardware.
Features that affect the choice
Friction material is the main trade-off. Organic or non-asbestos organic linings tend to be quiet and gentle on drums, while semi-metallic compounds tolerate more heat but can be noisier and wear drums faster. Dedicated drum-in-hat parking shoes are applied with the vehicle stationary and see little heat in normal use, so an OE-equivalent compound is usually the sensible choice. For rear drum shoes that also do service braking, the compound affects front-to-rear balance with the front brake pads, so matching the original friction type is safer than choosing a more aggressive one.
Construction and sourcing also differ. Linings may be bonded or riveted to the shoe, and both can perform well when matched to the application. Some shoes are new, while others are relined cores that may carry a core charge. Edge codes stamped on the lining describe a friction coefficient range from a standardized test; they are not a quality rating or a lifespan figure. Treat labels such as premium, severe duty or ceramic as marketing unless they come with useful evidence: a stated OE cross-reference, the compound type, a hardware list, burnishing instructions and clear warranty terms.
Check what comes in the box. Return springs, hold-down pins and adjuster assemblies lose tension or corrode over time, and reusing fatigued hardware is a common reason new shoes drag or fail to hold. A shoe set bundled with a complete hardware kit costs more up front but helps avoid doing the job twice.
Limitations and ownership costs
New shoes cannot correct faults elsewhere in the system. A stretched or seized cable, a sticking lever or equalizer, a corroded adjuster or a rust ridge inside the rotor hat will still cause weak holding or drag. Linings contaminated by a leaking axle seal or by brake fluid from a leaking wheel cylinder must be replaced after the leak is repaired, and shoes should be changed in axle sets. On vehicles with an electronic parking brake, the system may need to be placed in service mode with a scan tool before any work begins.
Installation details decide how well the shoes perform. Initial shoe-to-drum clearance is normally set with the star-wheel adjuster before the cable is adjusted, following the vehicle's service information. Many manufacturers specify a burnishing procedure for drum-in-hat shoes; follow it exactly and only in a safe location. Contact points on the backing plate need a thin film of high-temperature brake lubricant, kept well away from the friction material.
Budget for more than the shoes themselves. Typical additions include a hardware kit, drum or rotor machining or replacement, new cables and, on drum-in-hat designs, removing the caliper and brake rotors to reach the shoes. Spring tools make the job easier, and labor often costs more than the parts. If you are not confident with brake work, have the job done by a qualified technician.
Build a practical shortlist
Before comparing prices, confirm each candidate against the same checklist. It should be listed for your exact vehicle and rear brake type, ideally with an OE cross-reference. Its dimensions and lever arrangement should match your old shoes. It should state the friction material, and that material should suit how your parking brake is used. It should include the hardware you need or let you add a matching kit. Its warranty and return terms should also be clear, since an incorrect part is easier to send back before it is installed.
A useful shortlist usually holds two or three options: the original equipment part, an aftermarket equivalent with a documented cross-reference and full specifications, and a lower-cost choice only if its listing provides the same fitment detail. Prefer the option with the most complete, verifiable information rather than the one with the boldest claims. Pair that choice with a check of the drums or rotor hats, cables and hardware, and the shoes you select will have the best chance of holding reliably.