How to Check a Car's Lights During Short Winter Days
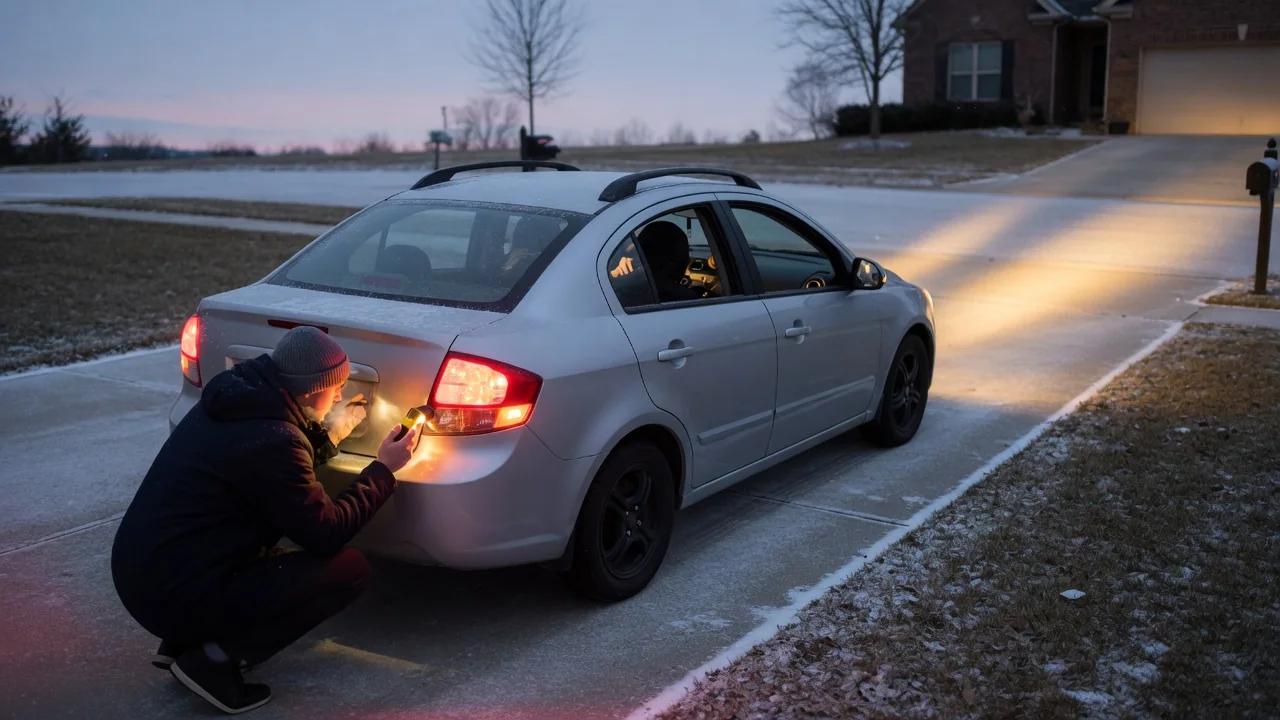
When daylight shrinks to a few hours on either side of the commute, a vehicle's lighting does far more work than it does in summer. Knowing how to check a car's lights during short winter days comes down to a simple walk-around routine, a clean cloth, and attention to small changes. The steps below fit into a few minutes before driving.
Headlights and taillights
Start with the vehicle parked on level ground facing a garage door or wall, engine running so the electrical system sits at normal charging voltage. Switch on the low beams and look for two even patches of light with a similar color and brightness. Then select the high beams and confirm both sides respond. A beam that looks dimmer, yellower, or flickers compared with its partner deserves a closer look, even though it still technically works.
Move to the rear and check the taillights, which should glow steadily whenever the headlights are on. Brake lights need a helper pressing the pedal, or you can back up close to a wall or window and watch the reflection in the mirrors, including the high-mounted center lamp. Shift into reverse with the parking brake set to see the backup lamps. Some vehicles run daytime running lights without lighting the rear at all, so do not assume the taillights are on just because the front looks bright.
Clean lenses
Winter roads coat lenses with a film of salt spray, sand, and slush that can cut usable light noticeably while the bulbs behind remain perfectly healthy. Wipe the headlights, taillights, turn signals, and license plate lamp with a soft damp cloth or a washer-fluid-soaked towel whenever you fuel up. Avoid scraping plastic lenses with an ice scraper, because scratches scatter the beam and create glare for oncoming drivers.
Snow deserves particular attention on vehicles with LED lamps, which run cooler at the lens than older halogen units and may not melt buildup while driving. Brush off the entire light surface, plus any snow on the hood or trunk lid that could slide over the lamps later. If the lenses look hazy or yellowed even when clean, the plastic itself has oxidized; polishing kits can help, though results vary with the lens condition and the coating used by the manufacturer.
Replace faults
When a light does not work, the bulb is the likeliest suspect but not the only one. A turn signal that suddenly blinks faster than usual often points to a failed bulb on that side, while a dashboard bulb-out warning, where fitted, narrows the search. If both lamps on one circuit go dark together, a fuse, relay, switch, or wiring connection becomes more plausible than two bulbs failing at once. The owner's manual lists the correct bulb types and the fuse locations.
Access differs widely. Some cars let you reach a headlight bulb from under the hood in a minute, others require removing a wheel-arch liner or trim panel, and many modern LED assemblies are sealed units replaced as a whole. High-intensity discharge systems carry high voltage and are best left to a technician. When changing a halogen bulb, avoid touching the glass with bare fingers, and consider replacing both sides so brightness and color stay matched. Always confirm the new lamp works before driving.
Everyday Use and Observations
Daily driving offers free feedback. Stopped behind another vehicle or in front of a storefront window, glance at the reflection to confirm both headlights and the front turn signals are lit. At night, the glow of the brake lights against a garage wall or a following car's bumper tells you the rear is working. Notice whether road signs seem less reflective than they used to, or whether you are leaning on high beams more often, since gradual dimming is easy to miss.
Automatic headlight settings help, but they rely on a light sensor that may not react to gray daytime fog, falling snow, or heavy spray. In those conditions switch the lights on manually so the taillights are lit as well. Fog lamps, where equipped, should be tested and used according to local rules. A brief weekly walk-around with the hazard flashers running, ideally tied to a regular habit such as refueling, catches most problems before a dark morning drive exposes them.
Limits and Next Steps
A driveway inspection confirms that lamps light up, not that they are aimed correctly. If oncoming drivers flash you frequently, or the beam cutoff on a wall looks noticeably higher on one side, the aim may be off, perhaps after a bulb change, a minor bump, or heavy cargo in the rear. Proper adjustment uses specific measurements and equipment that vary by vehicle, so a shop is the sensible choice. Adaptive and self-leveling systems add sensors that a visual check cannot evaluate.
Repeated bulb failures, moisture pooling inside a housing, lights that dim at idle, or a lighting warning message suggest a problem beyond the lamp itself, such as a poor ground, a leaking seal, or a charging-system issue. Any stored fault code is a clue to interpret alongside testing rather than proof that a particular part has failed, and its meaning can depend on the manufacturer. Have those symptoms diagnosed professionally, and keep cleaning and checking the lights until spring brings longer evenings back.