How to Check a Car's Exterior Lights Alone
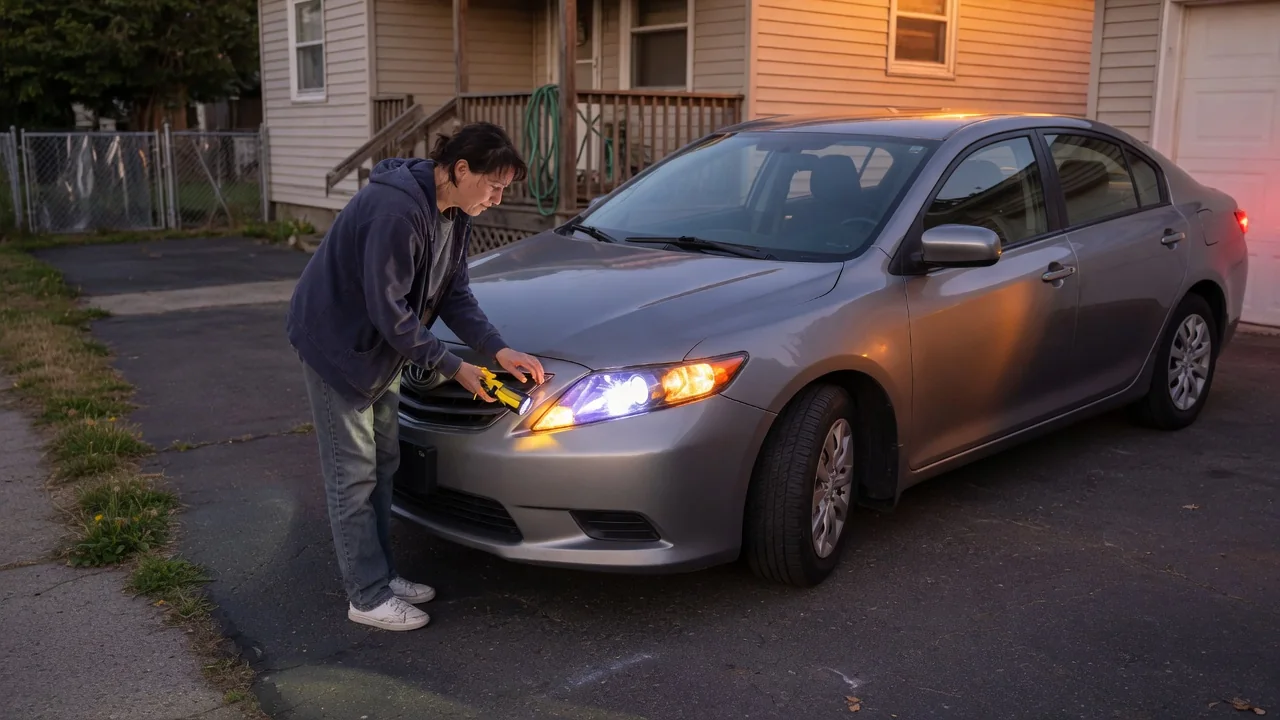
Learning how to check a car's exterior lights alone takes only a few minutes and no special tools. With a reflective surface, a methodical walkaround, and a simple way of noting what you find, one person can confirm that headlights, brake lights, turn signals, and other lamps are working before a problem draws attention on the road.
Use reflections or a helper
The hardest lamps to see from the driver's seat are the ones behind you, so let a reflective surface do the watching. Back the car toward a garage door, a storefront window, or a light-colored wall at dusk and press the brake pedal while looking in the mirrors. Each brake lamp shows as a distinct red glow, including the high-mounted center lamp. The same trick works at the front: nose up to a wall and the low and high beams appear as separate patches of light.
When no suitable surface is nearby, a phone can stand in for a second person. Prop it securely behind the car, start a video recording, and operate each control in turn before reviewing the footage. Recording is especially handy for brake and reverse lamps, which need someone in the driver's seat to activate them. A helper remains the quickest option when one is available, since they can call out results as you work the switches, but neither a reflection nor a recording depends on anyone else being around.
Check all functions
A complete check covers more than headlights and brake lights. Work through the parking lights, low beams, high beams, front and rear turn signals, hazard flashers, brake lamps, reverse lamps, license plate illumination, and any fog lamps or daytime running lights the car has. Switching on the hazard flashers is a convenient way to see every turn signal during a single walk around the vehicle, including side repeaters mounted in the fenders or door mirrors on some models.
Some functions only operate under certain conditions, and these differ between vehicles. Reverse lamps generally need the ignition on and reverse selected, so they are best viewed in a reflection with your foot firmly on the brake. Daytime running lights may switch off or dim when the headlights come on, and automatic headlights may need the switch moved to a manual position in daylight. The owner's manual shows which lamps the car has and how each one is activated.
Record faults
A dead lamp is easy to forget by the time you reach the parts counter, so write down what you see as you go. Note the position, such as left rear brake or right front turn signal, and whether the lamp is completely dark, dim, flickering, or a different color from its partner. A quick phone photo of each fault adds useful detail, and it also captures cracked lenses, moisture inside a housing, or a cloudy headlight cover.
Dashboard information belongs in the same record. Many cars display a bulb warning or a message naming the affected lamp, and a turn signal that flashes much faster than usual often points to a failed bulb on that side. Treat these as clues to interpret, not proof that a particular part has failed, because a blown fuse, corroded socket, poor ground, or wiring fault can produce the same symptom. Warning messages are manufacturer-dependent, so confirm their meaning for your specific vehicle.
Everyday Use and Observations
Everyday driving offers plenty of chances to spot lighting problems without a formal inspection. At night, the beam pattern on the road should look even from side to side, and a dark patch on one side suggests a headlight is out. Stopped behind another vehicle or in front of a shop window, you can see your headlights and front signals reflected back. Reversing toward a wall after dark shows whether the white reverse lamps and red brake lamps both light the surface.
Pay attention to changes over time as well as outright failures. A headlight that looks yellower or dimmer than the other, a lamp that flickers over bumps, or condensation that never clears from a lens all deserve a closer look. Road grime, snow, and mud can cut light output noticeably, so wiping the lenses during a fuel stop is worthwhile. Building a quick walkaround into a routine, such as before a long trip or when washing the car, keeps small faults from going unnoticed.
Limits and Next Steps
A walkaround confirms whether lamps illuminate, but it cannot tell you everything. It will not reveal whether headlights are aimed correctly, whether output meets the standard for a safety inspection, or why a lamp has stopped working. Lighting technology also varies: some cars use replaceable bulbs that an owner can reach through the engine bay or trunk trim, while others use sealed LED units or high-intensity systems that are replaced as assemblies and involve high voltage best left to trained technicians.
If a bulb is accessible, the owner's manual identifies the correct type and the access method for that vehicle, and matching the specified bulb matters more than choosing the brightest one on the shelf. When a new bulb does not fix the fault, several lamps fail together, or a warning stays on, have a qualified shop check the fuses, connectors, and wiring. Brake lights and headlights affect safety and legality directly, so those faults should be addressed before driving at night.