How to Adjust a Wastegate Actuator
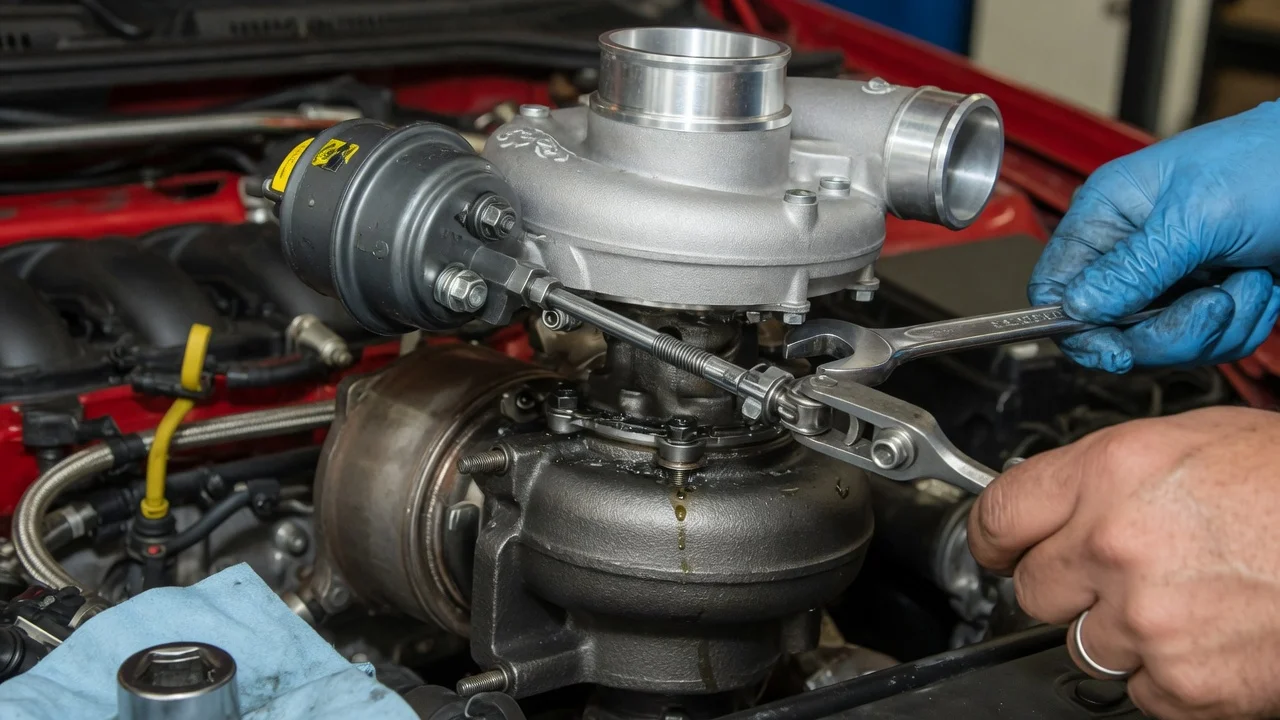
Adjusting a wastegate actuator changes how much pressure it takes before the wastegate starts to open. That affects how boost builds and where it levels off. On many turbocharged engines the job is a simple threaded rod adjustment. On others the actuator is electronic, factory-sealed or controlled entirely by the engine computer. This guide explains how the adjustment works, which vehicle configurations change the procedure, and how to check the system before you turn a single nut.
The short answer
On a conventional pneumatic actuator, you adjust the effective length of the actuator rod where it meets the wastegate arm. The usual sequence is to remove the retaining clip, loosen the lock nut, turn the threaded rod end, refit the rod and tighten the lock nut. On the common push-to-open layout, shortening the rod adds preload to the actuator spring. The wastegate then needs more pressure before it cracks open. Lengthening the rod reduces preload and lets the wastegate open sooner. Make small changes, record every turn and verify the result with a gauge rather than by feel.
This only applies when diagnosis shows that actuator preload is actually the problem. Electronic actuators are normally calibrated with a scan tool, not adjusted with a wrench. Many factory rods are crimped or welded so they cannot be adjusted at all. Any change can push boost beyond manufacturer specifications, set overboost codes, and affect emissions compliance or warranty coverage.
How a wastegate actuator controls boost
The wastegate is a valve that lets part of the exhaust flow bypass the turbine wheel. Less exhaust through the turbine slows the turbocharger, which limits boost. The actuator is what moves that valve. In a pneumatic actuator, a canister holds a diaphragm and a spring. A pressure or vacuum signal acts on the diaphragm. Once it overcomes the spring, it moves the rod, which swings the wastegate arm. Spring strength and rod preload together set the point where the valve begins to move.
Most modern engines also place a boost control solenoid between the pressure source and the actuator. The solenoid lets the engine computer modulate the signal. The actuator sets the mechanical baseline, and the computer adds control on top of it. As a result, the engine management may partly mask or fight a preload change. Incorrect preload can show up as boost creep, slow spool or fault codes rather than a simple shift in peak boost. Electronic actuators replace the diaphragm with a motor and position sensor, and the computer commands the valve position directly.
What changes the procedure
The actuator type matters first. Pressure-operated actuators use boost to push the wastegate open against the spring. Vacuum-operated designs also exist, and the direction of rod travel depends on the design. Confirm which way the rod moves under signal before deciding which adjustment adds preload. Electronic actuators usually require a calibration or relearn procedure after replacement or repositioning. Mechanical rod changes on those units can confuse the position sensor and set faults.
Turbo layout matters too. External wastegates are separate valves with their own internal spring, and their opening pressure is usually changed by swapping springs rather than adjusting a rod. On many diesel engines with variable geometry turbochargers, the actuator controls turbine vanes rather than a wastegate. Its setting is typically calibrated at the factory, and turning an adjuster there can disturb vane position and engine calibration.
Operating conditions and history also influence the result. Altitude, intake air temperature, fuel quality and engine tuning all affect target boost and how the engine computer responds. Check the service history for earlier adjustments, a replaced turbocharger or a non-original actuator. A previous owner may have already moved the setting away from the factory position.
Check the system before adjusting
Low boost, overboost, boost creep and slow spool often have causes that rod adjustment will not fix. Common culprits include: • cracked vacuum or pressure hoses; • loose intercooler couplers; • a faulty boost control solenoid; • a wastegate pivot seized by carbon or corrosion; • a worn arm bushing; • a leaking diaphragm; • exhaust leaks ahead of the turbine; Adjusting preload to compensate for any of these hides the fault rather than repairing it.
Start with a careful inspection of hoses, clamps and actuator mounting. With the engine off and fully cooled, move the wastegate arm by hand where it is accessible and feel for binding or excessive play. Apply a signal to the actuator with a hand pressure or vacuum pump, whichever matches its design. The rod should move smoothly, and the gauge should hold steady without leaking down. Then read stored codes and review live data with a scan tool. Compare commanded and actual boost, wastegate duty cycle or position, and any knock activity.
Adjusting a pneumatic actuator step by step
Work on a cool engine with safe access to the turbo. Before changing anything, measure the original rod length or mark the threads so you can return to the starting point. Remove the clip and slide the rod end off the wastegate arm. Loosen the lock nut while holding the rod so the diaphragm does not twist. Turn the rod end in small increments, such as half a turn at a time, and count each turn. Refit the rod to the arm. With no signal applied, confirm that the wastegate valve still closes fully. Then tighten the lock nut and reinstall the clip.
To verify the change, apply signal with a hand pump fitted with a gauge. Note the pressure at which the rod begins to move, and compare it with the value in the service information for your exact vehicle configuration. Next, check behavior on a road test in a safe, legal setting or on a dynamometer. Watch boost with a gauge or scan tool data, along with knock activity and any new fault codes. If the result is still off, repeat with another small increment. If you cannot reach the target within a reasonable range, preload is probably not the root cause.
Limitations and when to get help
Without a vehicle-specific opening pressure or rod length specification, any adjustment is guesswork. The correct values vary by engine, turbocharger, model year and software calibration, so look them up in the service manual for your exact configuration. If the rod is crimped or welded, replacing the actuator is often the intended repair. Electronic actuators need a scan tool that supports the calibration routine for that vehicle.
Get professional help if the engine shows overboost codes, knocking, smoke, unusual turbo noise or repeated actuator failures. Do the same if the car is under warranty or subject to emissions inspection. A shop can smoke test the intake for leaks, compare live data against manufacturer specifications and record the adjustment in the service history. Your practical next step is to identify the actuator type and locate the correct specification before picking up any tools.