How Long Does a Windshield Replacement Take? Install, Cure and Calibration Time
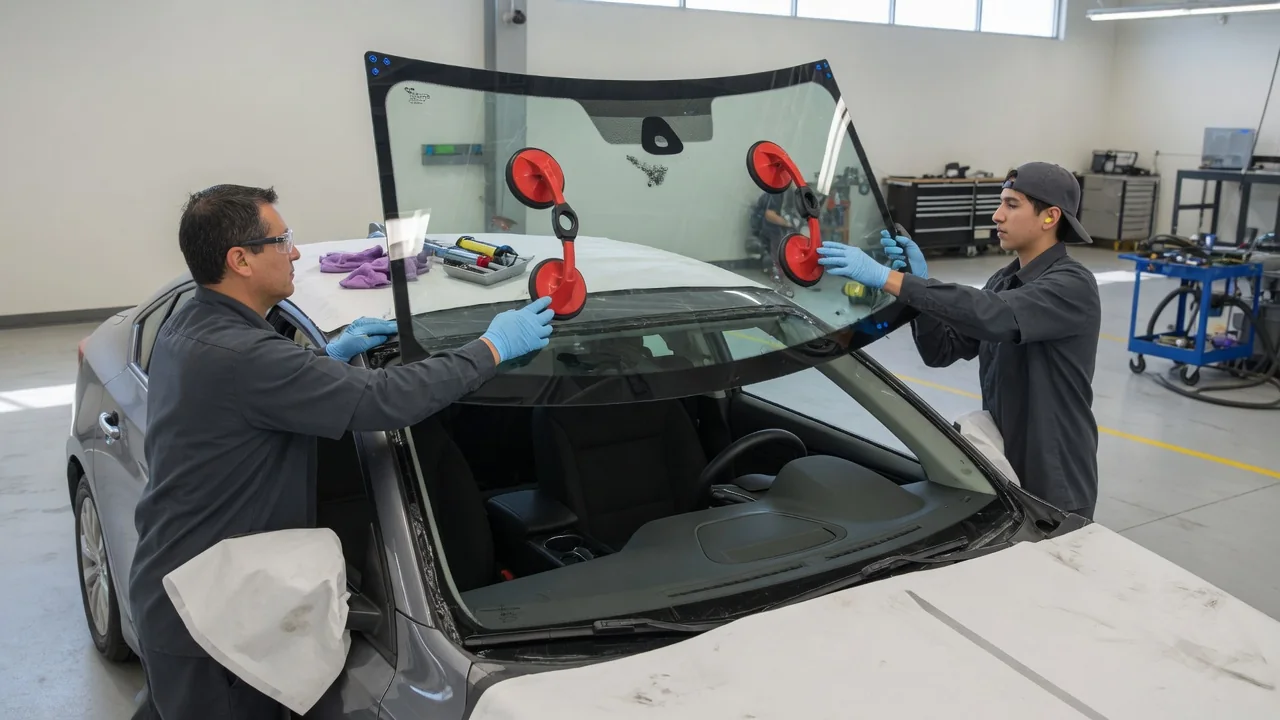
How long does a windshield replacement take? The honest answer has two parts: the time an installer spends removing and setting the glass, and the time before the car is safe to drive. Camera recalibration, adhesive curing, weather and hidden frame damage can all stretch the schedule. Understanding each stage helps you book realistically and ask the right questions.
What the Total Windshield Replacement Time Actually Includes
The total time for a windshield replacement covers far more than dropping a new pane into the opening. A technician first inspects the glass and surrounding body, then covers the dashboard, seats and paint to protect them from debris and adhesive. Wipers, cowl panels and windshield molding come off next, followed by cutting through the old urethane bead and lifting the damaged glass free. Each of those steps takes real time before installation even begins.
After removal, the installer trims the old adhesive on the pinch weld, cleans and primes the frame, lays a fresh bead of urethane adhesive and sets the new windshield in position before refitting trim. Because glass, trim and vehicle design vary, only your installer can estimate the time for your specific car. When booking, ask for two answers: how long the hands-on auto glass replacement will take, and when the car will be safe to drive.
Adhesive Cure Time and Safe Drive-Away Guidance
Most modern windshields are bonded to the body with urethane adhesive, and that bond is a structural part of the car. The bonded glass helps the cabin keep its shape in a rollover and gives many passenger airbags a surface to deploy against. If the urethane has not developed enough strength, the windshield may not hold as designed in a crash, which is why the adhesive maker and installer set a minimum safe drive-away time.
Cure time is not fixed. Urethane products are formulated differently, and many cure by reacting with moisture in the air, so cold, dry conditions can slow the process while warmth and moderate humidity often help. The installer chooses an adhesive suited to the conditions and should give you a written drive-away time based on that product. Follow that figure rather than a general number from a forum or a neighbor's experience with a different car.
Why Camera and Sensor Recalibration Can Add Time
Many newer vehicles mount a forward-facing camera, and sometimes other sensors, on or near the windshield to support lane keeping, automatic emergency braking and similar driver-assistance features. Even a small change in glass position or optical quality can shift what that camera sees, so ADAS recalibration may be required after replacement. Whether your vehicle needs it, and which procedure applies, depends on the manufacturer, so confirm the requirement with the installer or a dealer for your exact make, model and year.
Windshield camera calibration generally falls into two categories. Static calibration is performed in a controlled shop space with targets placed at measured distances, a level floor and suitable lighting. Dynamic calibration is completed while driving the vehicle on roads and under conditions the procedure specifies. Some vehicles call for one, some for both. Because the equipment may sit at a different location, or the process may be scheduled for another day, recalibration can extend the total time well beyond the glass installation itself.
Vehicle and Job Factors That Can Lengthen the Appointment
Some delays only appear once the old glass is out. Rust or earlier damage on the pinch weld must be addressed before new urethane can bond properly, and brittle windshield molding or broken retaining clips may need replacement rather than reuse. Certain vehicles also require removing extra trim, such as pillar covers or cowl assemblies, before the glass can come out. A good installer explains any hidden damage and gets your approval before the scope or price of the job changes.
The glass itself can add complexity. Windshields with a rain sensor, heated wiper area, head-up display zone or acoustic interlayer often require a specific part, and the brackets or gel pads for sensors may need careful transfer and preparation. Installing the wrong glass can mean features do not work correctly. Waiting for the correct windshield or moldings to arrive can push back the appointment date, which is separate from the hands-on time once work actually starts.
Planning the Appointment Around Location and Weather
Mobile auto glass service at your home or workplace is convenient, but it is not always the right fit. If your vehicle needs static calibration, the shop may ask you to bring the car in where targets and level floor space are available. Rain, cold temperatures or very high humidity can also make outdoor installation unsuitable, since moisture on the pinch weld can compromise the bond and temperature affects how quickly the adhesive cures. A covered bay may be the safer choice.
A little preparation keeps the appointment moving. Remove items from the dashboard, the area around the rearview mirror and the front seats, and take out toll transponders or dash cameras if the installer asks. Plan to be without the car for the full work and cure period, and ask whether you need to stay on site or can leave. If insurance is covering the claim, confirm coverage and paperwork beforehand so approval does not hold up the start.
What to Expect in the First Hours and Days After Installation
Aftercare instructions vary by installer and adhesive, so follow what you are given rather than general rules. You may be told how long to leave retention tape in place, when a car wash is acceptable, and whether to crack a window slightly at first. These steps exist because the bond keeps strengthening after the safe drive-away time. Slamming doors with the windows closed creates sudden pressure inside the cabin, and potholes or heavy twisting forces can stress urethane that is still curing.
Before leaving, do a quick visual check. Trim and moldings should sit evenly, with no visible gaps or lifted sections along the edges, and the rearview mirror and any sensor covers should feel secure. Look for adhesive smears on paint or interior surfaces. Keep the work order, glass part details and any calibration report with your records, because that documentation helps with warranty questions, insurance follow-ups and future service if a driver-assistance issue appears later.
Signs You Should Have the Installer Re-Check the Work
Some symptoms mean the job deserves a second look. New wind noise at highway speed, water leaks, damp carpet in the footwells, or a molding that starts working loose all suggest a sealing or fitment issue. Visible waviness or distortion in the driver's field of view can point to a glass quality problem. Contact the installer promptly; if the windshield installation is covered by a workmanship warranty, an early inspection makes it easier to identify and correct the cause.
Driver-assistance warning messages, a lane-keeping system that behaves differently, or adaptive cruise acting inconsistently after replacement should be checked by a professional who can verify calibration with proper equipment. A dashboard message is evidence to interpret, not proof of a specific failed part. Home inspection has limits, because looking at the glass cannot confirm bond strength or sensor alignment. Avoid removing, resealing or adjusting the windshield or sensor mounts yourself; return to the installer or another qualified shop instead.