Graco Extend2Fit Rear-Facing Installation: What to Know
The short answer
The Graco Extend2Fit is a convertible car seat, meaning it can be installed rear-facing for infants and younger toddlers and later turned forward-facing. In rear-facing mode, it is secured to the vehicle with either the vehicle's lower anchors (part of the system commonly called LATCH, short for Lower Anchors and Tethers for Children) or the vehicle seat belt. You choose one method, not both, unless the seat's own manual says otherwise. Once it is installed, you set the correct recline and confirm that the seat is tight against the vehicle.
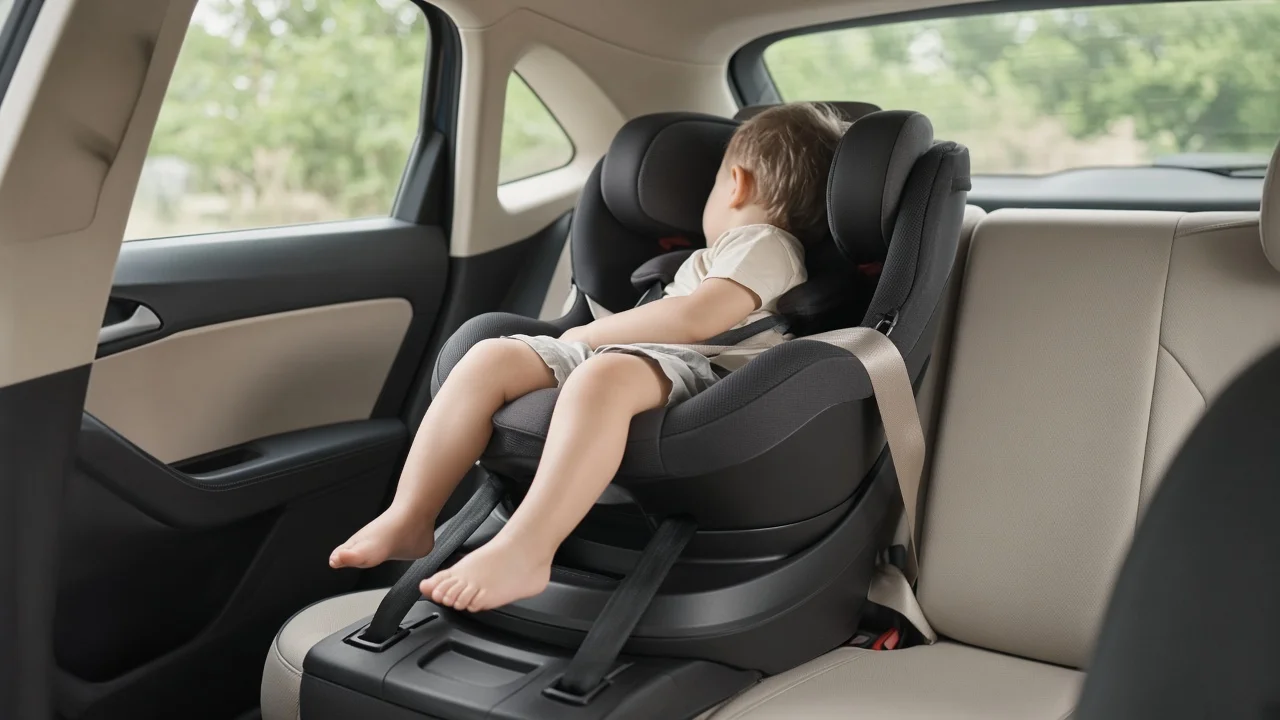
What sets the Extend2Fit apart from many convertible seats is its adjustable extension panel at the front of the seat. The panel slides out to give a rear-facing child more legroom, which is meant to help children stay rear-facing longer. The panel adjusts comfort and fit. It does not change how the seat attaches to the car.
One qualification changes the details. Graco has sold more than one version of the Extend2Fit, including a 3-in-1 variant, and specifications can change between production runs. Weight and height limits, the lower-anchor weight cutoff, and recline settings must come from the manual and labels on your specific seat. No confirmed specifications were available for this overview, so it does not quote any numbers.
Choosing lower anchors or the seat belt
Both methods are designed to provide a secure installation when done correctly. The better choice is whichever one gets a tight, correct fit in your vehicle's seating position.
Lower anchors: connectors on the car seat clip onto metal anchor bars in the vehicle's seat crease. Many parents find this simpler. The lower-anchor system has a combined weight limit for the child plus the seat, so the label on your seat will say when to switch to a seat-belt installation. Vehicle seat belt: the belt is routed through the seat's rear-facing belt path, buckled, and locked. Depending on the vehicle and the seat, it is locked either with the belt's own locking mechanism or with a lock-off built into the car seat, if your version has one. This method works in seating positions that lack lower anchors. Position availability: many vehicles do not provide lower anchors in every seating position, including the center rear seat in some models. Your vehicle owner's manual identifies which positions support which method.
General rear-facing installation sequence
The steps below reflect widely accepted car-seat practice. The Extend2Fit manual takes priority for exact belt-path locations, recline positions, and adjustment controls.
Read both manuals first: the car seat manual and the car seat section of your vehicle owner's manual. Set the seat to the recline position the manual specifies for rear-facing use, and check the recline indicator once the seat is on the vehicle seat. Attach the lower-anchor connectors or route the seat belt through the rear-facing belt path only. Press down firmly into the seat while tightening the strap or belt to remove slack. Check tightness at the belt path. A common guideline is that the seat should not move more than about an inch side to side or front to back when tested there, but confirm the standard in your manual. Recheck the recline indicator, since tightening can shift the angle. Adjust the extension panel for the child's legroom, and confirm it does not interfere with the installation.
Harnessing the child rear-facing
Installation and harnessing are separate checks. For rear-facing use, harness straps are generally positioned at or just below the child's shoulders. The harness should be snug enough that you cannot pinch excess webbing at the collarbone, and the chest clip is typically placed at armpit level. Bulky coats can create hidden slack in the harness, so they are commonly removed before buckling.
Common points of confusion
Using both lower anchors and the seat belt at once: most seats do not allow this. Follow the Extend2Fit manual. Using the top tether rear-facing: top tethers are typically associated with forward-facing installation. Check your manual for whether and how the tether applies in rear-facing mode. Assuming the extension panel raises the rear-facing limit: the panel adds legroom, but the child must still be within the seat's stated weight and height limits. Transferring settings between vehicles: seat shape and anchor placement differ, so recline and tightness should be checked again after each move.
Gaps in this overview and how to fill them
Confirmed details were not available for this article on rear-facing weight and height limits, the lower-anchor weight limit, the number of extension panel positions, recline settings, or features that differ between Extend2Fit versions. Those details are printed on the seat's labels and in its manual. They are the only reliable source for your specific unit.
For hands-on confirmation, a certified Child Passenger Safety Technician (CPST) can inspect the installation in your vehicle and teach you to do it yourself. If you have registered the seat with the manufacturer, you will receive recall notices.