Graco Extend2Fit Forward-Facing Installation: What to Know
The short answer
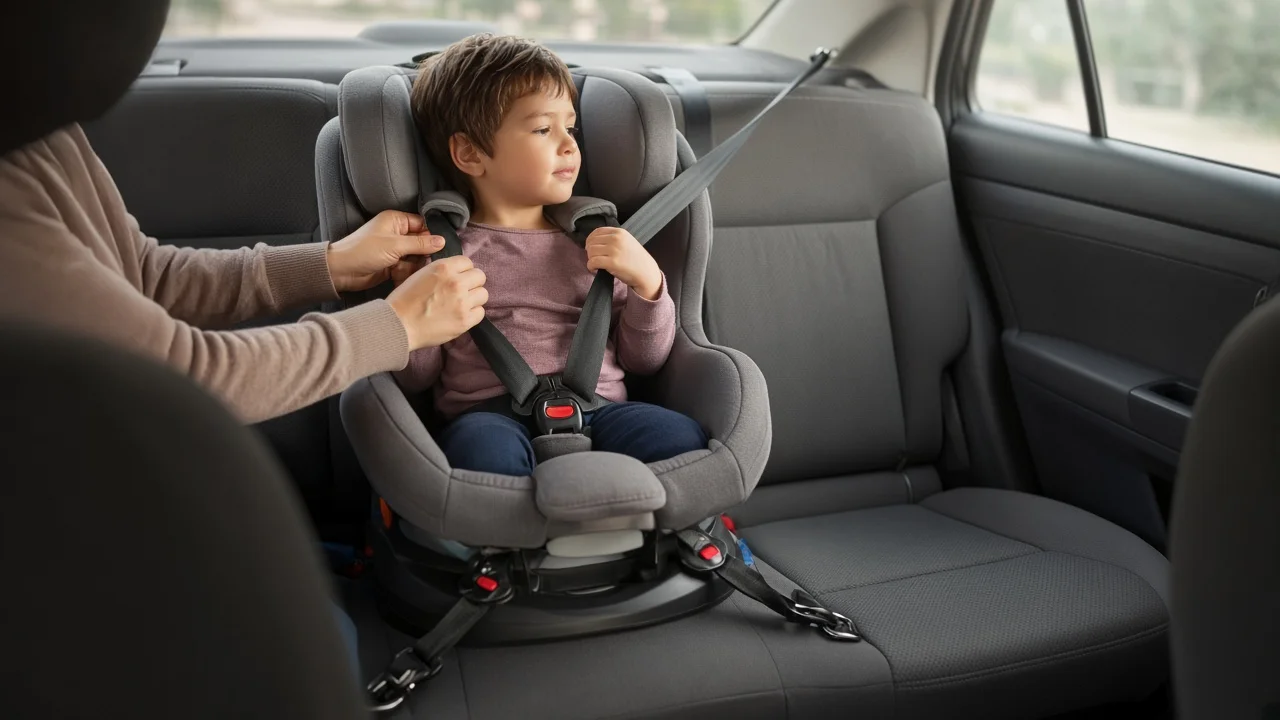
The Graco Extend2Fit is a convertible car seat, meaning it can be installed rear-facing and later turned to face forward. In forward-facing mode it is secured to the vehicle either with the lower anchors (the LATCH system, short for Lower Anchors and Tethers for Children) or with the vehicle seat belt. In either method the top tether should be attached to the vehicle's tether anchor. The child is restrained by the seat's own five-point harness.
One qualification changes the answer more than any other: the exact limits and settings for forward-facing use come from the seat's own manual and labels. That includes the minimum age and size for turning the seat around, the maximum child weight for the lower anchors, the correct recline position, and the belt path to use. Graco has sold more than one Extend2Fit version, such as the standard convertible and a 3-in-1 model with a booster mode, and details can differ between versions and production dates. No confirmed model-specific figures were available for this article, so none are stated here.
How forward-facing differs from rear-facing on this seat
The Extend2Fit is best known for a rear-facing feature: an adjustable extension panel that adds legroom so a child can stay rear-facing longer. Forward-facing installation is a different setup. The seat is turned around, it is usually set to a more upright recline, and the vehicle belt or lower anchor strap runs through the forward-facing belt path instead of the rear-facing one. The top tether is also attached, which is not normally done rear-facing on most convertible seats. Check the manual for how the extension panel should be positioned in forward-facing mode, because that guidance could not be confirmed here.
Many safety organizations recommend keeping a child rear-facing until they reach the seat's rear-facing height or weight limit, rather than turning them at the minimum allowed point. Moving to forward-facing is a step down in protection for a young child, not an upgrade.
General installation steps
The sequence below reflects general forward-facing installation practice for harnessed convertible seats. Use it as an outline and follow the Extend2Fit manual for your exact version wherever the two differ.
1) Confirm the child meets the manual's forward-facing requirements for age, weight and height. 2) Set the seat to the recline position the manual specifies for forward-facing use, using the seat's recline indicator or label. 3) Choose one installation method: lower anchor connectors or the vehicle seat belt. Do not use both together unless the manual explicitly allows it. 4) Route the lower anchor strap or seat belt through the forward-facing belt path only. 5) Attach the lower anchor connectors to the vehicle's lower anchors, or buckle the seat belt and lock it as described in the vehicle owner's manual. 6) Press down firmly on the seat while tightening the strap or belt to remove slack. 7) Attach the top tether hook to the vehicle's designated tether anchor and tighten it. 8) Test for movement at the belt path, then adjust the harness to fit the child.
Checks after installation
Tightness: Holding the seat at the belt path, it should not move more than about one inch side to side or front to back. This is a widely published general guideline. Top tether: Connected to a tether anchor identified in the vehicle owner's manual, not to a cargo hook or seat frame point unless the vehicle maker approves it. Harness height: For forward-facing use, harness straps generally come from slots at or just above the child's shoulders. Harness snugness: You should not be able to pinch a fold of harness webbing at the child's collarbone. Chest clip: Positioned at armpit level. Lower anchor limit: If using lower anchors, confirm the child is under the maximum weight printed on the seat's label. Switch to a seat belt installation, still with the top tether, once that limit is reached.
Vehicle factors that affect the install
Vehicles vary. Lower anchor and tether anchor locations, which seating positions have them, and how the seat belt locks all depend on the make, model and model year. Some center seats have no dedicated lower anchors, and borrowing anchors from the outer positions is only acceptable if both the vehicle and seat manuals allow it. The vehicle owner's manual is the authority on anchor locations and belt locking, and the seat manual is the authority on the seat itself.
Gaps in the available information
No confirmed Extend2Fit-specific evidence was available for this article. That means no verified forward-facing weight or height ranges, lower anchor limits, recline position numbers, extension panel guidance or differences between versions. These are printed on the seat's labels and in its manual. For hands-on confirmation, a certified child passenger safety technician can inspect the installation in your vehicle.