Fuel Leak Repair: Finding the Source and Choosing the Correct Fix
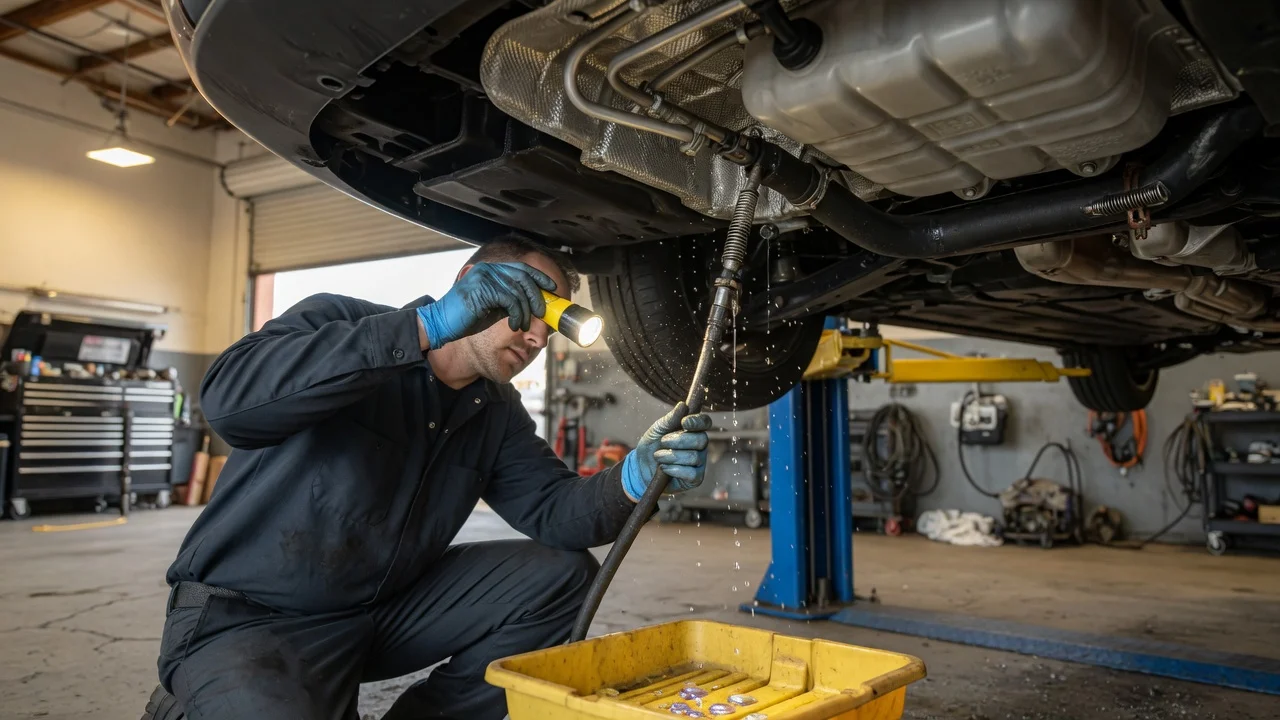
The repair starts with the source, not the stain
A fuel leak is repaired by identifying the fluid, locating the joint or component that actually releases it, and replacing or resealing that part with a fuel-rated method. Wiping a wet spot, wrapping a hose, or adding a bottle sealant does not count as a repair. The stain is often downhill from the failure, and the smell may be liquid gasoline, diesel, or evaporative vapor from the evaporative emissions (EVAP) system rather than a dripping line.
The correct fix depends on which circuit is leaking: the tank and filler, the in-tank pump or sender module, supply or return lines, the filter or pressure regulator, the rail and injectors, or EVAP vapor plumbing. It also depends on whether the failure is a crushed seal, a cracked housing, a rusted steel line, a swollen rubber hose, or a vapor fitting that only leaks under pressure or after a fill-up. Those distinctions change both the part and the labor path. Pressure, torque, hose size, clip design, and whether a module is serviceable as a seal kit or only as an assembly are vehicle-specific; they are not universal.
Treat wet fuel as a fire and inhalation hazard first
Liquid fuel on a hot exhaust, a starter, or a loose electrical connection can ignite. If fuel is pooling, spraying, or soaking insulation, do not crank the engine, smoke, or create sparks. Work with the ignition off, allow hot parts to cool, and keep a rated extinguisher nearby. Fuel vapor is heavier than air and collects in pits, wheel wells, and cabin carpets. A strong cabin smell after parking can be a leak, a saturated charcoal canister, or fuel that wicked into underlayment from an earlier drip.
Confirm the wetness is fuel, then decide liquid versus vapor
Oil, coolant, power-steering fluid, washer solvent, and road film all leave wet marks. Fuel usually has a sharp hydrocarbon odor, evaporates faster than oil, and may feel thinner on a clean paper towel. Diesel is oilier and slower to evaporate than gasoline. A damp area with little odor after the surface dries may be condensation or a non-fuel leak. If the only clue is a raw-fuel smell with a dry underbody, treat it as a possible EVAP vapor leak or a leak that appears only when the system is pressurized or the tank is full.
A stored EVAP diagnostic trouble code (DTC) such as a small, large, or general evaporative-leak code is a clue that the vapor side of the system failed a self-test. It is not proof that the charcoal canister, purge valve, or fuel-cap seal must be replaced. The same code family can be set by a loose cap, a cracked vapor hose, a leaking pump-module seal, a damaged filler neck, or an incomplete test. Read the code definition and enable criteria for that vehicle before ordering parts.
What a leak can mean, and which check separates the causes
A fuel smell, a wet spot, a hard start, a rich running condition, or an EVAP warning are observations. Each has more than one cause. Order checks so that a cheap, non-destructive result either confirms a location or rules one out before you drop a tank or replace a pump.
Smell only after filling the tank, especially if the pump clicks off and then fuel odor appears: inspect the filler neck, cap and tether, recirculation or vapor lines at the filler, and the tank vent path. A full tank raises the liquid level to upper seams and sender seals that stay dry when the tank is low. Wetness at a rear wheel, spare-tire well, or tank strap with a falling fuel level: inspect the tank shell, seam, impact damage, and the pump or sender lock-ring seal. Staining on a strap often means fuel ran down from a module seal above it. Wetness along a frame rail or on a rubber hose with the engine running: inspect supply and return lines, quick-connect fittings, and the filter. A leak that appears only after the pump runs is a pressurized liquid leak, not an EVAP hose sitting at atmospheric pressure. Fuel on the intake, rail, or cylinder head, sometimes with a misfire: inspect injector O-rings, the fuel-rail ends, a schrader valve cap and core if fitted, and, on gasoline direct injection (GDI) engines, the high-pressure pump fittings. A code for a misfire or fuel trim does not by itself prove an injector is cracked. Fuel smell in the engine bay with dry lines, or a purge-flow or EVAP-leak code: inspect the purge valve, canister, and vapor hoses. Commanded purge can pull raw vapor into the intake; a stuck-open purge valve can smell like a leak without wetting the ground. Leak visible only when hot, or after a drive then a hot soak: recheck the same fittings after a controlled heat cycle. Plastics and O-rings can seep as they expand, then look dry when cold. No visible leak, pump noisy, or long crank with residual-pressure loss: a leaking injector, pressure regulator, or pump check valve can dump fuel into a cylinder or back to the tank. That is an internal leak. It may not stain the driveway and still needs a pressure-hold test rather than a visual hunt.
Discriminating checks, in a sensible order: wipe the area dry and use a clean towel or cardboard under the suspected zone so a fresh drip has a known start time. Inspect with the ignition off first, then with the pump primed, then with the engine idling if it is safe to run. Follow wet trails uphill to the highest wet fitting. On a sealed EVAP system, a smoke test of the vapor circuit finds cracks that never wet the ground. A fuel-pressure gauge with a hold test after the pump stops separates an external spray from an internal bleed-down; the specified pressure and hold time come from that vehicle’s service information. Do not interpret a gauge reading against a generic number from another engine family.
If a scan tool reports an EVAP leak or a fuel-system control fault, record freeze-frame data and complete the monitor enable conditions before replacing hardware. A failed monitor after a recent fill, a loose cap, or an interrupted drive cycle can look like a component failure. Clear codes only after you have captured them, then retest under the conditions the procedure requires.
Common leak points and what each one usually needs
Most liquid leaks are at a seal, a quick-connect, a hose end, or a corroded metal line rather than through the middle of a sound tank. Most vapor leaks are at a cap, a cracked plastic nipple, a split rubber elbow, or the pump-module O-ring that also seals the tank vapor space.
Failed area | What you are seeing | Repair that matches the failure | What that repair does not fix; Filler cap, cap seal, or filler neck | Smell after fueling; EVAP leak codes; wet paint around the filler | Replace the cap if the seal is hard or missing; replace or service the neck if it is cracked, rusted, or the latch surface is damaged | A new cap will not stop a split filler-to-tank hose or a tank-vent fault; Tank shell, seam, or impact crease | Wet tank face, fuel in a skid-plate, falling gauge with no driving | Replace the tank when the wall is cracked, rusted through, or deformed. Patch kits and tank sealers are a poor match for a pressurized, crash-relevant container, especially plastic tanks | Dropping the tank without replacing a failed module seal leaves the leak in place if the shell was never the source; Pump or sender module lock ring and O-ring | Fuel at the top of the tank, smell in the cabin, EVAP leak, stain on straps | Replace the O-ring or seal kit with the specified fuel-resistant ring; replace the module if the housing, electrical connector, or jet pump is cracked | A new pump motor does not seal a nicked lock-ring groove or a distorted tank flange; Rubber supply or return hose | Soft, cracked, or soaked hose; leak at a clamp or barb | Replace with fuel-rated hose of the specified type (barrier hose for gasoline, the correct rating for diesel or flex-fuel). Match inside diameter and end style | Ordinary heater hose or silicone is not a fuel line. A clamp on a swollen, delaminated hose will seep again; Steel or coated metal line | Rust perforation, chafed section, leaking flare | Replace the damaged run or the short repair section with the specified line and flares or quick-connects | Compression fittings and epoxy are not a durable repair on a vibrating, pressurized fuel line; Quick-connect fitting or clip | Leak at a joint that was recently disconnected, or a missing retaining clip | Install the correct clip and a new O-ring if the connector uses one; replace the connector if the body is cracked | Forcing a mismatched aftermarket line onto an original clip often leaks immediately or after the first heat cycle; Fuel filter or in-line regulator | Wet at the cans or banjo fittings | Replace sealing washers or O-rings on reassembly; replace the filter or regulator if the housing is weeping | Reusing crushed copper washers is a common repeat leak; Rail, injector O-rings, or high-pressure pump joints | Fuel on the intake or a fuel-rail cover; possible misfire | Replace the O-rings or the leaking injector or pump only after a leak-down or spray test shows which one is wet. Torque and lubrication of O-rings follow the vehicle procedure | Replacing all injectors because one O-ring is hard wastes parts and still leaks if the rail cup is damaged; EVAP canister, purge valve, or vapor hose | Fuel odor, EVAP codes, no driveway stain | Smoke-test, then replace the cracked hose, failed valve, or liquid-fouled canister | A new canister will not fix a leaking pump-module seal that allows liquid fuel into the vapor line
Differences that decide the fix
Choose the repair from the failed part and the fuel type, not from the size of the stain. The differences that change the job are mechanical fit, chemical compatibility, and whether the circuit is liquid under pump pressure or vapor under EVAP test pressure.
Seal kit versus complete assembly: a pump-module or sender leak at the lock ring is often an O-ring. A cracked module hat, a failed internal hose, or a leaking electrical connector usually means the assembly. Confirm whether the vehicle has a serviceable seal; some modules are sold only as a unit. Hose versus hard line: replace only the damaged section if the remaining line is sound and the repair joints are the specified type. Replace the full run if corrosion, chafe, or heat damage continues beyond the wet spot. Injector O-ring versus injector body: an O-ring seep at the rail or port is a seal job. Fuel from the injector electrical boss, a cracked body, or a leaking high-pressure connection is a component replacement. A misfire code or a fuel-trim number does not tell you which of those it is. Liquid-line repair versus EVAP repair: a dripping supply hose is a fire-risk liquid leak and needs a fuel-rated liquid repair. A vapor-line crack is still a hydrocarbon leak and will fail emissions monitors, but it is a different hose specification and a different test (smoke or monitor completion, not a wet towel). Gasoline, diesel, and flex-fuel: hose, O-ring, and seal materials are not interchangeable across fuels. Ethanol-blend service needs the barrier hose and elastomers that vehicle specifies. Diesel leaks can look like oil; using gasoline hose on diesel, or the reverse, is a compatibility failure even if the ends fit. Temporary stop versus lasting repair: a clamp, tape wrap, or bottled “stop leak” may slow a drip long enough to move the vehicle, but it does not restore a rated pressure boundary. Use it only as a get-to-repair measure, then replace the failed part.
Physical fit is not the same as a working repair. A hose that pushes onto a barb can still swell, a pump module that bolts down can still miss the tank O-ring groove, and an EVAP valve that plugs in electrically can still leak at a cracked plastic port. Electrical connection and scan-tool communication only prove the module can talk; they do not prove the hydraulic or vapor seal is intact.
A practical sequence for finding and fixing the leak
Record when the smell or wetness appears: after fill-up, at start, at idle, at cruise, or after shutdown. That timing is the first discriminator. Look for other fluids and for EVAP codes so you do not chase a coolant leak or replace a liquid line for a vapor fault. Dry the area, prime or run the pump only if it is safe, and find the highest wet point. On a dry, code-only EVAP complaint, smoke-test the vapor side including the cap, filler, and pump-module seal rather than replacing the canister first. Identify the failed seal, hose, line, or housing, then replace that item with the specified fuel-rated part and new single-use seals or clips. After the repair, recheck dry under prime, idle, and a heat cycle. For EVAP work, complete the monitor or the specified leak check so a passing visual inspection is not the only evidence.
What this guide cannot specify for your vehicle
Fuel pressure specifications, hold times, lock-ring torque, line diameter, clip part numbers, whether the pump is in-tank or in-line, whether a filter is serviceable, and which EVAP test the powertrain control module (PCM) runs are model-year, engine, and market dependent. Service information for that vehicle is required before you interpret a gauge reading or decide that a module is unserviceable. If the leak is in a high-pressure GDI pump or line, or the tank is damaged in a way that affects crash structure, the safe path is a specified replacement rather than a field patch. If inspection cannot find a source and a pressure or smoke test is not available, stop at “location unconfirmed” rather than replacing the pump, tank, and canister as a set.