CV Axle Seals: Identifying the Correct Replacement Part
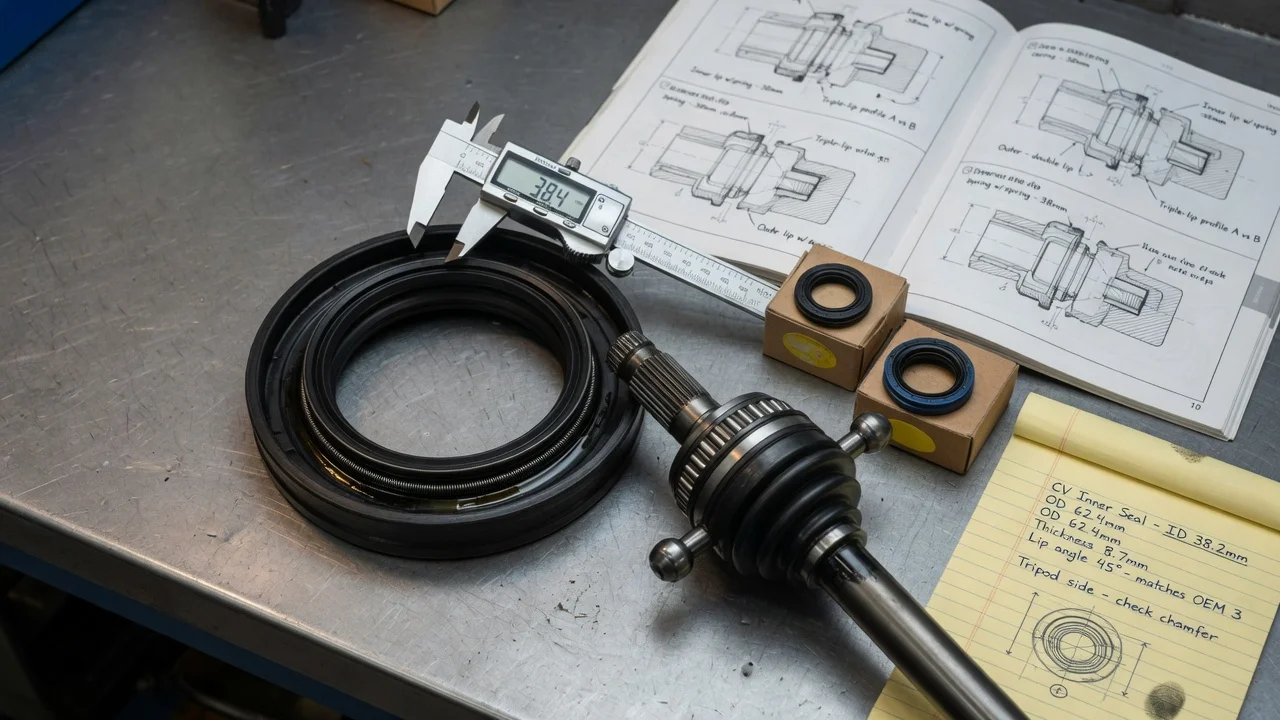
A leaking CV axle seal lets transmission, transaxle or differential fluid escape where the drive axle enters its housing. Replacing it is a common repair, but it only works if you buy the seal that matches your exact vehicle configuration and confirm that the seal is actually the source of the leak. This guide covers identifying the right part, preparing for the job, removing the axle and old seal, installing the new one and checking the finished work.
Confirm the part and repair scope
The CV axle seal is a lip seal pressed into the transaxle, differential or transfer case bore where the inner end of the drive axle or intermediate shaft enters. It keeps lubricant in and dirt out. It is not the same part as the CV boot, the rubber cover that holds grease around the joint itself. Some parts listings and owners call the seal a CV axle gasket, but a true gasket seals two stationary surfaces, so make sure you are shopping for a shaft seal. A torn boot throws thick, dark grease around the axle and suspension; a failed seal lets fluid run down the housing and drip from its lowest point.
CV axle seals are not interchangeable across a model line. The correct part depends on the transmission or differential fitted, the drivetrain layout and sometimes the production date, so identify the vehicle by VIN and transmission code rather than by model name alone. Left and right seals often differ, and vehicles with an intermediate shaft or all-wheel drive may use a different seal on one side or at the transfer case output. When the new seal arrives, compare it with the old one for outside diameter, inside diameter, width, lip design and any dust lip before installation.
Before ordering, clean the area and perform a careful inspection after a short drive to see where fresh fluid first appears. Note the fluid type: transmission fluid and gear oil look and smell different from boot grease. Review the service history, since an overfilled unit after a recent fluid change or a blocked housing vent can push fluid past a healthy seal. Also check the inner joint for excessive movement and the axle sealing surface for wear or rust pitting. A new seal will not stop a leak caused by a worn shaft, a damaged bore, a cracked housing or a loose inner joint.
Prepare tools and safe access
Get the vehicle-specific service procedure before starting, because removal steps, fastener torques, whether fluid must be drained and the fill method all vary by manufacturer specifications. Typical requirements include a floor jack and rated jack stands, wheel chocks, a breaker bar and socket for the axle nut, a torque wrench, a drain pan, a seal puller or hook, a seal driver or a socket matching the seal's outer edge, a pry bar, and the correct replacement fluid. Many axle nuts, retaining circlips and cotter pins are single-use, so buy them with the seal if the procedure calls for new ones.
Work on level ground with the vehicle supported on stands, never on the jack alone. This job is not ideal for a first-time owner: it can involve separating ball joints or tie rod ends, handling heavy suspension parts, and applying high torque to the axle nut. Some service instructions warn against removing both axles from certain transaxles at once or require a holding tool to keep internal gears aligned. If the procedure calls for disturbing strut-to-knuckle bolts, plan for a wheel alignment afterward. When the instructions require special tools you do not have, a shop visit is usually cheaper than a damaged housing.
Remove without avoidable damage
A common sequence is to loosen the axle nut while the wheel is on the ground, then raise and support the vehicle, remove the wheel and drain the fluid if the service information requires it. Detach anything attached to the knuckle that would be strained, such as the wheel speed sensor wire or brake hose brackets, then separate the suspension joint specified in the procedure so the knuckle can swing outward. Push the outer joint out of the hub using hand pressure or a puller; hammering on the axle threads can ruin them. Pry the inner joint out of the housing at the point the procedure specifies, pulling straight so the seal bore and splines are not damaged.
Support the axle as it comes free and do not let it hang from the outer joint or pull the inner joint apart, since some inner joints can separate and spill their rollers. Before extracting the old seal, note how deep it sits in the bore and which way it faces. Remove it with a seal puller or hook, levering against the seal itself rather than the housing. A scratch in the bore or on the axle sealing surface can create a new leak path, so work slowly and keep metal tools away from those surfaces. Cover the open housing to keep debris out.
Install and restore the system
Clean the bore and inspect it for nicks or corrosion. Confirm the new seal matches the old one, then lightly coat the sealing lip with the same fluid used in the housing unless the instructions specify another lubricant. The spring side of the lip normally faces the fluid. Drive the seal in squarely with a tool that bears on its outer edge, stopping at the original depth or the depth given in the service procedure. A seal installed crooked, too deep or with a folded lip will leak. If the seal came with a protector sleeve, use it to guide the axle splines through the lip.
Fit a new circlip to the inner joint if required, then insert the axle straight into the housing without dragging the splines across the new lip. Push it in until the clip engages; a firm pull on the inner joint housing, not the axle shaft, should not draw it out. Reconnect the suspension joint, sensor wiring and brackets, and tighten every fastener to the values in the service information. Install the axle nut and tighten it using the specified method, then secure it with a cotter pin, retainer or staking if the design calls for it. Refill with the specified fluid using the manufacturer's check procedure, which may require a particular temperature or the engine running. While the axle is out, inspect both CV boots; a torn boot means the axle or boot needs attention too.
Check the completed work
After a short test drive, recheck the fluid level using the correct procedure and look at the seal area for wetness. Inspect again after the vehicle has sat overnight and after a longer drive under normal operating conditions. Confirm there are no new warning lights, which can appear if a speed sensor wire was disturbed, and that shifting and steering feel normal. Listen for clicking in turns or clunking when changing between drive and reverse, and recheck the axle nut if the service information calls for it.
Some signs mean the problem lies beyond the seal. A leak that returns quickly can point to a worn or pitted axle sealing surface, a damaged bore, an overfilled unit, a blocked vent or worn internal bearings that let the shaft move. Vibration during acceleration often comes from the inner joint rather than the seal, and an axle that will not stay seated suggests a missing clip or spline damage. Record the repair in the vehicle's service history and keep checking the area during routine maintenance, following your vehicle's own maintenance schedule rather than a generic interval.