Fuel Injector Replacement: How to Replace a Faulty Injector
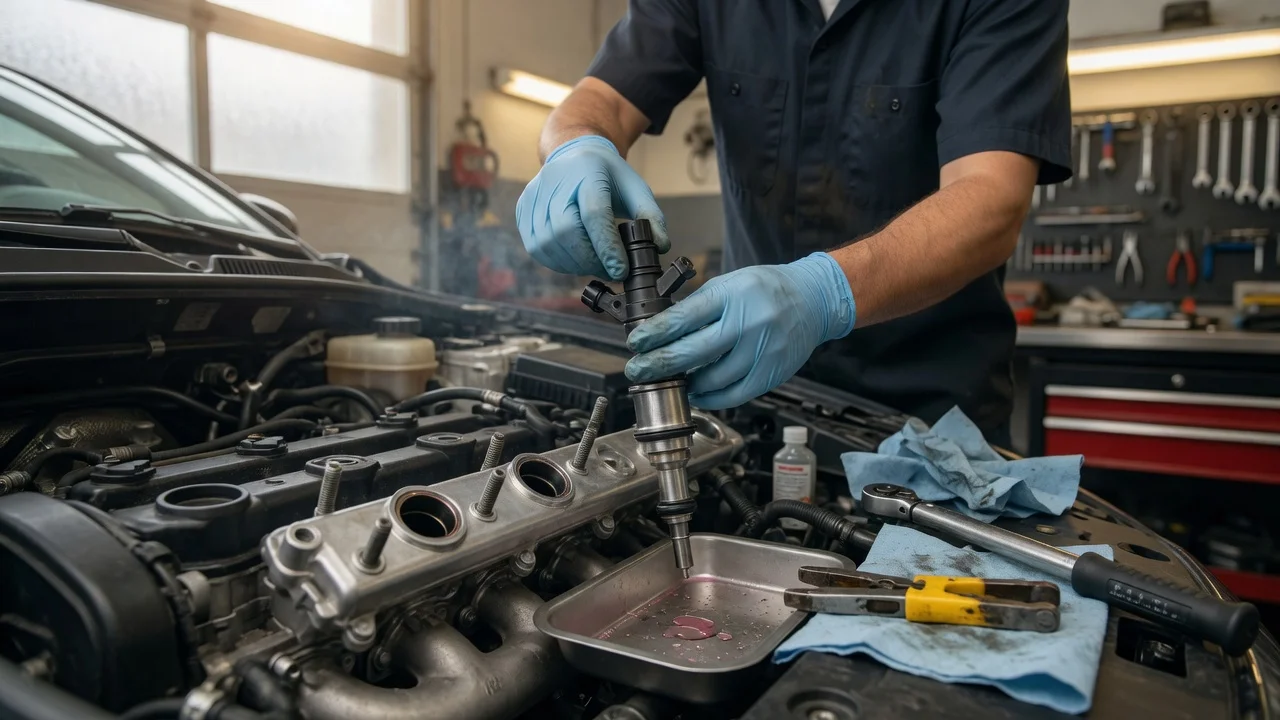
What replacing a faulty injector actually involves
Replacing a faulty fuel injector means isolating the failed injector, relieving fuel-system pressure, disconnecting its electrical connector and fuel supply, removing the injector from the rail or cylinder head, installing a matching replacement with new seals, then priming the system and confirming there are no leaks, misfires, or stored injector-circuit faults. A fuel injector is the electrically controlled valve that meters fuel into the intake port or directly into the combustion chamber. The job is a sealed fuel-system repair, not a simple plug-and-play swap.
The procedure is vehicle-dependent. Port-injected gasoline engines, gasoline direct injection (GDI) engines, and diesel common-rail engines use different injector bodies, seals, operating pressures, and control-module requirements. Fastener torque, pressure-relief method, rail removal sequence, seal lubricant, and whether the injector identification or trim data must be written to the engine control module (ECM) are published in that vehicle’s service information. Those values and pin assignments are not universal and are omitted here where they cannot be verified for a specific engine.
Confirm the injector and the system type first
Replace an injector only after the fault is tied to that cylinder and that component. A misfire, rough idle, fuel smell, hard start, or an injector-circuit diagnostic trouble code (DTC) can also come from wiring, a coil, a compression problem, a leaking fuel-pressure regulator, or a contaminated rail. Typical confirmation uses onboard diagnostics (OBD) data for cylinder contribution or misfire counts, an injector-circuit electrical check at the connector, and a leak or spray check only with the method the service information allows for that fuel system.
Identify the injection type before ordering parts or opening the rail. Port injectors usually sit in the intake manifold or a fuel rail above the ports and use O-rings on the fuel and manifold sides. Direct injectors seat in the cylinder head, use a combustion-chamber seal as well as fuel-side seals, and are fed by a high-pressure pump and lines. Diesel common-rail injectors are a separate family of parts with their own seals, hold-down clamps, and, on many engines, a calibration or correction code that the ECM must store. Mixing these designs, or installing an injector that fits physically but has the wrong flow, spray, or connector, will not restore correct fueling.
Match the replacement to the engine, model year, fuel system, and injector position when the manufacturer indexes injectors that way. Plan on new seals, clips, and spacers as specified for that injector; reused O-rings and combustion seals are a common leak path. If the rail is lifted, inspect every injector it carries. Contamination, a collapsed filter basket, or a leaking rail fitting can make a single-injector repair fail immediately.
Prerequisites and equipment
Work from the service information for the exact engine, including the fuel-pressure relief procedure, rail and injector fastener torque, connector lock design, and any injector coding or immobilizer-related steps. The engine should be cool enough to handle, the vehicle should be on a level surface with the parking brake applied, and the work area should be ventilated and free of sparks, open flame, and smoking. Have a way to contain liquid fuel and a dry chemical extinguisher rated for flammable-liquid fires.
Service information for the vehicle’s engine and fuel system, including torque figures and the published pressure-relief method; Correct injector and the seal, spacer, and clip kit specified for that injector; Safety glasses and fuel-resistant gloves; Fuel-rated absorbent material and a sealed container for drained fuel; Hand tools that fit the rail, line, and hold-down fasteners without rounding them; A torque wrench capable of the published fastener range; A scan tool that can read misfire and injector-circuit data and, when the engine requires it, write injector correction or identification data to the ECM; Battery access if the procedure calls for disconnecting the negative terminal
Hazards and stopping points
Fuel under residual pressure can spray as a fine mist and ignite. GDI and diesel high-pressure circuits store energy after shutdown; opening a line or injector bore without the published relief and wait steps can inject fuel through skin or start a fire. Do not crank or start the engine while fittings are loose. Keep liquid fuel off hot exhaust parts and electrical connections.
Stop if you cannot identify whether the engine is port-injected, gasoline direct-injected, or diesel common-rail, or if the replacement injector cannot be matched to the original by specification. Stop on a high-pressure gasoline or diesel system if you do not have the published relief procedure and the fittings, caps, or tools it requires. Stop if a rail bolt, injector clamp, or fuel-line fitting is rounded, seized, or broken, or if the electrical connector lock is damaged. Stop if the engine requires injector coding, trim, or identification data and the available scan tool cannot perform that write. Do not substitute unlisted seal lubricant, thread sealant, or generic O-rings for the parts and lubricant the procedure names.
How to replace the injector
The sequence below is the usual order of work. Skip, add, or reverse a step only when the engine’s service information says to. Do not treat the list as a substitute for torque values, wait times, or connector pin assignments.
Record DTCs, freeze-frame data, and which cylinder is misfiring or leaking. Confirm battery voltage is adequate for later priming and coding steps. Disconnect the fuel-pump power supply or follow the published residual-pressure relief. Wait the specified time. Protect painted surfaces and place absorbent material under the rail and lines. Remove covers, intake ducting, and other parts that block the injector or rail, labeling vacuum and electrical connections as they come off. Release the injector connector lock and unplug the connector by the body, not the wires. Inspect terminals for corrosion, spread pins, or fuel contamination. Disconnect the fuel supply line or rail connection with a fitting tool if specified. Cap open lines to keep dirt out. Unbolt the fuel rail or injector clamp in the published order. Lift the rail evenly so injectors are not bent in their bores. Withdraw the faulty injector. Note clocking, clips, spacers, and which seals stayed in the head or rail so none are left behind. Compare the new injector to the old one: body length, connector, inlet filter, seal stack, and any identification marking the ECM uses. Install only the new seals and clips the kit and procedure call for. Lubricate seals only with the lubricant named in the procedure. Seat the injector fully and in the original orientation. Refit the rail or clamp and start every fastener by hand. Tighten rail, clamp, and fuel-line fasteners to the published torque and sequence. Reconnect the electrical connector until the lock is fully engaged. Reinstall removed intake and cover parts that are needed to run the engine without unmetered air leaks. Restore fuel-pump power and the battery connection if they were opened. Switch the ignition on without starting, or use the published prime cycle, and inspect every disturbed seal and fitting for wetness or fuel odor before the first crank. Start the engine and recheck for leaks at idle. Clear injector and misfire codes, then confirm the cylinder contributes evenly and no circuit fault returns. After a short heat-soak, inspect the seals again.
Completion checks
The repair is complete when the disturbed joints stay dry after prime, idle, and heat-soak; the engine idles without a cylinder-specific misfire; and the injector circuit shows no pending or stored fault. A brief road test under light and moderate load should not bring back hesitation, a fuel smell, or a return of the original misfire count. If the engine uses injector correction data, confirm the write succeeded before releasing the vehicle.
If a leak appears at a new O-ring or combustion seal, shut the engine down and correct the seating or replace the seal. Do not run the engine to “see if it settles.” If the same cylinder still misfires with a new injector, return to wiring, coil, compression, and ECM output rather than repeating the injector swap.
Details that must come from the vehicle’s documentation
Consequential settings are not interchangeable across engines. Look up and follow the published figures for that model year, engine code, and fuel-system configuration before applying torque, opening a high-pressure line, or coding an injector. Material uncertainty remains wherever that documentation is unavailable.
Fuel-pressure relief method, residual-pressure wait time, and whether a service port or high-pressure line disconnect is used; Rail, injector-clamp, and fuel-line fastener torque and tightening order; Seal stack, spacer, and clip part list, and the only approved seal lubricant; Whether injector identification, trim, or correction data must be programmed to the ECM; Connector lock type and any pin repair limits; Whether one injector may be replaced alone or the rail service requires new seals on every injector that was disturbed