How to Flush a Car AC System
What Flushing a Car AC System Means
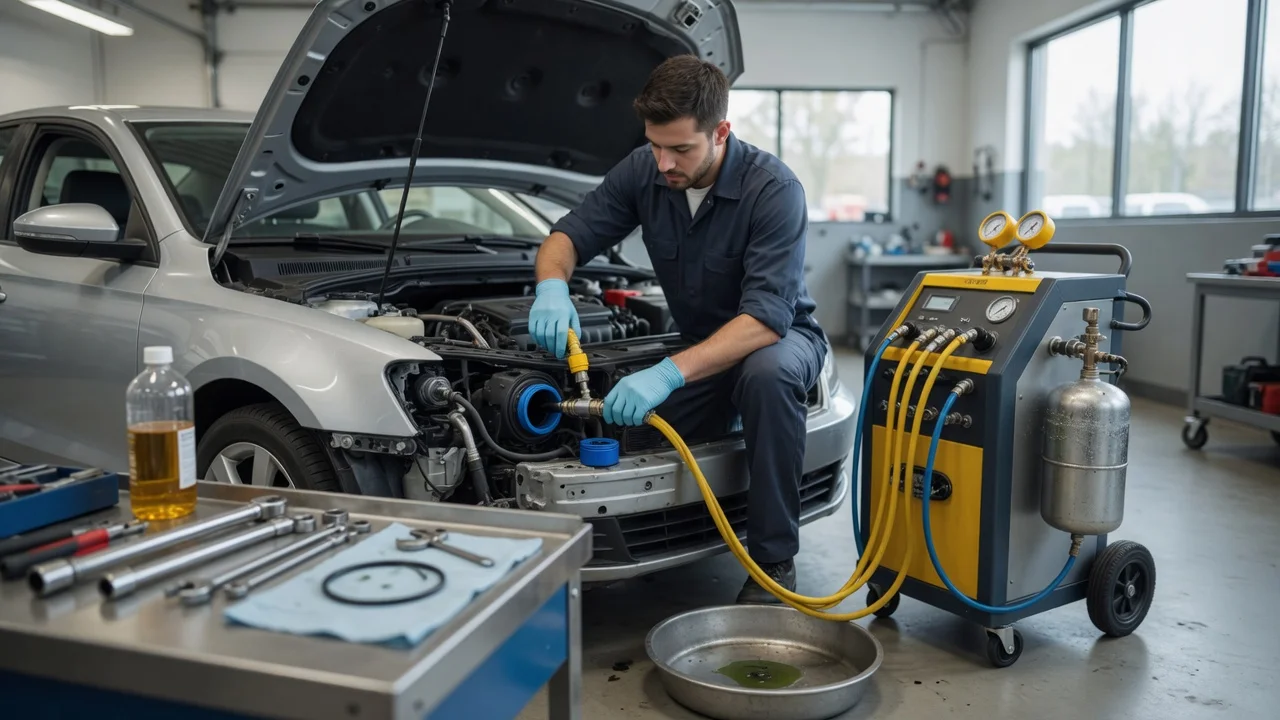
Flushing a car AC system means pushing a dedicated solvent through the air conditioning lines, condenser and evaporator to remove old oil, metal debris, desiccant particles or sludge left behind after a compressor failure. The process is not a substitute for evacuating and recharging refrigerant. Flushing applies only to metal and some specific lined components; it must never be performed through the compressor, expansion valve, orifice tube, receiver-drier or accumulator, which are removed or replaced before flushing.
When Flushing Is Required
Flushing is normally required when a compressor fails internally and spreads metallic debris through the system, when the refrigerant oil is contaminated or burned, or when a desiccant bag ruptures. It may also be needed during a conversion between refrigerant oil types if the manufacturer permits flushing for that application. Flushing is a conditional repair step: applying it to a system with a blocked parallel-flow condenser or a contaminated expansion device may not recover the part, and replacement is often more reliable.
Tools and Materials
AC flush solvent approved for automotive use; Flush gun or pressurized flush container with a catch bottle; Shop air supply regulated to the pressure specified by the flush equipment maker; AC manifold gauge set and vacuum pump; Recovery machine or professional recovery service for the existing refrigerant; Replacement receiver-drier or accumulator; Replacement expansion valve or orifice tube if contaminated; New compressor oil of the type and quantity listed for the vehicle; Personal protective equipment: nitrile gloves and safety glasses
Step-by-Step Flush Procedure
The exact sequence varies by vehicle generation, AC architecture and whether the system uses an expansion valve or a fixed orifice tube. The following order is common to most passenger vehicles, but the service information for the specific model year and market should be checked before starting.
1) Recover Refrigerant and Remove Components
Have the refrigerant recovered by a licensed shop using approved recovery equipment. Do not vent refrigerant to atmosphere. Disconnect the battery negative terminal. Remove the compressor, receiver-drier or accumulator, and the expansion valve or orifice tube. The compressor is not flushed. The drier or accumulator is replaced, not flushed. The expansion device is inspected and usually replaced when debris is present.
2) Flush Individual Components
Flush each remaining component separately in the direction opposite to normal refrigerant flow where possible. Connect the flush gun to one end of the line, condenser or evaporator and direct the outlet into a closed catch container. Apply shop air at the pressure stated by the flush equipment instructions, typically modest pressure rather than full line pressure. Pulse the solvent through in short bursts, then follow with dry air until no liquid solvent remains.
3) Dry and Inspect
Blow dry, filtered air through each flushed component until the outlet is clean and dry. Inspect the solvent captured in the catch container. If metal particles continue to appear after repeated flushing, the affected component may need replacement. A parallel-flow condenser with embedded debris cannot always be flushed completely and may require replacement even if solvent flows through it.
4) Install New Components and Oil
Install the new receiver-drier or accumulator and a new expansion valve or orifice tube. Add the correct type and amount of compressor oil in the locations specified by the manufacturer. The total oil quantity depends on which components were replaced and whether the compressor is new or remanufactured. Follow the oil distribution chart for the exact model and compressor type.
5) Vacuum, Leak Test and Recharge
Connect the manifold gauge set and pull a deep vacuum for the duration specified in the service manual. Confirm the vacuum holds, which indicates a sealed system. Recharge with the specified refrigerant type and weight. Then operate the AC, check vent temperatures and verify that high and low side pressures fall within the ranges listed for the ambient temperature and vehicle application.
Completion Check
A completed flush should leave the remaining metal lines, condenser and evaporator free of old oil and debris. The system should then be assembled with a new drier or accumulator, the correct oil charge and the correct refrigerant charge. Successful completion is confirmed by stable gauge pressures, no visible leaks and normal cooling performance during operation.
Professional-Service Boundaries
Refrigerant recovery and final charging require equipment and certifications that most owners do not have. Attempting to open a charged AC system without recovery creates a safety and legal risk. If the vehicle has a hybrid or electric compressor, high-voltage isolation procedures may also apply. In those cases, flushing and reassembly should be left to a shop with the correct recovery, charging and high-voltage safety equipment.