Exhaust Repair Tape: When and How to Use It
Before you start
Exhaust repair tape is intended for temporary repairs to metal exhaust pipes, mufflers, joints, or small holes that are accessible from outside. It works best on a cool pipe that has been cleaned of loose rust, oil, and dirt. The repair depends on surface preparation, so park the vehicle on level ground and let the exhaust system cool before touching it.
The tape is applied directly to the damaged area and does not require a remote service or software. Because the tape sits on the outer surface of the pipe, it cannot fix internal damage, replace a missing section, or repair a flexible coupling that moves significantly. Check whether the damaged area can be reached by hand and whether the surrounding metal is solid enough for the tape to grip.
Step-by-step instructions
1) Put on heat-resistant gloves and safety glasses. Exhaust pipes can have sharp edges from rust or breakage.
2) Support the vehicle securely if the repair area is underneath the body. Use jack stands on a firm surface; do not rely on a jack alone.
3) Clean the damaged area with a wire brush. Remove loose corrosion, flaking road debris, oil, and moisture. The tape needs a dry, rough outer surface to bond.
4) Wipe the cleaned area with a solvent or degreaser if available, then let it dry completely. Follow the tape manufacturer's surface instructions because product formulas vary.
5) For a split or crack, press the edges of the metal together as tightly as possible before wrapping. Exhaust tape does not fill wide gaps well.
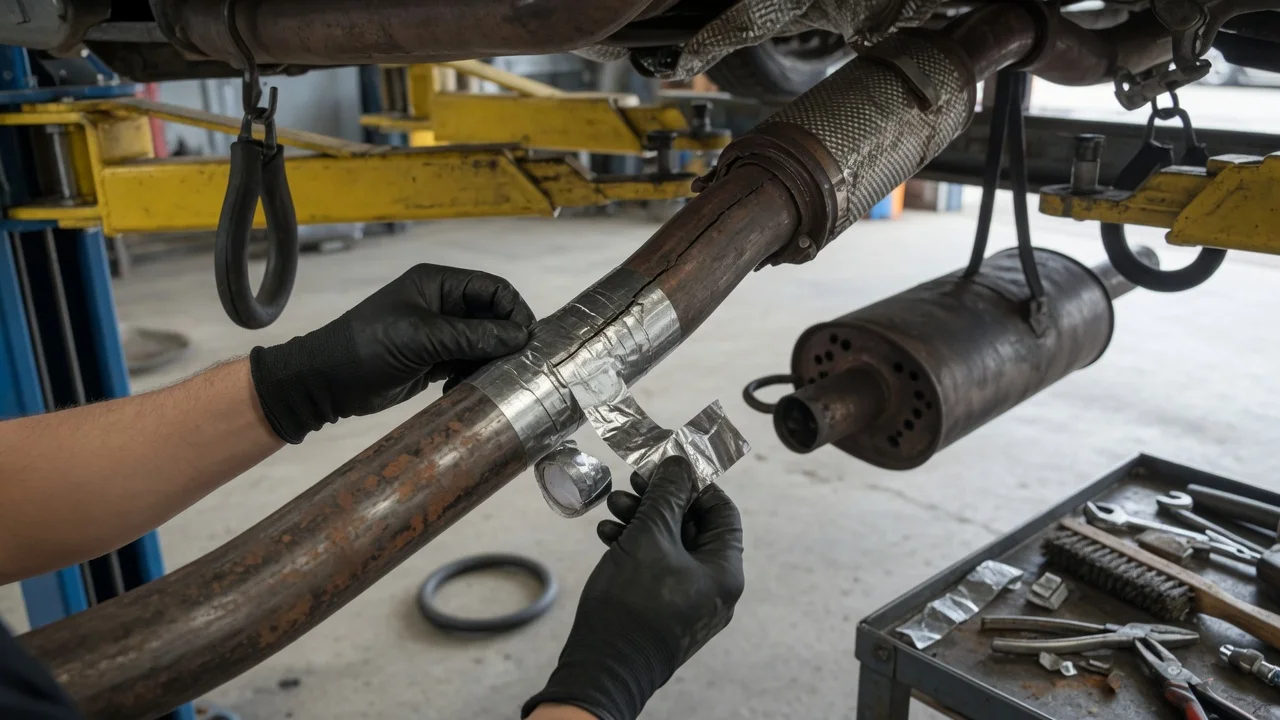
6) Peel back a short length of backing if present. Begin wrapping at one side of the damage and continue past the opposite side, keeping the tape pulled firmly.
7) Overlap each turn by about half the tape width. For a stronger temporary seal, make a second overlapping pass over the first layer.
8) Press the final edge down and, if the product requires heat or an additional clamp, follow that curing step. Do not clamp over a section that is too soft or distort the pipe.
Check the output
Before starting the engine, look at the wrapped section from all accessible angles. The tape should cover the hole or crack completely, with no bare metal gap or loose edge along the damage. Run your gloved hand gently over the wrap to confirm that it is snug, but do not pull hard on hot exhaust components.
Start the engine and listen at idle while the vehicle is parked. A reduced blowing or ticking sound may mean the repair is holding, but the result is temporary. The tape may last only long enough to reach a repair shop, depending on the location, temperature, moisture, and condition of the original metal.
After driving briefly, stop in a well-ventilated place and inspect for new exhaust noise or visible loosening. Do not rely on touch when the system is hot. Exhaust tape is not a permanent replacement for welded or bolted repair parts.
Common problems and next steps
The tape will not seal if the metal keeps flaking, the damaged area is wet, or oil remains on the surface. Remove the failed layer, clean to fresh metal, and wrap again with tighter overlap.
For a round pipe, exhaust tape may push into a wide crack instead of bridging it. Use a compatible exhaust band clamp or repair sleeve over the tape for extra pressure, but only if the pipe is still round enough to support it.
If the pipe is heavily corroded, the area around the hole may collapse during wrapping. A epoxy-style exhaust putty may fill small pinholes, while a larger failure requires replacement of that section. Do not continue adding tape to completely separated pipes.
Constant moisture, salt, and high heat reduce durability. After any temporary repair, have the exhaust system inspected and welded or replaced as needed.