Exhaust Gaskets: Choosing a Compatible Joint Seal
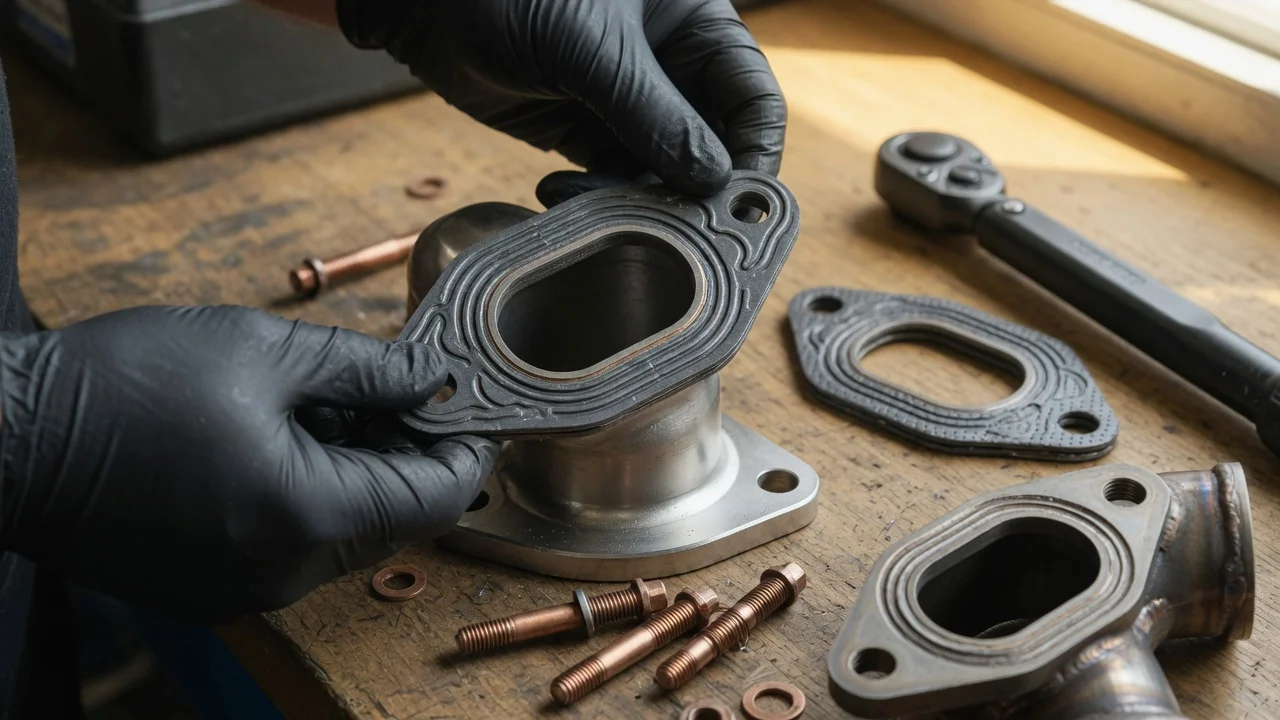
What an exhaust gasket does
An exhaust gasket is a flat seal placed between two exhaust flanges or between a flange and a mating surface such as the cylinder head. Its job is to close the small irregularities between the two metal faces so exhaust gas cannot escape before it reaches the muffler and tailpipe. A failed gasket usually produces a ticking or puffing noise under load, a visible soot mark at the joint, and sometimes an exhaust smell near the engine or under the cabin.
Answering the main question: a compatible joint seal depends on fit and material
For most vehicles, the correct exhaust gasket is the one matched to the specific joint position, flange type, and model year or engine version. A universal gasket can work on a clean flat flange, but it is not automatically compatible with every exhaust. The material must also survive the local temperature: a gasket at the manifold or turbo side needs higher heat resistance than a simple flat gasket at a rear slip joint.
What to check before buying
Identify the exact joint before ordering. Look at the number of bolt holes, their spacing, the port shape, and whether the flange is flat, raised, or uses a ring-style seat. Also check the engine position and the applicable model year. The same body style can use different downpipes, manifolds, or turbo outlets across years and emissions versions, so a part listed for the model overall may still be wrong for the actual flange.
Inspect the mating surfaces while the old gasket is removed. A warped or heavily pitted flange can make a new gasket leak immediately. If the old gasket failed because the flange was already distorted, the replacement should be paired with surface straightening or flange repair rather than fitted alone with extra sealant or higher bolt torque.
Check what the advertised gasket set includes. Some listings contain only the manifold-to-head gasket, while others include the downpipe gasket, turbo gasket, or hardware. Comparing only the part number without checking included pieces can be misleading.
Cost and value considerations
No reliable price or completed-transaction data is supplied for this article, so a specific cost comparison cannot be made. In general, a gasket itself is inexpensive relative to the labor needed to separate corroded flanges, and the total ownership cost is dominated by installation time and any stud or flange repair. When high-temperature hardware is included in the set, that can reduce the need to buy replacement studs separately.
Material and fit trade-offs
A multi-layer steel gasket is often the most stable choice for manifold and turbo joints because it resists crushing and holds clamping load. A composite or fiber-facing gasket is usually softer and easier to conform to a slightly irregular flat flange, but it is less suitable where temperatures are highest. A graphite or metal ring gasket suits a donut-style or ball-and-socket joint and should match the original seat profile.
Do not select a gasket by diameter or hole count alone. Even visually similar parts can differ in thickness, crush height, and the exact way the seal sits in the flange. These differences change whether the joint seals correctly and whether the flange bolts can reach the specified torque without bottoming out.
Conditional recommendation
For a stock replacement, the best first choice is the original-style gasket matched to the joint and the applicable model year rather than a generic part. For a repaired or modified flange, use a gasket that matches the flange's final flat or raised profile. For a high-temperature joint near the manifold or turbo, prefer a compatible multi-layer steel or original-type heat-rated seal over a general composite gasket.
Where the listed part does not show the bolt spacing, port shape, and joint position clearly, that missing fit information should be treated as a gap. Do not assume a catalog name such as "exhaust gasket" is enough to confirm compatibility without those details.
Installation checks that affect the decision
Clean both flanges completely and check for cracks around the bolt holes before installing. Tighten the flange bolts evenly in a crossing pattern and follow the vehicle-specific torque sequence where one is specified. If the gasket is thicker or thinner than the original, the clamping load changes, so do not reuse the old torque value as a substitute for checking the correct specification for that joint.