Exhaust Flange Repair Kits: Fitment and Installation
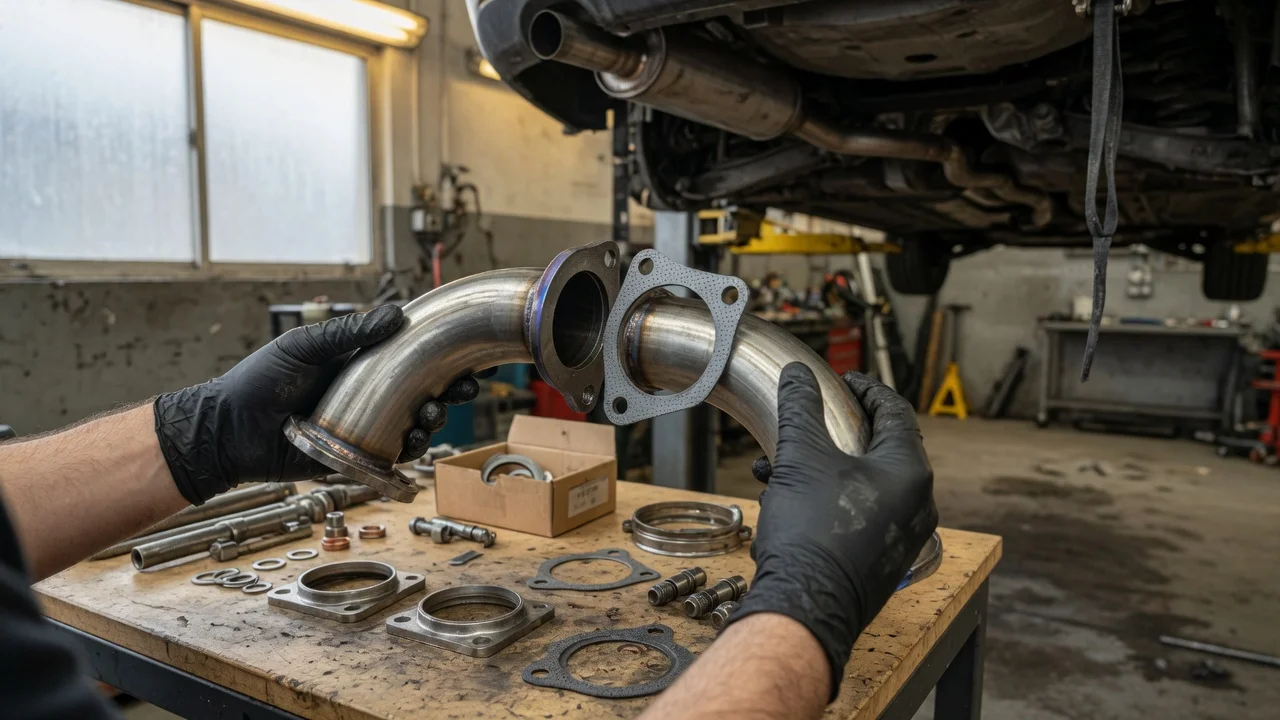
What an exhaust flange repair kit actually fixes
An exhaust flange repair kit is a parts package used when the flat sealing joint between two exhaust sections has failed. The usual problem is that the flange has corroded, eroded, warped, or lost enough material that a standard gasket can no longer hold exhaust pressure. The kit typically supplies a replacement split flange or ring, hardware such as bolts and nuts, and sometimes a sealing gasket. Because exhaust joints are mounted low and exposed to road spray, heat cycles, and salt, flange corrosion is a common reason for a leak at the joint even when the pipes and muffler are still serviceable.
A repair kit is not a universal fix. It is intended for bolted flange connections where a damaged flange can be replaced without cutting and welding the pipe. A split-flange design allows the new flange to be placed around the pipe from one side, which is useful when the adjacent pipe, catalyst, or resonator cannot be separated easily. If the leak is instead caused by a rust hole in the pipe, a broken hanger, or a failed flex section, a flange repair kit will not correct it.
Fitment: the first thing to confirm
Fitment depends on the vehicle model year, engine, exhaust configuration, and the location of the joint. Some kits are marketed for a specific joint, such as a catalyst-to-manifold connection or a mid-pipe connector, while others are sold by flange shape and measurement. Before ordering, measure the flange outside diameter, bolt spacing or stud pattern, and if possible the pipe outside diameter. Compare these against the supplier's fitment data for the exact vehicle and joint. A kit listed for a similar model from a different generation or engine may not share the same flange.
Do not rely on appearance alone to identify the correct joint. The same model may use different flanges for front-wheel-drive and all-wheel-drive versions, or for different emissions calibrations and exhaust routings. The supplied information should be treated as a starting point, and any mismatch in bolt spacing or flange diameter should stop the installation until fitment is resolved.
Recognizing a damaged flange before you buy
The typical observable symptom is an exhaust leak at a bolted joint: ticking or puffing noise under acceleration, an exhaust smell near that area, or visible soot marks radiating from the gasket line. A leaking joint may also allow condensation to drip or hiss during a cold start. To confirm the flange is the cause, secure the vehicle on suitable supports and inspect the joint with the exhaust cooled.
A failed gasket may leave a clean, thin gap or burned sealing material. A damaged flange often shows pitted or missing edge material, bolt holes that have opened up, or a mating surface that is no longer flat. If the pipe itself is soft, perforated, or collapsing next to the flange, the repair kit is not the correct remedy. Stop using the vehicle if the exhaust is leaking into the cabin, contacting wiring, fuel lines, or a heat-sensitive component, or if a cracked flange has allowed the exhaust to move and touch the body or drivetrain. In those cases, have the system diagnosed before driving.
A diagnostic trouble code or fault warning is evidence to investigate, not proof that the flange is the problem. Exhaust leaks near an oxygen sensor or catalyst can influence fueling data and trigger a code, but the same code can also be produced by a sensor, wiring, or mixture fault. Use the leak inspection to confirm the physical condition before replacing parts.
Installation considerations for a durable result
Preparation determines whether the repair seals. Remove loose rust and scale from the mating area without reducing the remaining pipe wall. If the kit includes a gasket, follow its orientation and torque sequence. Apply thread lubricant or anti-seize only where the kit instructions allow, and avoid allowing it to contaminate the sealing surface or the oxygen sensor.
Split flanges should be seated fully around the pipe and tightened gradually in an alternating pattern so the ring closes evenly. Reusing badly deformed original bolts or rusty spring hardware can prevent the joint from clamping flat. Replace hardware when the threads are corroded or the clamping load is uncertain. After installation, start the engine and check the joint immediately while the exhaust is still cold enough to feel for escaping gas safely. Because gaskets can settle, a brief follow-up inspection may be needed depending on the kit instructions.
Limits of a flange repair
The current supplied evidence does not include measured torque values, materials specifications, or model-specific test results for individual repair kits. Those details vary by product and vehicle, so the safe course is to rely on the included fitting instructions and the supplier's verified application data. Where the surrounding metal is too thin to clamp, the flange is not serviceable as a bolted joint, or the exhaust requires welding access that the kit cannot provide, replacement of the affected section is the more reliable repair.