Exhaust and Muffler Repair Kits: Choosing a Suitable Patch Kit
What a repair kit can and cannot fix
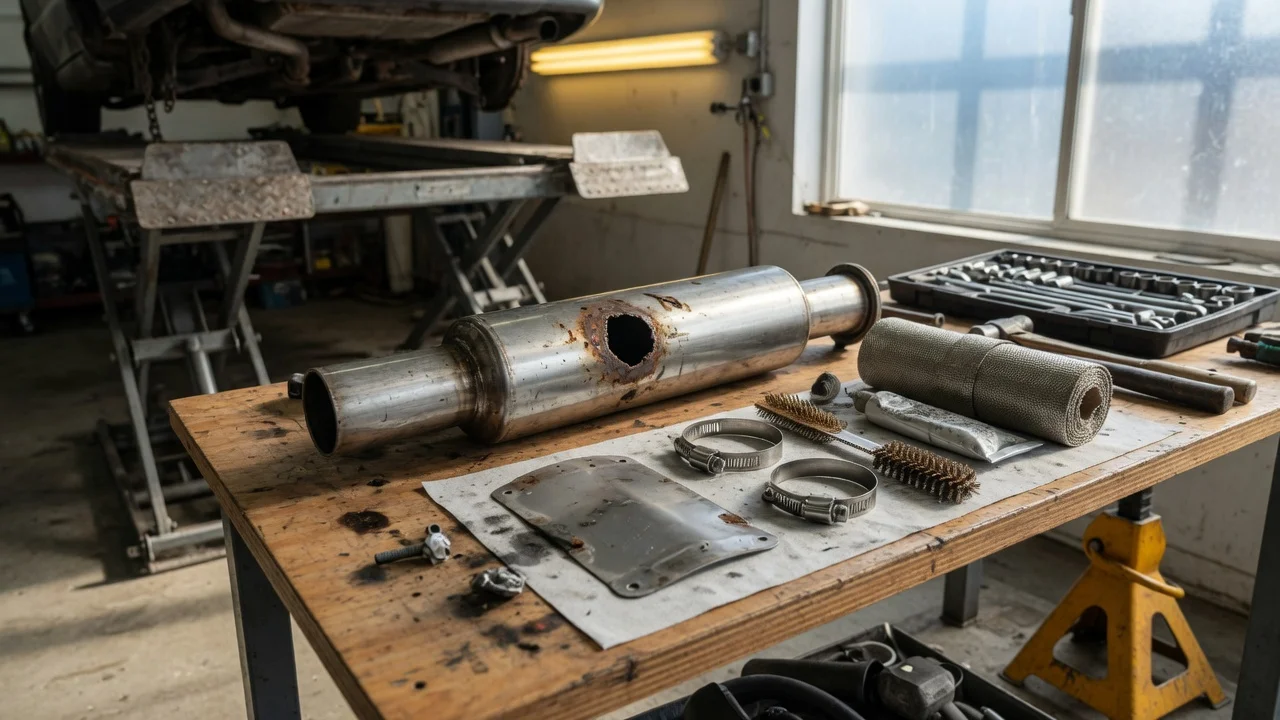
An exhaust repair kit is best suited to a small, localized leak such as a pinhole, a short split, or a corroded seam on a pipe or muffler. The immediate answer is that a patch kit may be a practical temporary or short-term repair when the metal around the damaged area is still solid enough to support the patch and the leak is accessible. The condition that materially changes this is rust. If the surrounding metal is thin, crumbling, or the damage extends around much of the pipe or muffler body, a patch usually will not hold reliably and replacing the affected section is the more dependable choice.
Checks before committing to a purchase
Inspect the damaged area before selecting a kit. Rust or oil contamination, moisture, and poor surface preparation are common reasons patches fail. The repair should be performed on a cool exhaust system, and the surface must be cleaned back to sound metal or at least to a stable, rough surface that the repair material can bond to. A flexible exhaust bandage may work best around a curved pipe or joint, while epoxy paste or muffler cement can suit smaller holes and seams. If the leak is inside a double-wall area, on a flex joint, or too close to a heat shield or sensor, access and heat resistance should influence the decision.
Ownership cost includes more than the kit price. Check whether the kit contains enough material for the damaged area, whether it is rated for the exhaust temperatures involved, and whether you already own the tools needed to clean and apply the repair. Specific advertised prices, completed transaction ranges, and availability are not supplied here, so compare current listings in your market before buying. A low-cost patch that fails quickly can lead to repeated labor, while replacing the failed section may cost more initially but last longer.
Comparing patch kits and replacement sections
Option | Best use | Main limitation; Bandage or wrap kit | Curved pipe, joints, small splits | Needs secure curing and clean surface; Epoxy paste or muffler cement | Pinholes, seams, small holes | Limited strength if surrounding metal is weak; Replacement pipe or muffler section | Larger rust damage, badly thinned metal | Higher cost and more installation work
Choose a bandage or wrap kit when the leak is on an accessible curved section and the metal around it remains solid. Choose a paste or cement for a small pinhole or narrow seam that can be packed and allowed to cure. If the damage covers a wide area, the pipe flexes significantly at that point, or the metal collapses under moderate pressure, prioritize replacing the affected section because a patch would be working against structural weakness rather than merely sealing a leak.
Symptoms, causes, and what to check next
A louder or sharper exhaust note, a ticking sound under acceleration, exhaust odor in the cabin, or visible soot around a pipe or muffler can indicate a leak. Confirm the location rather than relying on sound alone. With the engine cool and the vehicle safely supported, look for black carbon marks, rust perforation, or dampness at joints, then have a helper briefly start the engine while you listen and feel for escaping gas without touching hot or moving parts. A loose flange gasket or damaged hanger may be the real cause and may be handled by replacement hardware instead of a patch.
Stop the inspection if the vehicle cannot be safely supported, if the exhaust is hot, or if you cannot reach the area without placing yourself underneath an unsupported vehicle. A repair attempt should also stop if cleaning the surface reveals that the pipe has little remaining wall thickness or the damage is expanding as rust is removed. In that case, continued patching is unlikely to be safe or durable, and the questionable section should be replaced.
Applying the repair so it is more likely to last
Work only with the exhaust cool and the vehicle safely raised and supported. Remove loose rust and scale with a wire brush or sandpaper until the repair area is reasonably clean and rough. For a bandage, wrap it snugly and evenly over the damaged area, following the product’s instructions for curing; for paste or cement, press the material into the hole or seam and shape it without leaving thin edges that can peel. Allow the product to cure as directed before starting the engine, because heat or vibration during curing can compromise the seal. Recheck after the first few drive cycles for new soot marks, loose edges, or a return of the original exhaust sound.
A successful patch can quiet the leak and reduce exhaust odor in the short term, but it is normally a repair of the surface condition rather than a restoration of the part’s full service life. If the vehicle must pass an emissions inspection or if the leak involves a catalytic converter, oxygen sensor area, or flex coupling, do not assume that a generic patch kit is the correct fix without confirming the specific requirements for your model year, market, and powertrain. The evidence here does not cover every vehicle-specific condition, so treat fitment and long-term reliability as open questions when the application is not a straightforward pipe or muffler patch.