How to Install a Diono Car Seat Forward-Facing
The Short Answer
To install a Diono car seat forward-facing, secure the seat to the vehicle with either the lower anchors or the vehicle seat belt, always attach and tighten the top tether, and confirm the seat is firmly held at the belt path before adjusting the harness to fit your child. Use the forward-facing belt path and tether routing described in the manual for your specific Diono model, because the exact steps, limits and adjustment features differ between models and model years.
This guide covers forward-facing installation with the seat's built-in five-point harness. It does not cover rear-facing installation or using a combination seat in booster mode, which follow different rules.
What Forward-Facing Installation Involves
A forward-facing car seat is held in place at two points. The first is the main attachment at the base, made with either the lower anchors or the vehicle seat belt routed through the seat's forward-facing belt path. The second is the top tether, a strap from the top of the car seat to a dedicated anchor point in the vehicle. In the US, the lower anchors and top tether together are known as LATCH, short for Lower Anchors and Tethers for Children.
The top tether matters because it reduces how far the child's head moves forward in a crash. General US child passenger safety guidance is to use it for every forward-facing harnessed installation, whichever method secures the base.
Before You Start
Confirm your child meets the forward-facing age, weight and height requirements printed on your Diono seat's labels and in its manual. Read the child restraint section of your vehicle owner's manual to find the lower anchors, the top tether anchor, and any seating positions where installation is not permitted. Check the car seat's expiration date and confirm the seat has not been in a crash the manufacturer says requires replacement. Identify the forward-facing belt path on your Diono model. It is usually marked on the seat, often with color coding, but confirm this in the manual.
Choosing Lower Anchors or the Seat Belt
Both methods are considered equally safe when done correctly. The better choice is whichever gives a tight, correct installation in your vehicle's seating position.
Lower anchors have a weight limit that combines the child and the car seat. Once your child passes the lower anchor limit stated on your Diono seat's label, switch to a seat belt installation and keep using the top tether. Do not use the lower anchors and the seat belt at the same time unless your seat's manual specifically allows it.
Step-by-Step Forward-Facing Installation
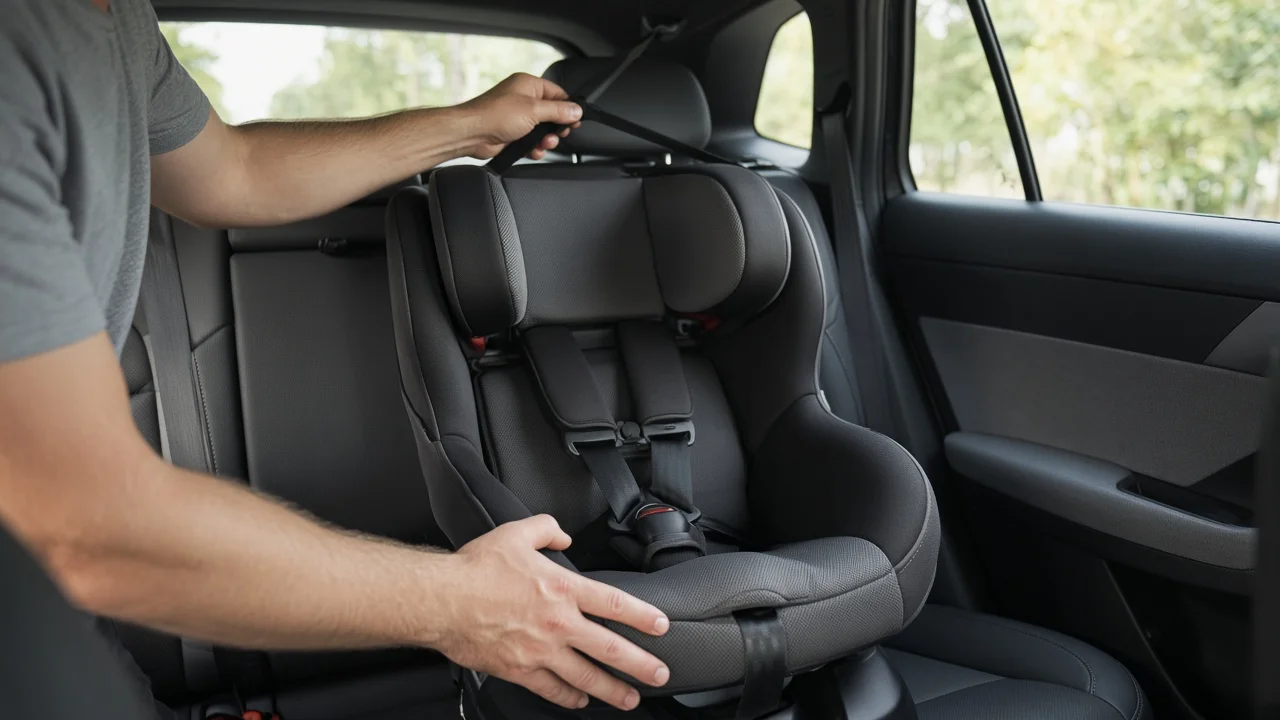
1) Set the seat to the forward-facing configuration and recline position specified in your Diono manual. 2) Place the car seat on the vehicle seat, facing forward, with its back against the vehicle seatback. 3) Loosen the top tether strap and drape it over the seatback so it is ready to attach. 4) For a lower anchor installation, route the lower anchor strap through the forward-facing belt path, clip the connectors to the vehicle's lower anchors, and pull the strap tight while pressing the car seat down and back into the vehicle seat. 5) For a seat belt installation, route the lap and shoulder belt through the forward-facing belt path, buckle it, then lock the belt. Use the vehicle's locking retractor or the seat's built-in lock-off, if your model has one, and remove slack while pressing the car seat into the vehicle seat. 6) Attach the top tether hook to the vehicle's designated tether anchor, not to a cargo hook or other point, and pull the tether strap snug. 7) Check the installation at the belt path, as described below.
Checking That the Seat Is Tight
Hold the car seat at the belt path, where the lower anchor strap or seat belt passes through, and pull side to side and front to back. Widely used US guidance says the seat should move less than one inch in any direction at that point. Movement at the top of the seat is expected and is not a sign of a loose installation.
If the seat moves too much, loosen the strap or belt, reposition the seat, apply firm pressure to the seat while tightening, and test again.
Adjusting the Harness for Forward-Facing Use
Shoulder straps: for forward-facing use, the harness straps should come from slots or a headrest position at or just above the child's shoulders, unless your Diono manual says otherwise. Chest clip: position it level with the child's armpits. Tightness: after buckling, try to pinch a horizontal fold of harness webbing at the child's collarbone. If you can pinch any slack, tighten the harness until you cannot. Twists: make sure the straps lie flat and are not twisted.
What Varies Between Diono Models
No model-specific specifications were available for this article, including forward-facing weight and height limits, lower anchor weight limits, recline settings, belt lock-off designs or tether storage locations. These details differ across Diono's convertible and all-in-one seats and can change between model years. Treat the labels on your seat and its manual as the final authority, and follow them wherever they differ from the general steps above.
Getting a Second Check
If you cannot get the seat to move less than an inch at the belt path, cannot find your vehicle's tether anchor, or are unsure whether your child is ready to face forward, a certified Child Passenger Safety Technician can inspect the installation and show you how to do it correctly in your vehicle. Diono's customer support can also answer model-specific questions about your seat.