Diagnose a leaking brake booster
The short answer
A leaking brake booster usually shows up as a hard or high brake pedal, a hissing noise when the pedal is pressed, or an engine idle that stumbles or changes when you brake. The leak may be internal, in the booster diaphragm or seals, or external, in the hose, check valve or fittings that supply it. Before replacing the booster, confirm that the supply side is sound and that the booster itself is losing assist. A booster that is not holding assist reduces braking help and lengthens stopping effort, so treat it as a safety problem rather than a convenience issue.
Which kind of booster and which kind of leak
The word leaking can mean different things depending on the booster design, and this changes the diagnosis.
Vacuum booster: the most common type on petrol-engine passenger cars. It is the large round canister between the brake pedal linkage and the master cylinder. A leak here is an air leak, not a fluid leak, and is detected by sound, pedal feel and assist tests. Vacuum booster on vehicles with a separate vacuum pump: many diesel engines and some turbocharged or direct-injection petrol engines use a mechanical or electric pump to supply vacuum because the engine does not produce enough on its own. A weak pump can mimic a leaking booster. Hydraulic booster (often called hydro-boost): used on some trucks, vans and diesel vehicles. It is powered by power-steering fluid pressure, so a leak can show as power-steering fluid at the booster and may be accompanied by steering symptoms. Electric or integrated brake boosters: fitted to many hybrids, electric vehicles and some newer conventional vehicles. Diagnosis normally depends on manufacturer scan-tool procedures and is outside what simple driveway checks can confirm.
Which design your vehicle uses depends on make, model year, engine and market. The owner's manual or service information for your exact vehicle is the reliable way to confirm it.
Brake fluid found on or around a vacuum booster is a separate case. It usually points to the master cylinder, the component bolted to the front of the booster, leaking at its rear seal or mounting face. Brake fluid can damage the booster diaphragm, so this finding matters for both parts.
Symptoms and what they can mean
The table below separates what you observe from the faults that could explain it. Most symptoms have more than one possible cause, which is why the checks that follow matter.
Observation | Possible causes; Hard or high pedal that needs more effort than usual | Leaking booster diaphragm or seal; cracked or loose vacuum hose; faulty check valve; low engine vacuum or weak vacuum pump; hydraulic booster supply problem; Hiss from under the dash when the pedal is pressed or released | Air leaking past the booster's internal valve or diaphragm; leak at the pedal-side seal; Idle drops, roughens or stalls when braking | Large vacuum leak through the booster or its hose, letting unmetered air into the engine; Assist is gone on the first press after the engine has been off a while | Faulty check valve or a slow leak in the booster or hose; Brake fluid at the joint between master cylinder and booster | Master cylinder rear seal or mounting seal leak, not normally a booster fault; Power-steering fluid near the booster on a hydraulic-boost vehicle | Hydraulic booster seal or hose leak; Brake warning light or stored fault code | Depends on the vehicle; may relate to booster vacuum sensing, fluid level, or other brake system faults
Checks that separate the causes
The order below moves from simple observation to tests that isolate the supply side from the booster itself. These checks apply mainly to vacuum boosters. Exact pass and fail criteria, such as acceptable vacuum levels or how long assist should be retained, are vehicle-specific and were not supplied here; use the figures from the service information for your vehicle rather than general rules of thumb.
1) Visual and listening check
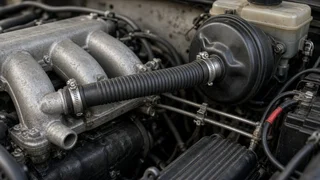
With the engine off, inspect the vacuum hose from the engine intake or vacuum pump to the booster for cracks, softness, collapsed sections or loose connections, and check that the check valve is seated in its grommet on the booster shell. Look for brake fluid where the master cylinder meets the booster. With the engine idling, listen near the hose and under the dash at the pedal while a helper presses the pedal. A hiss at the hose points to the supply side; a hiss at the pedal points toward the booster internals.
What this supports: an obvious hose or grommet fault is a likely cause worth fixing first. What it leaves unresolved: a clean-looking hose does not rule out a weak check valve or an internal booster leak.
2) Basic booster function test
With the engine off, press the brake pedal several times to use up any stored vacuum. Hold steady pressure on the pedal and start the engine. On a working vacuum booster, the pedal normally sinks slightly as assist comes in.
What this supports: if the pedal drops, the booster is receiving vacuum and providing some assist. If it does not move, either vacuum is not reaching the booster or the booster is not working. It does not by itself tell you which.
3) Vacuum hold test
Run the engine briefly, switch it off, wait, then press the pedal several times. A booster and check valve in good condition normally retain enough vacuum to give assist for more than one application. A second version: with the engine running, hold the pedal down, switch the engine off and keep holding; the pedal should not rise noticeably while you hold it.
What this supports: losing assist quickly with the engine off points to a leaking check valve, hose or booster. It does not separate those three on its own.
4) Isolate the supply side
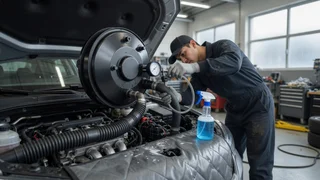
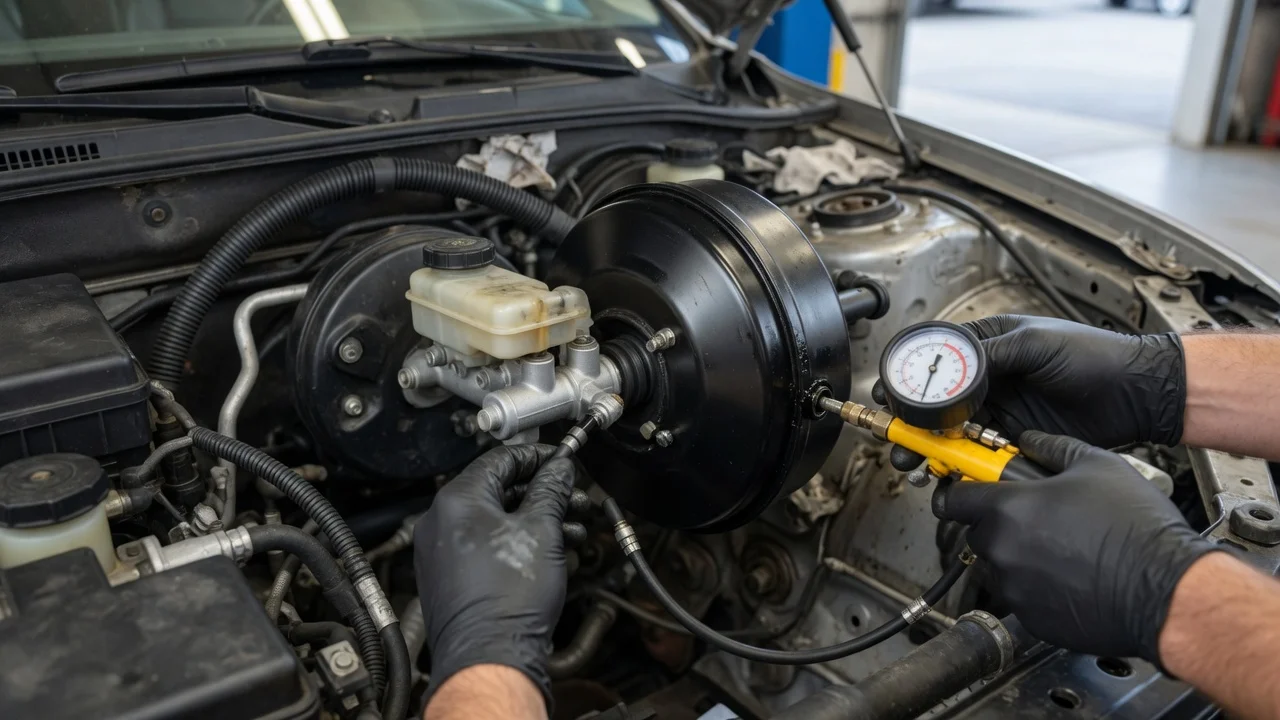
Test the check valve: on most designs air should pass only one way, from the booster toward the engine. Then measure vacuum at the booster end of the hose with a vacuum gauge, engine idling, and compare it with the specification for your engine. On vehicles with a vacuum pump, check the pump output the same way.
What this supports: if the check valve works and vacuum supply meets specification, but the booster still fails the function or hold tests, the booster itself is the likely fault. If supply is low, the cause is upstream, such as an engine condition or a weak vacuum pump, and replacing the booster would not fix it.
5) Fluid leaks at the booster
If brake fluid is present at the booster, check the master cylinder fluid level and whether fluid is weeping from the rear of the master cylinder. Some shops remove the master cylinder to check for fluid inside the booster. On hydraulic-boost systems, trace power-steering fluid to the booster seals or high-pressure hoses.
What this supports: a master cylinder leak needs repair whether or not the booster is affected, and any fluid loss should be addressed before the vehicle is driven further. Whether the booster has also been damaged by fluid usually requires inspection after the master cylinder is removed.
Fault codes and warning lights
Some vehicles monitor booster vacuum with a sensor and can store a diagnostic trouble code (DTC), the standardized fault code read with a scan tool. The specific code numbers, their definitions and the conditions that set them vary by manufacturer and model; no code definitions or test criteria for a particular vehicle were supplied here, so none are listed. A booster-related code indicates that the control module saw a reading outside its expected range. It can be caused by a leak, a faulty sensor, damaged wiring, a weak vacuum pump or an engine condition, so the code tells you where to start testing, not that the booster must be replaced. Check the manufacturer's code definition and the operating conditions it requires, then confirm with the mechanical checks above.
When to stop and get help
Have the vehicle inspected before further driving if the pedal becomes very hard, sinks toward the floor, the brake warning light stays on, or you find brake fluid loss. Electric and integrated boosters, and any repair that requires opening the hydraulic brake system, generally need manufacturer procedures and proper brake bleeding afterward.